Posted on

MAVEN1832 – meet The Somerset1832 testers!

Hello Sewing Friends!

And we’re ending the year on a high the release of the third of our MAVEN1832 sewing patterns – The Somerset1832

To celebrate our latest release all The Somerset PDF patterns are 20% off until 17th December (*midnight GMT) and that includes the Somerset1832 in the new size band in sizes 18-32, the original Somerset pattern in sizes 8-20 and also The 2 PDF Somerset pattern Collection.

The Details

If you’re new to Maven let me tell you a few details about The Somerset T-shirt pattern. I designed her as I wanted a t-shirt to wear with The Good Times Skirt. I like a slim fitting t-shirt, that can tucked in or left out, but one that is definitely not clingy around my middle – I like my clothes (and sewing patterns) to cover a multitude of situations! I was having a terrible time trying to find a nice basic slash neck t-shirt on the High Street, so I started to make them. The joy of being able to make is always a bonus. I started with the 3/4 sleeve, which was a quick jump to a full length sleeve (or the sensible sleeve as I call her) and the bigger Bishop sleeve just seemed fun!

The Somerset t-shirt pattern is designed for Knits with about 40% stretch. There is a stretch guide included in the pattern so you can test fabric. If you’re a little nervous about sewing with knits, don’t be! Sew a few test seams first to get the hang of stitching with jersey. I’ve assumed in the Maker Instructions that you don’t have any special sewing machines, an ordinary sewing machine will do the job perfectly well. I like to use a twin needle to do the hem and an overlocker to neaten the seams but I talk you through a few alternatives. And I have extra photo tutorials HERE

Sizing

I developed a whole new size chart for MAVEN1832 with a dressmakers D cup rather than our usual B cup. We then worked closely with a professional pattern house who has a lot of experience in plus size patterns and had them re-drafted and graded. And we also worked with a professional fit model to for several fittings to ensure the new patterns were up to Maven standards. We have added a bust dart to The Somerset1832 as we all felt it gave a much superior fit with a dart.

View the Size Chart, Garment Measurement Chart  & Fabric Requirements here

MAVEN1832 – meet The Somerset1832 testers!

Our testers for the 3 MAVEN1832 patterns were wonderful and I’m very grateful to you all! Understandably, not everyone wanted to be public or share photos outside of the test (that wasn’t a requirement of testing) but I do have permission to share these beauties, some of which are toiles / wearable toiles / early versions but already much loved.

I LOVE toiles. I love the testing and changing and fiddling about with the fit so Toiles are actually often my favourite garments. Wearable toiles even more so as there is no need to be precious and it’s a chance to get stuck in and not overthink. So I shall take this opportunity to say MAKE A TOILE!

Belen / @btxesews

Belen made a couple of Somersets and I do love her spotty sleeve version!

If you are looking for some inspiration it’s a perfect top to make for Christmas and very wearable beyond!

“This is the kind of pattern that has the ability to be very useful and applicable to many styles of dress. A quick seam, with an incredible result!!! Highly recommended!!!”

Belen @btxesews (Instagram)

Phil

Phil made her first Somerset in this lovely ditzy flower print, which looks great with the Bishop sleeve and deep cuff.

Lorraine

One toile – 2 sleeves!

“I loved testing this pattern. It’s such a simple classic style and added bonus, quick to make! I can see it becoming a go to pattern for me. Having avoided using jersey up until now, I found the tips and tricks included in the instruction booklet really helped me get to grips with the fabric and I’m pretty chuffed with the result.” Lorraine

Maggie @PeacockMaggie

Maggie was a fab tester and kindly tested both The Somerset1832 and The Rochester1832!

Katy

One toile – 2 sleeves. Katy made one sleeve with the long straight sleeve and one Bishop sleeve. This is a good idea to test a pattern out for fit and one of the sleeves can always be changed if you decide it is a success and want to wear your toile.

“I’ve not seen a Maven pattern before. The instructions were very thorough.”

Katy

Abigail / @cutandalter

“This was the first time making a pattern from Maven Patterns and the first time using knit fabric to make a t-shirt.  The instructions were so detailed and contained lots of information for a sewer new to dressmaking and also great tips on working with knit fabrics.  I really like the links to tutorials on the website which were able to go into a subject with greater depth.  The neckline on this t-shirt is so nice and was easier achieve than I initially thought – I went slow and followed the instructions!  All in all a great make and one which I definitely recommend.” Abigail

Another huge thank you to all of my lovely testers of The MAVEN1832 Collection! Currently the 3 patterns are all available (HERE) in PDF but we are hoping to have them in print in the Spring.

SHARE

Share your makes by tagging us @mavenpatterns #SomersetMaven1832 #SomersetMaven

join the gang! NEWSLETTER SIGN UP!

More MAVEN1832 …


Posted on

A Somerset Dress Hack

PAID POST | This article was originally written by Susan Young as part of the Lamazi blogger team and the fabric was given to Sue by Lamazi fabrics in return for a review for them. After seeing the article I approached Sue and asked if I could share it here and she kindly agreed! I have paid Sue for her time, skills and effort.

As you all know I do enjoy a good pattern hack!

And with a very different looking Christmas around the corner this year I was delighted when this beauty by Susan Young popped up on Instagram recently.

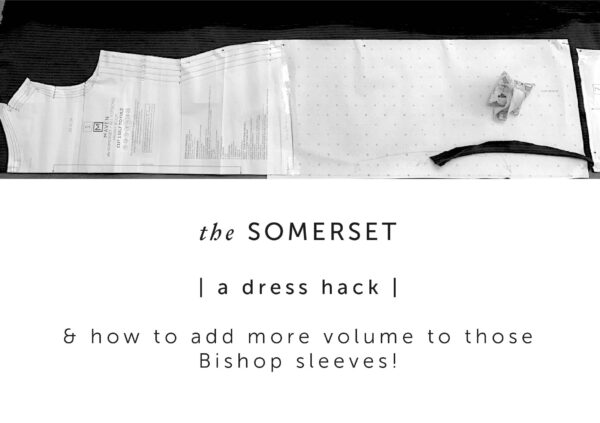
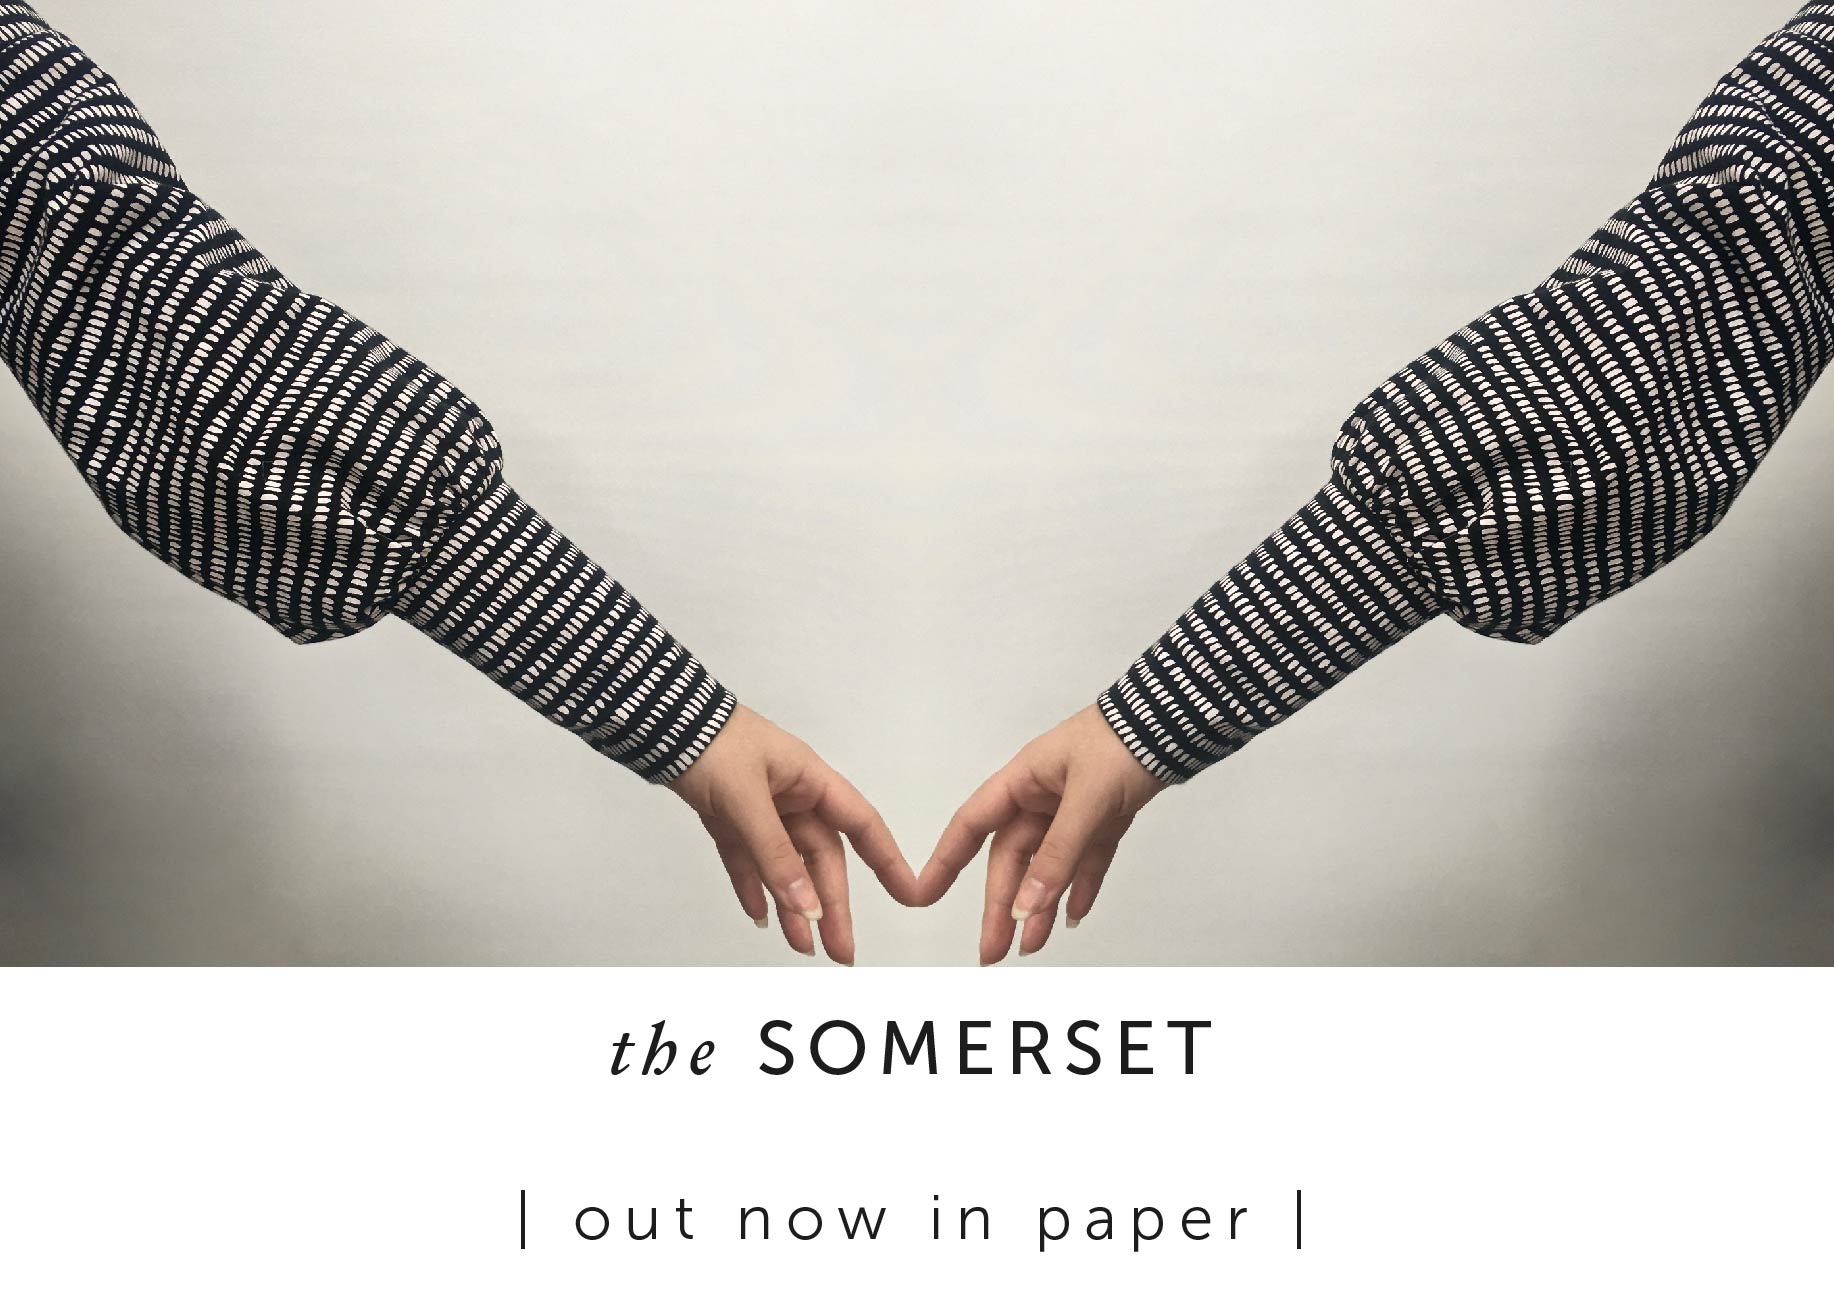
Sue has made a glorious dress hack of The Somerset t-shirt pattern, complete with extra volume on those bishop sleeves. Sue made her dress in this stretch jersey cord velvet from Lamazi fabrics , which is lovely and soft, and perfect for a spot of smart-looking lounging, but will still be relevant to your wardrobe for lots of post-Christmas wear.

“Whilst I love a complex make to really get my teeth into I felt this wasn’t a garment which warranted lots of time. Making a special Christmas once-worn garment wasn’t appropriate any longer so I wanted something quite simple but adaptable and for that reason I’ve picked the Somerset T-shirt by Maven Patterns.

Sue Young

“I have to say that I’m really happy with this dress because it ticks all the boxes I wanted it to. It’s comfortable but it looks Christmassy, it looks great with opaque tights, heels and jewellery, but also with boots, a chunky belt, a roll neck top underneath for extra warmth or a cosy scarf…and did I mention it’s comfortable! #secretpyjamas It also has the advantage of rolling up and going in the corner of a bag or suitcase and coming back out again not needing a press. Bonus!! ” – Sue

“I’ve dressed it down with an ancient knitted gilet plus a wide belt, long boots and my much loved Alexander McQueen scarf ” – Sue

And it’s always good to consider the future wear of any of our makes #notjustforchristmas!

A quick little re-style and Sue is ready to go for the New Year and beyond.

You can find all the details of exactly how Sue created her Somerset dress HERE.

It’s a very comprehensive post – Sue covers

  • how to add more volume to the bishop sleeve

  • how she adjusted the t-shirt pattern to a dress

  • how she fitted the dress on herself

  • cutting and sewing tips for the stretch corded fabric

A huge thank you to Sue for sharing her pattern hack with us, & for letting me share here with you, I hope it inspires you with your makes!


Posted on

The Somerset | neck alteration tutorial

The Somerset t-shirt has a very elegant and lovely bateau neckline and we don’t want anything to disrupt the clean line.

But, one of the fitting issues you may come across with a slash neck t-shirt is a baggy neckline. The neckline doesn’t sit quite flat – it’s that annoying little bumpy gape you can see. There can be a few different reasons why this happens, we are all different shapes and sizes so sometimes we do have to adjust to fit. I’ve found that this is more common on the back neckline but it could be an issue on the front neckline too.

Before we jump straight into the pattern alteration, let’s just make sure it’s the alteration you need.

DON’T STRETCH THE NECKLINE | First of all, make sure you are not stretching the neckline as you press and topstitch. 

FABRIC & BOOBS | Before you adjust the neckline just take a look at how your t-shirt fits your bust. If it is too tight the t-shirt doesn’t sit where it should and instead works its way upwards and forcing the neckline to sit too high on the body and it then it can’t sit flat. A telltale sign of this is you keep wanting to tug your t-shirt down.

I have found fabric plays a part in how my t-shirts fit – a very soft lycra bamboo jersey gives me no problems, fitting nice and flat across the neckline. The stripey sample, however, is made in a much firmer cotton lycra knit that doesn’t relax as much over my boobage and therefore my t-shirt travels upwards with a little wear, giving me a baggy back neck. I should actually do an FBA but I probably won’t – next time I’ll grade between the sizes and go up a size for my bust while keeping neckline and shoulders my usual size. 

If your Somerset t-shirt is generally too big across the shoulders and neckline, you may be better to choose a smaller size for your shoulder area and to blend between sizes.

THE NECKLINE IS TOO BIG |

You’ve decided the neckline is indeed too big for you. Excellent! I have a pattern alteration fix for that! 

GOOD TO KNOW | I have used one of my original toiles for the photos in this tutorial, so it is only stitched with a normal straight stitch rather than twin needled. I’ve actually worn it quite a bit and it’s been washed and abused like any other of my t-shirts and that stitching has held up perfectly. It is also quite likely the cat slept on it immediately before photos were taken.

EQUIPMENT |

  • Copy of the back pattern (or the ability to re-print)
  • Ruler
  • Pencil
  • Sticky tape
  • Tape measure
  • Paper scissors
  • Pattern paper

PREPARE YOUR PATTERN | First, as always with any pattern alteration, trace off your pattern. This gives you the opportunity to preserve your original and the chance to start again if things go horribly wrong! 

Mark all the seam allowances/stitch lines on the pattern to make your life easier.

TOILE | Pop on your toile/offending garment and pin the excess fabric at the neckline a little way back from each shoulder.

  • Use chalk or an extra pin to remark the ‘dart’ so the neckline can lay flat.
  • It’s unlikely that the two ‘darts’ you’ve pinned are of an equal amount and in the same position along the neckline. Unless you have a pronounced difference in your shoulders we just need to even them out.
  • Measure them both and find the TOTAL amount to be removed. 
  • We will be altering half a pattern so DIVIDE the total amount by 2. In this example, I need to remove 4cm in total from the back neckline, so 2cm is to be removed from the actual pattern.
  • It’s the same idea for the position of the ‘dart’ – just split the difference. If you have pinned one at 7cm and one at 5cm from the shoulder – split the difference and use 6cm.

TRANSFER TO PATTERN | 

  • Transfer the marking from your garment to your pattern.
  • Measure the amount to be reduced on the FOLDLINE of the neckline, not on the outside edge.
  • This will give you 2 points on the neckline – A & B
  • Find the midway point between A & B.
  • Draw a line from that midpoint to intersect with the armhole stitchline. This is point C.

DRAW AN ACTUAL DART |

  • Join A to C & B to C
  • You are really just taking a dart out of your pattern to reduce the length of the back neck with the pointy end of the dart (point C) finishing on the stitchline, not the cut outside edge of the pattern. This will keep the armhole length the same so the sleeve will still fit!

CUT |

  • Cut along line A and stop at point C.
  • Make a snip from the outside edge of the pattern in the seam allowance towards point C stopping at the stitchline, leaving a small hinge of paper.
  • Point C will be the pivot point.

CLOSE THE DART |

  • Using the hinge at point C as a pivot point, close the dart up so the excess is removed and tape the pattern together. 
  • Nearly there now,  but you can see we now have a stagger at the neck and the armhole has a bit of a pointy shape.

SMOOTH |

  • Redraw a smooth curve at the neckline to even out that staggered line.
  • Smooth the armhole lines too and fill in the seam allowance by taping some paper behind it.
  • TIP | If you find your armhole shape has become too distorted it may be because you are trying to remove too much from the pattern in one place. Try spreading this alteration over 2 places rather than one. Or check your sizing as you may be better using the neckline of a smaller size and blending it with your body size.
  • That’s it – you’re finished!