
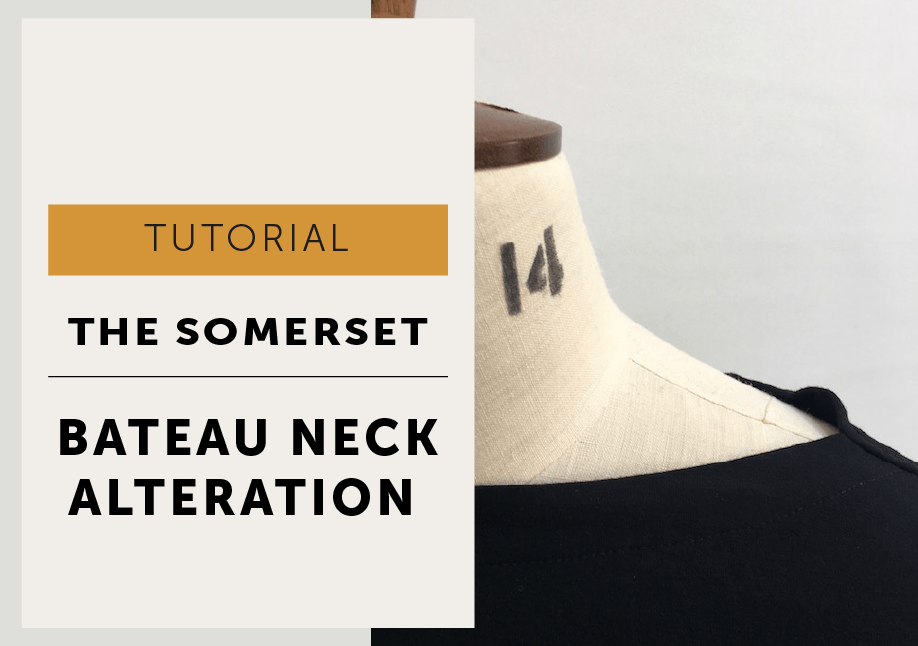
How do you alter the Somerset neckline so it sits more neatly? The Somerset t-shirt has a beautiful bateau neckline, but if it gapes at the front or back , this tutorial shows how to make a small neckline adjustment for a cleaner, closer fit. It is a simple pattern tweak that helps preserve the line of the neckline while making the finished top feel more comfortable and wearable.

The Somerset t-shirt has a very elegant and lovely bateau neckline and we don’t want anything to disrupt the clean line.
But, one of the fitting issues you may come across with a slash neck t-shirt is a baggy neckline. The neckline doesn’t sit quite flat – it’s that annoying little bumpy gape you can see. There can be a few different reasons why this happens, we are all different shapes and sizes so sometimes we do have to adjust to fit. I’ve found that this is more common on the back neckline but it could be an issue on the front neckline too.
Before we jump straight into the pattern alteration, let’s just make sure it’s the alteration you need.
DON’T STRETCH THE NECKLINE. First of all, make sure you are not stretching the neckline as you press and topstitch.
FABRIC & BOOBS. Before you adjust the neckline just take a look at how your t-shirt fits your bust. If it is too tight the t-shirt doesn’t sit where it should and instead works its way upwards and forcing the neckline to sit too high on the body and it then it can’t sit flat. A telltale sign of this is you keep wanting to tug your t-shirt down.
I have found fabric plays a part in how my t-shirts fit – a very soft lycra bamboo jersey gives me no problems, fitting nice and flat across the neckline. The stripey sample, however, is made in a much firmer cotton lycra knit that doesn’t relax as much over my boobage and therefore my t-shirt travels upwards with a little wear, giving me a baggy back neck. I should actually do an FBA but I probably won’t – next time I’ll grade between the sizes and go up a size for my bust while keeping neckline and shoulders my usual size.
If your Somerset t-shirt is generally too big across the shoulders and neckline, you may be better to choose a smaller size for your shoulder area and to blend between sizes.
THE NECKLINE IS TOO BIG
You’ve decided the neckline is indeed too big for you. Excellent! I have a pattern alteration fix for that!
GOOD TO KNOW – I have used one of my original toiles for the photos in this tutorial, so it is only stitched with a normal straight stitch rather than twin needled. I’ve actually worn it quite a bit and it’s been washed and abused like any other of my t-shirts and that stitching has held up perfectly. It is also quite likely the cat slept on it immediately before photos were taken.
EQUIPMENT
- Copy of the back pattern (or the ability to re-print)
- Ruler
- Pencil
- Sticky tape
- Tape measure
- Paper scissors
- Pattern paper
PREPARE YOUR PATTERN. First, as always with any pattern alteration, trace off your pattern. This gives you the opportunity to preserve your original and the chance to start again if things go horribly wrong!
Mark all the seam allowances/stitch lines on the pattern to make your life easier.

TOILE. Pop on your toile/offending garment and pin the excess fabric at the neckline a little way back from each shoulder.

- Use chalk or an extra pin to remark the ‘dart’ so the neckline can lay flat.
- It’s unlikely that the two ‘darts’ you’ve pinned are of an equal amount and in the same position along the neckline. Unless you have a pronounced difference in your shoulders we just need to even them out.
- Measure them both and find the TOTAL amount to be removed.
- We will be altering half a pattern so DIVIDE the total amount by 2. In this example, I need to remove 4cm in total from the back neckline, so 2cm is to be removed from the actual pattern.
- It’s the same idea for the position of the ‘dart’ – just split the difference. If you have pinned one at 7cm and one at 5cm from the shoulder – split the difference and use 6cm.

TRANSFER TO PATTERN
- Transfer the marking from your garment to your pattern.
- Measure the amount to be reduced on the FOLDLINE of the neckline, not on the outside edge.
- This will give you 2 points on the neckline – A & B
- Find the midway point between A & B.
- Draw a line from that midpoint to intersect with the armhole stitchline. This is point C.

DRAW AN ACTUAL DART
- Join A to C & B to C
- You are really just taking a dart out of your pattern to reduce the length of the back neck with the pointy end of the dart (point C) finishing on the stitchline, not the cut outside edge of the pattern. This will keep the armhole length the same so the sleeve will still fit!
CUT
- Cut along line A and stop at point C.
- Make a snip from the outside edge of the pattern in the seam allowance towards point C stopping at the stitchline, leaving a small hinge of paper.
- Point C will be the pivot point.
CLOSE THE DART
- Using the hinge at point C as a pivot point, close the dart up so the excess is removed and tape the pattern together.
- Nearly there now, but you can see we now have a stagger at the neck and the armhole has a bit of a pointy shape.

SMOOTH
- Redraw a smooth curve at the neckline to even out that staggered line.
- Smooth the armhole lines too and fill in the seam allowance by taping some paper behind it.
- TIP | If you find your armhole shape has become too distorted it may be because you are trying to remove too much from the pattern in one place. Try spreading this alteration over 2 places rather than one. Or check your sizing as you may be better using the neckline of a smaller size and blending it with your body size.
- That’s it – you’re finished!

More to Sew …


