
How do you sew the centre back zip in the Good Times skirt so it sits cleanly in the waistband? This tutorial shows you how to insert a centred back zip after the waistband as the Good Times Skirt has a slightly unconventional construction order, but once you understand the method, it gives you a really clean, professional finish at the back of the skirt.

There is a very specific order of making The Good Times Skirt.
Usually, with a centre back zip, I would advise inserting it before the side seams are closed so the skirt is as flat as possible. However, some bright spark (me) decided that she wanted the zip to go straight into the waistband, and have huge pockets that sit on top of the side seam. So, therefore, we have to make the skirt and attach the waistband first before tackling the zip. And I also complicate things slightly with a reversed seam detail.

TOOLS
9″ metal trouser zip, zipper foot, standard machine presser foot and the usual sewing stuff!
TIP / If you want to use a slightly longer zip that’s ok, just lower the zip drill hole to accommodate the extra zip length, close the CB seam accordingly and you’re good to go!
ABBREVIATIONS
WSU: wrong side up | WS: wrong side | RSU: right side up | RS: right side | SA: seam allowance | CB: centre back
METHOD
You will have already closed the centre front with your preferred method, closed and neatened the side seams, stitched on the pockets, closed the CB seam up to the drill hole (marker dot) for the base of the zip and attached the waistband (that is completed all the instructions to step 24).
TIP / Often during construction you would apply a strip of interfacing to a zip area, but I have chosen not to because denim is usually very sturdy and we also have the reverse seam detail. If you are making your skirt in a cloth that would benefit from some interfacing, cut a strip 2cm wide and a bit longer than the opening and apply it to the RIGHT SIDE of the skirt centrally over the CB seam (the stitchline) before closing the CB seam. The interfacing will be hidden inside the reverse seam.

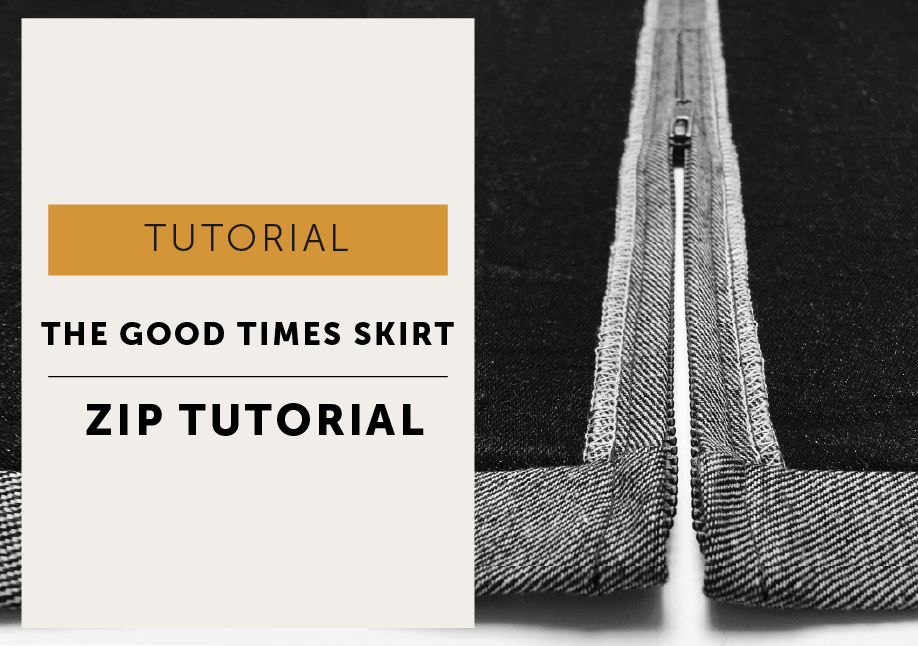
Place the zip. Baste the zip opening closed, by oversewing the edges together with a large-ish stitch and make sure the waist seam nicely aligned and is not staggered. The waistband in the picture shows it finished by overlocking (left) and Hong Kong binding (right). You should have already decided and finished your waistband, I just thought it’d be nice to show how they could look.

With the skirt inside out (WS facing you) place the zip face down centrally on the CB seam.
TIP / One of my lovely testers recommends using a double-sided basting tape to hold the zip in place.

The top stoppers of the zip should sit about 3mm below the centre fold of the waistband. Pin to hold but make sure it stays central. The bottom zip stop should be about 5mm above the end of the stitching for the CB seam. If it is slightly out, don’t worry, just remember that we want to topstitch BELOW that stopper so you don’t break your needle. It’s actually a good idea to mark on the RS of the skirt where the zip stop is, so you can avoid it!
At the top edge, fold back the zip tape at an angle so it will be out of the way of the zip puller.
Tack through the zip tape and ALL the layers, down each side and across the base, keeping that zip central on the CB.
TIP | The zip will be stitched in place from the RS. Mark the stitchline with chalk or fabric pen about 1cm (3/8″) from the CB on each side. (When stitching I use my machine foot width as a guide, it actually came out slightly under 1cm). Mark the base of the stitchline 5mm BELOW the zip stopper.
Stitch the zip – Change to a zip foot
Take out the basting thread holding the CB together.

With RSU and the zip closed, start stitching with a small backstitch on the CB seam (at the base of the opening but below the zip stopper!) and stitch across to your chalk mark guide and pivot* and start to stitch up one side of the zip. Concentrate on keeping your stitching an even distance from the CB seam.
*TO PIVOT stitch to the pivot point, leave your machine needle IN your garment, lift your machine foot and turn your work 90° in the direction you want to stitch, drop your foot back down and continue to stitch – makes a nice tidy corner!


You are probably going to have to move the zip puller out of the way at some point because it will be in the way of your zip foot. It’s not a problem, stop stitching about half way (not vital where) but leave your machine needle down and in the skirt. Lift your zip foot and just wiggle the zip puller past your needle so it now sits behind the foot. Drop the zip foot again, and carry on stitching up to the fold line of the waistband. Backstitch to finish and secure.

TIP / When stitching over the waistband seam, you may find due to the thickness that your foot doesn’t lie flat and this makes your stitches uneven. Easy solution, leave your needle in the fabric, slide a bit of folded denim (or card) to lift up the back of the foot so it is level with the front and carry on stitching. (You can buy a gadget called a hump jumper for this but I’ve never bothered).

Close the zip, and repeat for the other side.

Waistband. Fold the waistband along the centre covering the waist seam. Pin to hold. With WS facing tuck the waistband in 5mm at the CB, making it a slight angle, so it will give enough room for the zip puller to glide past unimpeded


Stitch and change back to the presser foot.
With RS of the skirt facing you, stitch in the ditch of the waist seam through all the layers to secure the waistband.
Give it a good press and well done you!
More to Sew …


