
How do you get the Simone Set waistband to fit just right? This post shares a few extra ideas and options for working with the elasticated waistband, from finding your ideal elastic length to choosing a quick way to secure it, adding a faux drawstring, or adapting the casing for a different width of elastic. It is all about making the waistband behave the way you want it to, so the finished trousers feel comfortable, secure and easy to wear.

Before we start, this isn’t an actual “how to make an elastic waistband” tutorial, that’s all covered in the Simone Maker instructions, but this is a few extra ideas and options that I thought may be useful. And while I’m writing with the Simone pattern in mind, you can apply these ideas to any elasticated waistband.
Getting an elastic waistband to fit can be a bit of trial and error. All elastics will behave slightly differently and we all have a preference as to how we like our garments to fit. And we have the added joy of elastic shrinking and stretching.
BUT OH MY, they can be so delightfully comfortable!
PRE-SHRINK
My first tip is to check if your elastic is pre-shrunk. If not, pre-wash your elastic (check the wash instructions first but I chuck it in the machine with my fabric, start as I mean to go on as it were) or at the very least give it a jolly good steam with the iron to shrink it as much as possible. Polyester will shrink less than cotton covered elastics, some may not shrink at all, but we might as well not deal with the hassle of shrunk elastic after we’ve finished our garment.
FIND YOUR ELASTIC LENGTH

- Generally finished elastic measurements are around around 2” smaller than your waist measurement
- Start with a piece of elastic longer than you need so you can try it on and adjust to fit if necessary.
- Mark the elastic with your intended finished waist measurement.
- Wrap the elastic around in a loop and safety pin together.
- Try it on, move and dance about a bit.
- Adjust if you need to and make sure it’s snug and secure (keep in mind that topstitching the elastic can make it stretch a bit).
- Allow an extra 2.5cm (1”) as an overlap.
- Chop off the excess elastic.
- Don’t overthink it, there is no right or wrong measurement, if it’s comfortable and keeps your trousers up – winner!
- Remember to make a note of your elastic measurement so you have a reference for next time.
QUICK METHOD TO SECURE THE ELASTIC

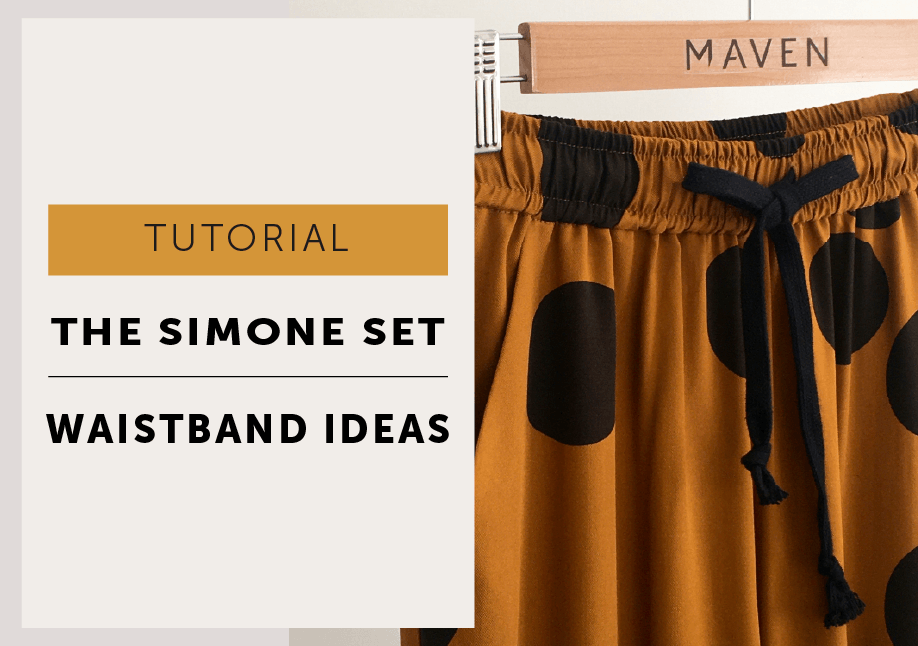
The Simone waistband has a drawstring and 2 rows of topstitching through it, but sometimes you just want a quick clean finish. This is a good method if you are not adding a drawstring and prefer not to topstitch through the elastic and is a very effective way to prevent the elastic from twisting during washing and wearing.
- Once you have completed STEP 42 in the Maker Instructions – you will have inserted the elastic into the waistband and stitched the opening closed.
- Evenly distribute the gathering and elastic by pulling and stretching the waistband flat a few times.
- Pin through all the layers at the Centre Back, Centre Front and at each side seam to hold in place and simply stitch vertically through the waistband at these 4 points.
FAUX DRAWSTRING

If you use the quick method above to secure the elastic in the waistband you won’t be able to add a functioning drawstring, but you can add a fake one.
- Cut your chosen drawstring to a length of around 65cm (26”)* You just need to be able to tie it in a bow and leave some tails hanging, so feel free to adjust the length to suit you and use what’s in your stash.
- Fold in half to find the mid-point and stitch on the waistband at the centre front of your trousers.
- Tie in a bow!
- *This is a suggested length for an adult. If you are sewing for a child the length should be shorter because dangling ties are a HAZARD. You will need to check and comply with the legislation for your area to get an appropriate length.
BUT I’D LIKE TO USE A DIFFERENT WIDTH ELASTIC
USING A NARROWER ELASTIC AND ADD A FRILL

Got a narrower elastic in the old stash? Don’t go out and panic buy more elastic, here’s an easy solution that doesn’t involve altering the pattern.
- Attach the waistband as described in the instructions and stop once you are at the point of inserting the elastic.
- Stitch a channel for the narrower elastic. Stitch the channel 3mm (⅛”) deeper than your chosen elastic to allow the elastic to fit inside.
- So if you have 2.5cm (1″) wide elastic stitch at around 2.8cm (1 ⅛”) above the waist seam.
- Insert the elastic and close the waistband as in the Maker Instructions.
- The excess at the top of the waistband will become a frill.
- Easy peasy!
REDUCE PATTERN WIDTH
If you don’t fancy a frill, you’ll need to change the depth of your waistband casing pattern to use a different width of elastic.
Use this formula to calculate your waistband casing depth (the pattern length will stay the same).
METRIC – Elastic width x2 + 2cm seam allowance + 1cm ease = WAISTBAND CASING PATTERN DEPTH
INCHES – Elastic width x2 + ½” seam allowance + ⅜” ease = WAISTBAND CASING PATTERN DEPTH
EASE: There is 1cm ( ⅜”) ease allowed in the depth of the pattern to make sure (a) you have some wiggle room and can thread your elastic through the casing easily and (b) there is enough width to make sure the waistband will fold over to the inside of the trouser and cover the waist seam so you can ‘Stitch in the Ditch’ to secure during construction.
OPTIONS TO TOPSTITCH & SECURE A NARROWER ELASTIC
Any waistband elastic should be secured by stitching through all the layers as this will help stop it from twisting after washing and during wear. If you are using a narrower elastic than the 4cm width recommended, it’s not a problem, but you might have to use a slightly different method than the one in the Maker Instructions.
- Top stitch through the elastic as explained in the instructions. A narrower elastic can still have a drawstring, but you may want to make your buttonholes horizontally instead of vertically and adjust the topstitch placement.
- Just topstitch one row through the centre of the elastic and leave out the drawstring and buttonholes.
- Stitch vertically through CB, CF and side seams (as described above).
I hope you enjoy these extra ideas to make the most out of your Simone Set pattern!
More to Sew …


