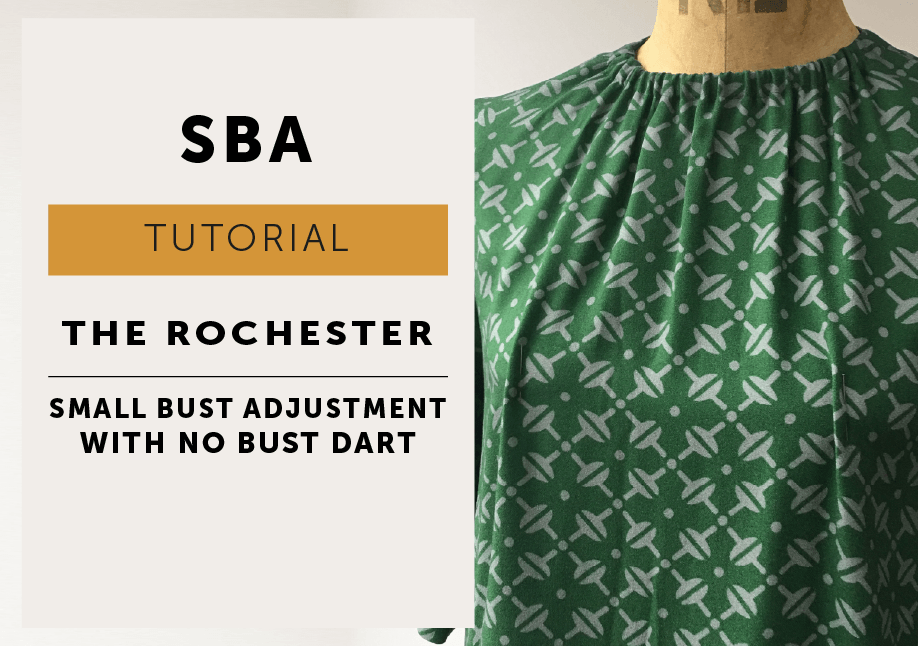
How do you do a small bust adjustment on a pattern with no bust dart? This tutorial shows how to reduce excess fullness at the bust on The Rochester by overlapping the pattern instead of spreading it, so you can keep a good fit through the shoulders and neckline while removing extra volume where you do not need it. It is a practical guide for adjusting woven tops and dresses without changing the overall shape of the pattern
There seems to be a lot of advice regarding Full Bust Adjustments, but not so many for a Small Bust Adjustment (SBA), so this tutorial is for SBA for The Rochester pattern but could be applied to any dress or top without a bust dart.
What is a Small Bust Adjustment (SBA)?
Sewing patterns are generally (and there are exceptions) drafted to accommodate a B cup. All Maven Patterns are drafted with a B cup. Unfair I know, but unfortunately, it’s just not possible for us (I say us, it’s just me doing all the design related stuff!) to produce a pattern that will keep all body shapes happy, as we are all unique and the variations are limitless! So, great if you are a B cup, but not so much if you are smaller. In which case you might need to do a Small Bust Adjustment – SBA (or a Full Bust Adjustment – FBA – if you are larger in the cup). An SBA is a pattern alteration that will decrease the volume of the cup area to remove the excess fabric.
How do you know if you need a small bust adjustment?
You will have a nice fit in the neckline and the shoulders but will see too much fullness in your garment at the bust area as there will be too much volume in the cup. We want to reduce some of that volume. A Small Bust Adjustment is basically the same process as an FBA, but involves overlapping the pattern to reduce instead of spreading the pattern to increase the bust cup size.
Small Bust Adjustment (SBA) without a bust dart in woven fabric
Abbreviations
SBA / small bust adjustment FBA / full bust adjustment CF / centre front BP / bust point/apex
Equipment
Copy of pattern (or the ability to re-print) – I’m showing diagrams for the Rochester top, but it’s the same for the dress.
Ruler
Pencil
Sticky tape
Tape measure
Paper scissors
Pattern paper
Which cup size are you?
Measure yourself while wearing the appropriate underwear. If you are going to wear a padded bra under your dress, go put one on first – it will make a difference to the fit.
Importantly, your cup size for a sewing pattern is not the same as your bra cup size. (I’m a B for a pattern, and wear a D bra)
Measure your HIGH bust across your back, under your armpits and above your bust.
Then measure your FULL bust, at the fullest part of your bust.
Note these measurements and the difference between them.
As you can see from the little chart above it’s about 1″ (2.5cm) per cup size. So if you are an A cup and the Rochester pattern is a B cup you will need to reduce the pattern by 1”(2.5cm). This would be the TOTAL amount, when it comes to the alteration you will be working on HALF the pattern so will reduce your pattern by 1/2″ (1.25cm).
TOILE. So obviously the above picture is not a toile, it’s our sample garment, but I think the easiest way to find out how much is to make a really quick toile (just the body, don’t bother with sleeves, facings etc). Try it on and mark your bust point and pin the excess fabric out of the bust. Don’t be tempted to over-fit The Rochester pattern, it is meant to skim the body rather than hug the body.
Knowing exactly how much is a bit of chicken and egg situation. There is not one way to do this alteration (or any alteration). It can be a little test and see, and a lot of getting to know your OWN body and how you like a garment to fit on you. You just have to start somewhere to find what works for you! You’ll need to toile and test and tweak your alteration, maybe more than once. A toile is going to be your best friend – the fabric doesn’t lie! Also, consider the look of the garment, you may just decide you want more/less ease and adjust your SBA accordingly.
METHOD / Small Bust Adjustment without a bust dart
Find the Bust Point (also called the APEX). The Bust Point (BP) or Apex is already marked on The Rochester pattern for you so it’s very easy to find (you’re welcome!). Mark your BP on the pattern and compare with the BP that has been pre-marked on the pattern. If there is a lot of difference, use your BP for the alteration as you want the alteration in the right area for your bust. (How to find your BP – Lower a bust dart tutorial)
Remove the lower pattern
So the lower section of the pattern doesn’t reduce in width, making it smaller through the waist and hips, we are going to remove it for now and keep it safely to one side.
Using a copy of your front pattern, mark the seam allowances so you know where the stitch line is.
Draw a line HORIZONTALLY across the pattern so it intersects with the CF line at a (90°) right angle at roughly the waist level. It’s not crucial exactly where it is but make sure it is above the pockets notches for the dress.
Cut along the line and remove the lower section from the upper bodice section. Place LOWER SECTION safely to one side.
Draw the Lines on the Upper Bodice Section
LINE 1: Draw a line from the BUST POINT (BP) right down to the bottom of the pattern, parallel with the CENTRE FRONT LINE. Draw a line from the BP to a point about a ⅓ of the way along the armhole.
LINE 2: Draw a line from the BP to the centre of the shoulder.
LINE 3: Draw a line from the BP to the midpoint of the neckline.
LINES 4 & 5: Draw 2 lines from armhole to line 2 spread evenly between the shoulder and line 1.
Cut the Lines
Cut along LINE 1. Start at the bottom of pattern and cut to the BP and then to the armhole. Cut UP TO stitch line but NOT through it. Cut from OUTSIDE of the pattern up to the same point on the armhole stitch line, leaving a 3mm hinge of paper.
*If you hinge your armhole from the outside edge of the pattern instead of the stitch line, your armhole increases in length and then your sleeve won’t fit.
Cut along LINE 2 leaving a hinge at the shoulder stitch line.
Cut along LINE 3 leaving a hinge at the neckline stitch line.
Cut along LINES 4 & 5 leaving a hinge at the armhole stitch line.
Mark sections A, B, C & D as in the diagram below.
Place some paper behind your pattern pieces. Draw a line on your paper (shown in red). Anchor down section A with tape or pins, lining up the pattern CF with the one you just drew. On SECTION A mark the amount to be reduced (the orange lines), keep parallel with CF.
Overlap
Keep the hinges intact and slide SECTION D across so it overlaps SECTION A by the amount of your SBA. Keep the bottom of the pattern pieces level and pivot the pattern from the hinges at the neck, armhole and shoulder so they slide into position and overlap as needed, keeping the pattern flat.
Tape everything down. Tape the lower section back in place
Redraw the shoulder seam
Smooth the armhole curve and the neckline.
Redraw the side seam (use the back pattern as a template so you know they match!)
Redraw your front facing so it is the same shape as the altered neckline.
Trace off the pattern if you like a tidy pattern (or use lots of tape to hold everything together, no one is judging!).


%20with%20No%20Dart&url=https://mavenpatterns.co.uk/small-bust-adjustment-sba-with-no-dart/&media=https://i0.wp.com/mavenpatterns.co.uk/wp-content/uploads/2018/05/MAVEN_PATTERNS_PACKAGING_1__29.10.17-45-e1655562339598.jpg?fit=980%2C1001&ssl=1)
%20with%20No%20Dart&url=https://mavenpatterns.co.uk/small-bust-adjustment-sba-with-no-dart/&media=https://i0.wp.com/mavenpatterns.co.uk/wp-content/uploads/2019/12/THE-SOMERSET_WEBSITE-LISTING-17.12.19-10.jpg?fit=601%2C765&ssl=1)
%20with%20No%20Dart&url=https://mavenpatterns.co.uk/small-bust-adjustment-sba-with-no-dart/&media=https://i0.wp.com/mavenpatterns.co.uk/wp-content/uploads/2019/05/MAVEN_PATTERNS_THE_MARIA_APRON_SPOTTY-7-copy.jpg?fit=700%2C868&ssl=1)
%20with%20No%20Dart&url=https://mavenpatterns.co.uk/small-bust-adjustment-sba-with-no-dart/&media=https://i0.wp.com/mavenpatterns.co.uk/wp-content/uploads/2022/12/free-sewing-pattern-peg-bag-MAVEN-PATTERNS-7768.jpg?fit=819%2C1024&ssl=1)
%20with%20No%20Dart&url=https://mavenpatterns.co.uk/small-bust-adjustment-sba-with-no-dart/&media=https://i0.wp.com/mavenpatterns.co.uk/wp-content/uploads/2024/03/the-Ludo-capelet-sewing-pattern-8490-scaled.jpeg?fit=980%2C980&ssl=1)
