What can you do with a French Dart Shift pattern to create a completely different look? In part 1 of this guest post, Jen Hogg explores how to transform the French Dart into a panelled dress, using clever pattern cutting to break the front into sections that make the most of feature fabrics, borders and leftovers. It is a thoughtful approach to pattern hacking that keeps the original shape intact while opening up new ways to play with fabric placement and design detail.
I was delighted when this gorgeous French Dart by Jen Hogg popped up on the Maven instagram feed. So, I approached Jen and asked her if she would share all the details of her marvellous French Dart Hack and she kindly has!
The panelling idea is such a clever idea to show off a printed fabric – we all know how much I love a Nani Iro print – or to create smaller pattern pieces which are perfect for using up those scraps and odd bits of leftover cloth. Enjoy part 1, it’s full of ideas and inspiration and part 2 of this post can be found here.
PAID POST | This article was written by Jen Hogg after I saw her French Dart Hack on Instagram. I have paid Jen for her time, skills and effort, but all opinions are her own.
Version 1 – the toile
I really like this pattern. In fact I’ve made it 4 times, so far. The first was a toile to check my standard pattern adjustments for my broad back and square shoulders. It was in yellow gingham sold as cotton, and it worked really well, except that I don’t suit yellow. So I had the bright idea of dying it teal, thinking that I’d end up with a lovely teal / turquoise gingham. Only of course it wasn’t cotton after all, the dye didn’t take, and the whole thing ended up in recycling. Can you tell I’m still a little bit bitter?
Version 2 – needlecord, with in-seam pockets
But it did confirm that my adjustments were good so I quickly made another in needlecord. My only hack was to add in-seam pockets. The method I used is my absolute favourite, I’ve seen it called a couture method, and it’s how you add a pocket beside an invisible zip because the whole construction is on the front of the garment. Click here for details.
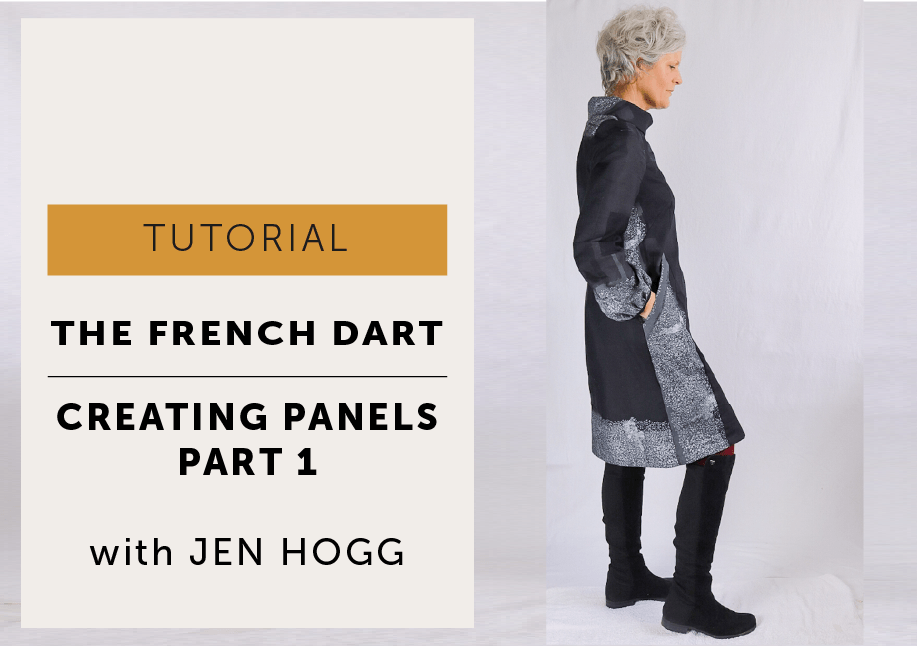
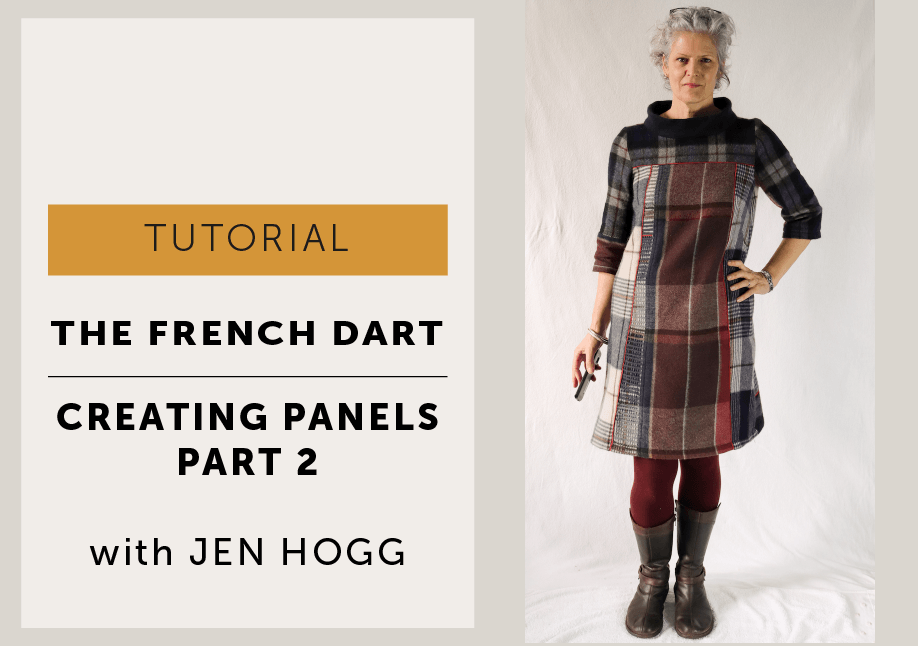
Version 3 – Nani Iro, front panels with pockets
Next up, I had some lovely Nani Iro fabric from Minerva, in a black brush stroke with a wide silver border. The obvious thing to do would have been to use the border along the bottom of the dress, but it felt a wee bit formal for me, especially given that I was making it in lockdown when anything more than joggie bottoms feels formal.
I decided to divide the front of my French Dart into panels, and to use the border in different ways on each. This technique would also work really well for using up small pieces of fabric.
I wanted to keep the dart, because it’s so lush, and of course I wanted to add pockets. This time I thought I’d add them on the front of the dress, following the angle of the dart. I also decided to add quite a deep cuff to the pockets partly to add structure, but also to let me use the writing on the selvedge of the fabric.
Incidentally, this fabric is quite robust, allowing the pockets to keep their shape. If it was a softer fabric I’d have gone for in-seam pockets.
First of all, I traced my pattern piece and removed the seam allowances. By the way, the diagram is a rough sketch of the pattern piece – not to scale!
When you’re removing the seam allowance remember it varies, for example it’s narrower at the neck.
(first image)Next I divided the front into panels to suit my fabric. I decided to cut one piece above the bust, and to divide the lower part of the dress into three: one at each side and one in the centre. The side panels are wide enough to accommodate the whole of the dart, and also to add a decent sized pocket. The panels were only drawn in at this stage, I wanted to make sure I was happy with the look of the finished front before I started cutting the paper up.
(second image) Here’s the line of the pocket top. It’s parallel to the line of the dart once it’s sewn closed – to check that I literally closed the dart of the paper pattern.
Here are the panels separated. The neck and centre panels are going to be cut on the fold. (And yes, my cutting boards might be called well-used.)
Now I worked entirely on the two parts of the side panel.
First up, I added a pocket bag to the top part, which will form the back of the pocket. I made it long enough that I could reach the bottom of the pocket without stretching.
I then used that added-on section to draft the front pocket bag, shown here in yellow. I could have used the bottom panel itself to create the front, but I didn’t want to see the pocket bag stitching on the front of the dress so I decided to create it as a separate piece.
Here it is in real life with the seam allowances added back on.
These photos show the finished pocket, from outside the dress and inside. I used a scrap of Liberty lawn cotton for the front pocket bag.
The way I added the cuff was the same way I usually add bias binding:
- Interface the cuff
- press the cuff in half and then press up the seam allowance on the front of the cuff
- Pin the front pocket bag and the bottom panel with the right sides facing out (ie wrong sides together)
- Lay the pocket bag / bottom panel so that the pocket bag is facing up. Line up the cuff with the pocket bag, right sides together. So now you have a sandwich: cuff – pocket bag – bottom panel.
- Stitch through all three layers along the length of the pocket opening
- Fold the cuff over to the front of the garment. This is where you’re glad you already pressed up that seam allowance – all you need to do is topstitch the cuff to the bottom panel.
Incidentally I didn’t bother cutting the cuff piece into the shape in the diagram. Instead I cut a piece of fabric longer than I needed, on the straight grain, and trimmed it after I’d sewing it in place. This let me make last minute adjustments to fully use the piece with the writing on.
Re-assembling the front of the dress
So, that’s the front pocket bag and cuff attached to the bottom panel. Next I sewed the bottom of the two pocket bag pieces together (I used a French seam for neatness and security). Then I added a line of stitching within the seam allowances at either side of the panel to keep everything in place.
And that’s the side panel reconstructed. All that’s left to do is to stitch the side panels to the centre panel, and then all three to the neck panel. The front is then fully put back together, complete with pockets, and the dress can be finished off per the pattern instructions.
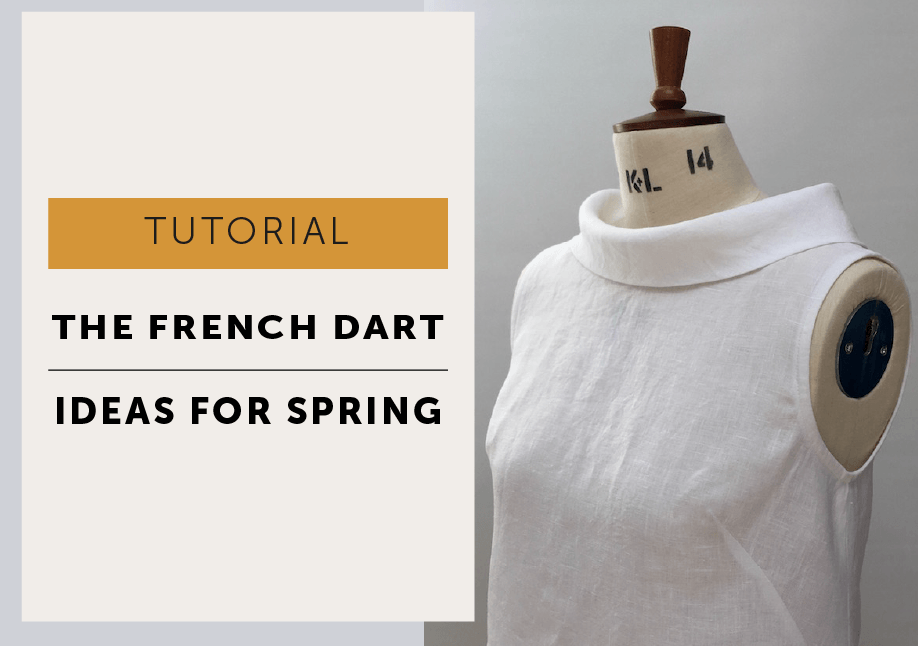
Version 4 – cashmere top
I’ve also made the French Dart as a top, simply by chopping the pattern at hip height. Literally no other changes were required. This one is also made from cashmere surplus. I know, lucky!
I’ve not finished with this pattern. I have some lovely stretch wool, in a delicious shade of red, so I’m thinking a winter dress. I might alter the sleeves on that so they’re straight rather than gathered at the cuff, because I think the fabric will be too chunky to take the gather. I also think the pattern will look great in linen with short sleeves for the summer. Watch this space on Instagram!
We would love to see your French Darts! Old or new, share (or re-share!) them with us on Instagram Remember to tag us @MavenPatterns #FrenchDartMaven
All photos by Jen Hogg
Jen Hogg lives in Glasgow with her husband and dog, and has two children at university. She now runs a small business selling the Jenerates sewing ruler and writes for a variety of magazines and blogs. A former solicitor, Jen reached the semi-final of The Great British Sewing Bee Series 5 (2019). In addition to sewing, she enjoys knitting, crochet and many other textile crafts, as well as silversmithing, photography and generally making things. You can follow Jen on Instagram and Facebook @jenerates, and at www.jenhogg.co.uk
More to Sew …


