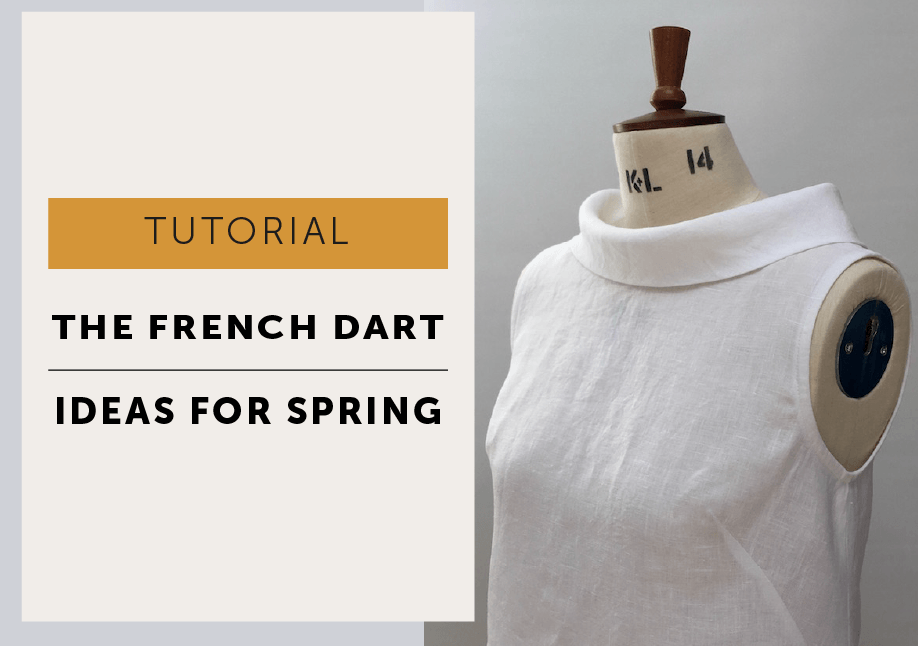
How can you wear the French Dart for spring? Let me share with you a little burst of French Dart inspiration, showing how versatile the pattern can be with linen tops, sleeveless versions, short sleeves, bishop sleeves and a few handy hacks for warmer-weather dressing. It is a simple reminder that one much-loved pattern can take you from early spring layers to easy, everyday tops and dresses with just a few changes.
Hi, it’s been a little while since I’ve popped up over here!
We’re back in the studio after having just had the most marvellous time at The stitch festival Show in islington and Sewing for Pleasure at the NEC in Birmingham. We met lots of lovely makers, thank you all for stopping by! Everyone was delighted to have a little rummage through our sample rails and to see our patterns made up in different fabrics and examples of all of our pattern hacks. And lots of you were surprised at just how versatile The French Dart pattern is!
So, as Spring is trying it’s very hardest to make an appearance here today, I thought I’d share a few of our French Dart ideas so you can refresh your wardrobe with a tried and tested favourite pattern.Top Row
Grey linen (from Ikea) – straight out the packet, version A with the short sleeve.
White linen – version B with the cap sleeve and bound armhole, cut to hip length to make a top.
Navy linen – version C, the bishop sleeve with no amendments.
Middle Row – the French Dart really does make to most excellent top. Nothing fancy , I just measure up from the bottom of the pattern and chop off!
Make your French Dart sleeveless – I made no adjustment to the armhole, just finished with a binding and left out the back darts for a slightly boxier shape.
And, of course, we couldn’t forget about this beautiful version by Jen Hogg! See the tutorial here.
You can see all of our French Dart tutorials here, including a tutorial to add a lining, an FBA tutorial, a pocket tutorial, and how to make a 3/4 length sleeve (a linen top version with 3/4 sleeve is my go-to outfit!). For more inspiration, pop over to our Instagram where we share all of our lovely Makers and their makes!
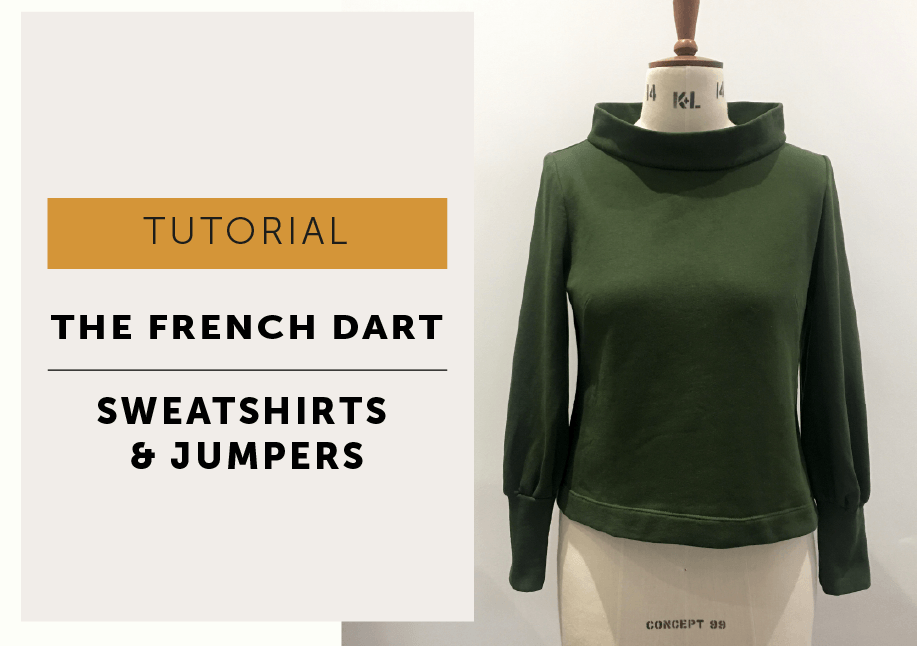
How do you turn the French Dart Shift into a cosy jumper? This tutorial shows how versatile the pattern can be, with ideas for making it in boiled wool or jersey so you can create a warm, easy-to-wear top that still has the shape and style of the original French Dart. It is a simple reminder that one pattern can work hard across seasons when you choose the right fabric and finish.
We have more ideas to share today to encourage you to get the most from your French Dart Shift pattern! It’s been so chilly here in the UK for the few weeks (it’s supposed to snow here ANY SECOND according to the weather app) that I’m quite delighted to share with you my love for the FDS as a jumper pattern.
I really like the idea of a pattern being an all rounder, so it could be a key piece in your wardrobe. What I hadn’t expected was just how creative everyone would get with the pattern and suggestions from a couple of Maven Makers led to 2 tutorials – one for a boiled wool French Dart and one for a knit French Dart. The boiled wool version really was just an experiment to see if it would work. And yes it did! It’s been one of my most worn items of clothing and actually does makes the perfect jumper!
When shortening to make a top or jumper I just chop the extra length from the bottom of the pattern. Nothing fancy – just remember to trace off your pattern first to keep your original in tact (or you can reprint a PDF), add a hem allowance and check that the hem line will run together in a nice smooth line when you join the side seams. I like my length to finish at about my hip but I sometimes cut them a bit shorter after making them, I find different fabrics need different proportions and I’ll just try them on before finally hemming them.
As the fabric was quite thick I decided to make the collar half the depth, so it doesn’t roll over but stands up rather nicely. And I decided at the last moment to topstitch the shoulder seams to hold them flat, again as the fabric was bulky but it makes a nice little detail. Other than that the construction was quite straight forward. I did not tape or stay stitch the armhole as the fabric was quite stable, but I did tape the neckline as usual. I often leave the darts out of the back when I’m making tops with The French Dart pattern, you still get a nice shape but slightly boxier. If you are not sure wether to dart or not, mark them on the back (use something non-permanent to mark them!), make up the body and see how you like the shape without them. That’ll still give you the option of sewing them in if you change your mind.
The sleeve is basically a mash-up of the FDS bishop sleeve (version 3) and The Somerset bishop sleeve. I followed the Somerset Maker instructions to attach the cuff, but found this fabric didn’t really like the shirring elastic method, so I went old school and pulled up gathering stitches. So far, at the time of writing, so good with no cracked stitches during wear.
WARNING: This is how I did the sleeve but it comes with a warning! It was never intended as a tutorial. I was just making a top for me because it’s a bit cold…so this method is best described as ‘quick and dirty’ or as my Dad would say ‘a proper bodge job’. So you follow at your own discretion and perhaps don’t try it on a really expensive fabric the first time.
Trace off your French Dart sleeve pattern before you begin to keep original in tact.
On both sleeve patterns draw a line straight across at the underarm.
Fold the Somerset sleeve along this line, and fold the sleeve head out of the way.
Place the Somerset sleeve on top of the French Dart sleeve.
Line up both patterns along the underarm line that you drew and centralise at the grain line.
Check you are going to be happy with the sleeve length as is, if you want it longer slide Somerset down a bit further. Don’t forget to consider the depth of the cuff.
Mark in the hem line of The Somerset pattern and a little bit of the side seam. It should be the same (mirrored) either side of the grain line.
Move the Somerset pattern out of the way and join the hem to the underarm point for your size with a straight line.
You’ll need to use the cuff pattern from the Somerset.
Good luck!
BOILED WOOL
As I said before, this one has been a really good make. All the details of The Boiled Wool French Dart can be found HERE. It was written in 2018 and it’s stood the test of time as I’m actually wearing it right now.
KNITTED FRENCH DART
The French dart pattern has been made quite a few times in knit fabrics too. Ponte de Roma has been especially popular as it makes up easily and is quite stable for a knitted fabric while being very easy and cosy to wear. #Secret Pyjamas. Bear in mind the pattern won’t give you a body-con style fit in jersey it’s more about comfort.
This is one I made in a knit that I bought from Anna at Eternal Maker. It is a 100% cotton jersey knit. For this one I cut the collar as the pattern.But first, I did fold the fabric to ‘mock’ the collar, creating 4 layers, before I cut out to see if I thought it would be too bulky.
The Knitted French Dart tutorial can be found HERE & The 3/4 length sleeve tutorial can be found HERE.
#MavenMakers
Have you made a cosy French Dart, either a top or a dress? We would love to see it! Old or new, share (or re-share!) them with us on Instagram Remember to tag us @MavenPatterns #FrenchDartMaven
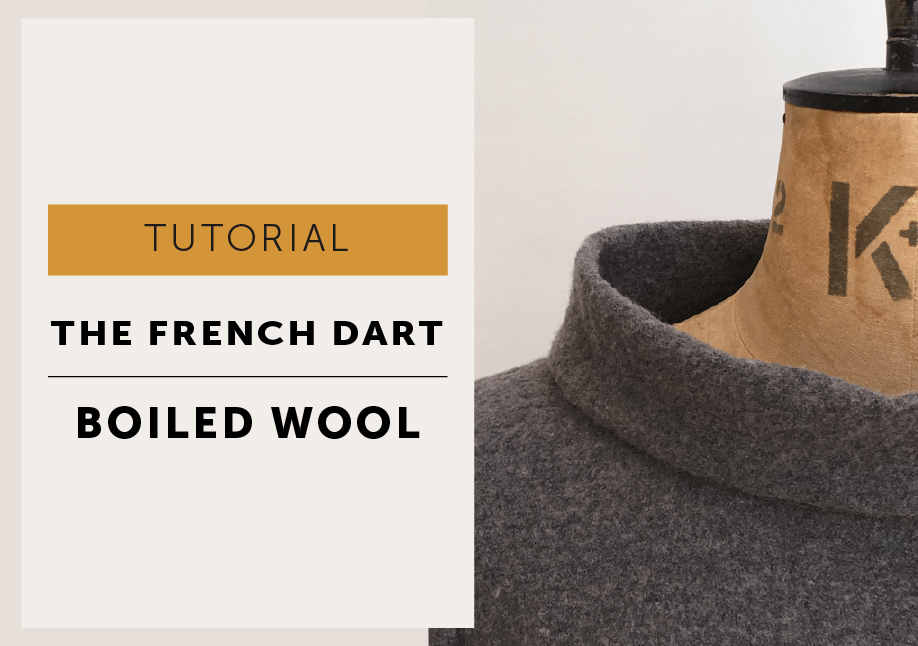
Can you sew the French Dart Shift in boiled wool and turn it into an easy everyday jumper? Absolutely, and this post explores exactly why the pattern works so well in warmer, cosier fabrics. From choosing and preparing boiled wool to adapting the collar, stabilising seams and managing bulk, we share the small changes that help the French Dart become a comfortable cold-weather staple while still keeping its clean, easy shape. It is one of those pattern variations that feels both practical and quietly stylish, the kind of garment you reach for on repeat through the colder months.
Lovely Nicky (@nickynackynoo_) sent me an Instagram message back in the middle of November asking would the French Dart Shift work in Boiled wool? Now, I always get quite excited when someone asks or suggests a pattern variation/hack I hadn’t thought of – oh, the delights and benefits of sharing ideas on the internet! That particular day was freezing here in the UK, and as I had bemoaned frequently that I never find any jumpers that I like, I ordered some fabric that very day and did a test. And it worked beautifully if a tad itchy, but absolutely fine with a skinny t-shirt underneath. And was just perfection on a recent trip to Paris (in a chilly January!). It was très Chic, in fact!
THE FABRIC
Boiled wool is a knitted fabric that has been washed and agitated, so the fibres have a tighter felt like finish. There are lots of options regarding fibre content and weight.
I used a grey boiled wool from Backstitch in smoke. (Weight: 368gm², 60% viscose, 40% wool – 142cms wide.)
The care instructions on the Backstitch website are to dry clean (but it is meant for a lined jacket or skirt, so fair enough). And the general advice for pre-washing boiled wool is not to wash and just give it a really good steam to shrink it, and then allow to cool. Which is fine if you’re making a coat or something similar. (You generally should allow stuff to cool after pressing to help stop it stretching and creasing while still warm.) The Colette blog recommends a damp towel and a tumble dryer method, but I don’t own a tumble dryer so not a method I could test, but sounds a good plan.
I eventually decided to ignore the general advice and wash it in the machine. My theory being I was making an everyday jumper style top, I knew this fabric would shrink (probably a lot) and I knew I would NEVER be bothered to handwash it, and I really wouldn’t be bothered to dry clean it – I would, in fact, chuck it in the machine when I had to. And my friend Maria told me to do it.
So I did as I was told and chucked it in the machine on a short wash at 30°. It felted up a little more, so felt slightly thicker, but was still quite delightful! I did get a few of these bobbly bits, but they pulled off easily enough. What I didn’t do at the time was check how much it had shrunk. A post-cutting garment calculation puts it at about 20cm on 1.5m length (roughly 14% length shrinkage, never thought to check the width shrinkage!) I didn’t allow for that much shrinkage when I bought my fabric, but I managed to squeeze my top out. I had to do ¾ length sleeves rather than the full length ones I intended but hey-ho, such is life!
*I feel like I should put a disclaimer on bunging your boiled wool in the machine…it worked out fine for me, but I wouldn’t want you to ruin some hideously expensive cloth. Consider carefully how you will treat the finished garment, is it something you’ll chuck on the floor (me: “yes”) or is it one of those garments that you’ll hang up carefully and cherish. Be warned there are no guarantees when going against the stated care advice!
SEWING WITH BOILED WOOL – tips
Boiled wool is quite an easy fabric to sew with but there a couple of things to be aware of.
The thickness of the fabric: it’s bulky, so best not to have too many seams and details. Also, it’s easy to overpress it, which can lead to shiny marks or a stretched garment.
*Stabilise seams to prevent stretching
*Use a ballpoint needle
*Longer stitch length (I usually stitch on 3 and went up to a 4, test on a scrap of fabric for your machine)
*Walking foot: I tested on a scrap first without a walking foot and my sample was fine. Then as soon as started to stitch the garment – it wasn’t a happy bunny, it just didn’t want to feed through so I had to do a quick machine foot switch-a-roo! (My machine is pretty knackered now though, I’ve had it since 2001 and the stitch length is, shall we say, is inconsistent at best.)
* Boiled wool doesn’t fray, so doesn’t need neatening! Wahoo!
*Boiled wool doesn’t fray, so it doesn’t need hemming either!
*PRESS on a low heat, press gently and sparingly. Use a pressing cloth to help protect the fabric as you press.
*Do not drag the iron (you may stretch the fabric) – that’s why it’s called pressing your garment and not ironing your garment.
*Press all the seams OPEN and trim/grade the bulky bits.
KEY:
FDS | French Dart Shift S/A | seam allowance RST | right sides together CB | centre back
FOR REFERENCE – what I did
I cut a Size 10 (my usual size) with a finished CB length of 60cm with no hem allowance as I was leaving it raw and unfinished.
¾ sleeves with a finished length of 46cm and 3cm hem allowance. I’m short – you’re going to want to check those measurements for you, measure something that you like to wear. (tutorial for lengthen a sleeve here!)
UPDATE – I didn’t bother hemming it and 3 years later, it’s fine!
I left out the back darts: I marked the darts with tailor tacks, but didn’t stitch them so I could try on the top first. The shape was nice without, so left them out to reduce bulk.
Changed the collar pattern (see below).
COLLAR – cutting
The collar for the French Dart is normally cut on the bias grain and then folded over – giving you 4 layers of fabric. I think we can all agree, in boiled wool, that was going to be a smidge thicker than comfortable so I cut it half the depth to eliminate the roll-over part of the collar. (Keep the length of the collar the same but you can make it any depth you fancy: pattern = finished depth of collar x2 + 6mm S/A to attach & 1cm S/A on the other edge). With boiled wool being a knit fabric that has been felted, I cut it on the straight grain. And I only cut the notches on one side of the collar (the one with the 6mm S/A to attach at neck).
STABILISE THE SEAMS
The neckline of the French Dart is taped to prevent it stretching, but when making in boiled wool you will also need to tape the shoulders and the armhole to prevent them stretching. To find the measurement – mark your seam allowances on the pattern and measure the stitch line/finished seam lengths. We don’t want to tape into the S/A as we don’t want to add any extra bulk at the seams.
For the neck and armholes I used a lightweight stay tape (I always trim the width in half for the neckline), follow the instructions how to tape the neck. Tape the back shoulder seam and position the tape so when you close the shoulder seam you will be stitching through the tape. For the front and back armhole, I cut some ½” wide (1.2cm) strips of knitted fusible interfacing on the bias and ironed them into place. Because it’s cut on the bias it follows the curves nicely. I purposely made them a few millimetres wider than the seam allowance of 1cm so when stitching the sleeve into the armhole you will be stitching through the interfacing to control the seam. (Actually would have been OK to cut them a smidge wider at 1.5cm.)
BUST DART – sewing
Stitch the French dart, and cut open the S/A a bit further towards the apex and gently press OPEN. (The pin marks the end of the dart.)
BODY – sewing
Close shoulder seams, side seams, underarm seams of sleeves.
Trim the bulky bits away! This is where the dart intersects at the side seam. Press open.
Set in the sleeves.
HEMMING – sleeves and the hem
If you are going to hem the sleeves and/or the hem, trim away the bulk and blind hem by hand. (Follow the instructions in your pattern for hemming, but leave out the neatening stage.)
Or Just leave your hems raw and unfinished.
COLLAR – sewing
Close CB seam of the collar and gently press open.
With RST attach the collar to the neckline (as described in instructions). Press neckline seam OPEN.
NOTE: I edgestitched the seam allowance on the body side of the seam, to flatten it a bit. Personally, I prefered the look of the garment without the edgestitching, but if you have bouncy seam allowances that won’t behave, edgestitching them flat is going to be the answer. You could actually twin needle the seam, with a row of stitching either side of the neck seam.
Fold the free edge of the collar to inside side to cover seam and allowances. Stitch in the Ditch of the seam from the right side to hold the collar in place.
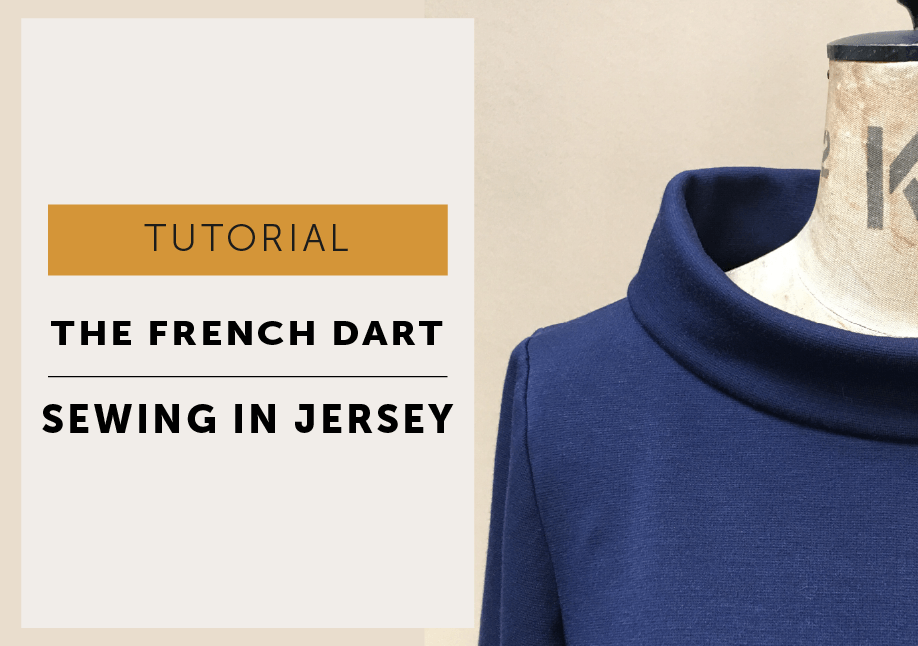
Can you sew the French Dart Shift in jersey instead of woven fabric? Yes, and this post explores how using jersey gives the pattern a softer, more relaxed feel while keeping the clean silhouette that makes the French Dart so wearable. From choosing the right knit fabric to thinking about fit, stretch and finishing techniques, we share how this simple pattern adapts beautifully into an easy everyday piece that feels comfortable, modern and surprisingly versatile.
Firstly, this pattern is not designed for a jersey. So the darts are staying and the knit fabric is more for cosiness and comfort, rather then body con type fit!
Second point…I bought this Ponte online and I’m not a huge fan of it. It feels very acrylic-y but for a toile type garment, it does the job. This particular Ponte reminds me of my girls’ school uniform sweatshirt fabric, although it actually sewed up quite nicely.
I chopped my dress pattern shorter (by 12″) so it would be a hip-length top without pockets and made with a 3/4 length sleeve (tutorial here). I had ideas of looking Audrey Hepburn-esque. I stitched the hem in red so it would show up, but school uniform Ponte combined with red stitching actually makes this top look less Audrey in Paris and a little more like British Airways crew outfit. Enough of the styling tips and on with the tutorial…
SEWING JERSEY TIPS
Always use a ballpoint needle so you don’t get skipped stitches.
I used a walking foot, which helped but I don’t think it was essential.
Use a stretch or ballpoint twin needle to create a faux coverstitch for the hem.
Use a stretch stitch.
Test your stitching on a scrap bit of fabric first. Stitch in both directions, along the selvedge and across the width of the knit, to make sure your stitches don’t crack when you pull them. Tension and stitch settings will vary dependant on your machine and your fabric. Sorry, but you need to get friendly with your manual!
Don’t pull and stretch your fabric as you sew.
If your seam goes a bit wavy after stitching, very gently steam and press flat.
My machine tried to swallow the garment into the footplate at the beginning of a seam, so I placed a piece of paper under the garment before stitching. I had some heavy tissue paper handy but the off-cuts from printed Indie sewing patterns would be perfect!
STITCHES
There are a couple of options for stitching your seams.
TEST YOUR STITCHES ON A SCRAP OF FABRIC FIRST! I have since written a post on SEWING WITH KNITS – HERE.
stretch stitch (sometimes called lightning stitch)
zig zag on a narrow width and 2.5-3mm length (I used this as was quicker than the lightening stitch, and set my stitch width to 0.5 and stitch length to 2).
I also tested just using a straight stitch, and it was OK on this fabric (stretch as you stitch) but probably not very reliable on a stretchier jersey.
Overlocker – you can cut, sew and neaten your seams all in one go. 3 threads are usually just used for neatening seams, 4 (or 5) threads for all in one seam stitching as it makes for a stronger seam. The pattern has 1cm allowances for the body and 6mm at the neckline so be sure not to cut off more than you should!
To neaten your seams either use a zig-zag or overlock together. You could in theory just stitch and leave them raw as the fabric doesn’t really fray, but it seemed a bit lazy.
Sewing The French Dart shift In Jersey
METHOD
RST: right sides together CB: centre back S/A: seam allowance
FDS: French Dart Shift WS: wrong side
Refer to your Maker Instructions for detailed descriptions of general methods.
Pre-wash and press your fabric, lay up and cut out carefully.
The collar would normally be cut on the bias for a woven cloth. For a knit fabric cut instead on the straight of grain with the shortest edge of the pattern parallel to the selvedge.
Tape the neck as described in your FDS Maker Instructions. (This style has a wide neck and we don’t need (or want) it to stretch. If you are ever making a t-shirt style that stretches to pull over the head DO NOT TAPE the neck!)
Make all the darts.
TAPE THE SHOULDERS
Measure a piece of stay tape against your pattern by laying on the shoulder line, including the seam allowances. Pin the shoulders with RST and place the tape in place on the stitch line and stitch the shoulders together through the stay tape. Press the shoulder seam open.
Close the side seams and underarm sleeve seams. Neaten together.
Set in the sleeves.
ATTACH THE COLLAR
Stitch CB collar seam, do not neaten. Press seam open.
Fold collar in half with WS together, so raw neck edges are aligned and the seam allowance is enclosed inside the collar.
With RST pin collar onto the body, align collar and body notches and CB collar seam with CB neck.
Stitch together with a 6mm S/A, neaten and press S/A towards the body.
OPTIONAL
Ready to wear t-shirts and sweatshirts often have a row of stitching at the neckline to hold the seam allowance flat. You can twin needle or edgestitch the neckline to mimic this if you wish. Confession: Proceed with caution, I broke my only twin needle when I hit the CB seam, so I continued with an edgestitch. Both look good!
HEM
The pattern has a 3cm hem allowance, press to the WS.
Twin needle the hem (I overlocked the raw edge first), again follow your machine guideline and test. My machine and a twin needle meant not using the walking foot and sewing at a slower speed.
POCKET
As I made a top it was too short for pockets. Side pockets in jersey generally ring alarm bells for me. It’s perfectly possible to do the pockets but also possible the weight of the jersey bag will be lumpy or droopy under the dress or the pocket mouth will stretch and not sit flat. The final result is really going to depend on your fabric and your sewing skills.
If you made a dress version and want to add pockets, I did a test sample. I’ve followed the basic instructions for the FDS pocket but overlocked the side seam together rather than open. *I also didn’t fuse the pocket mouth, unlike the woven version, just to see what would happen really. It was OK but this Ponte is very stable, although next time I would put a small spot of interfacing at each pivot point for extra reinforcement. Again test your fabric to see what works for your jersey, and remember to use the knitted kind of interfacing.
*If in doubt just interface the pocket as the instructions and you could always add an extra strip for the back pocket mouth if you think your fabric needs it.
Attach the pocket bags to the body, but don’t overlock.
Understitch the front pocket bag
Pin front and back with RST and stitch side seam and around the pocket bag. Reinforce at pivot points.
Neaten the side seam and around the pocket bag together.
Overall I’m rather pleased with sewing The French Dart Shift in jersey. The collar is lovely in knitted fabric and it makes a very cosy and comfortable little top now that Autumn is upon us!


