
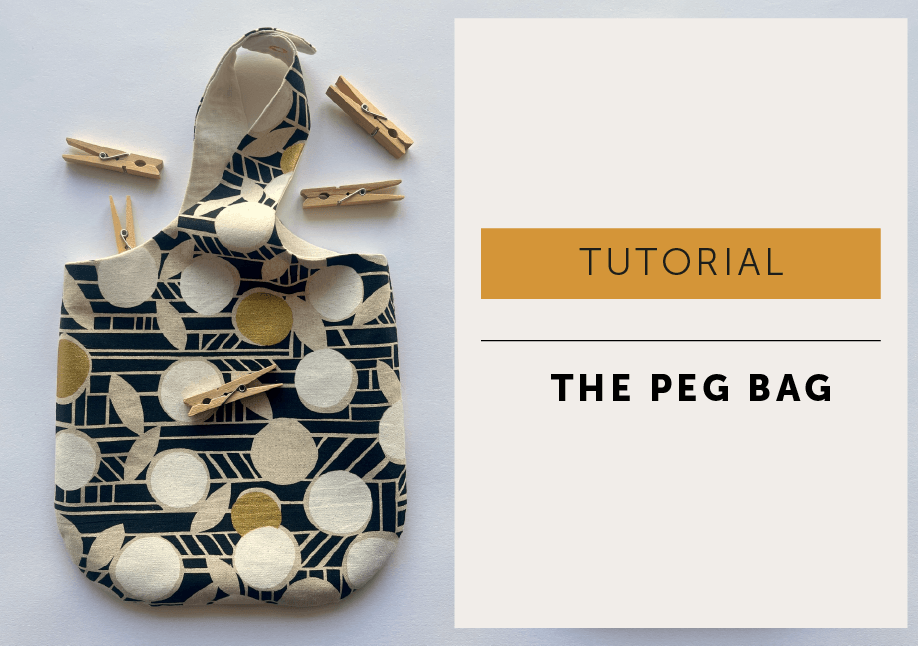
Make a marvellous peg bag with our quick and easy to sew PDF sewing pattern. It’s super easy, is very handy and makes a lovey gift or a cute little evening bag in the right fabric.
More about the peg bag pattern. I’ve had mine on the go for years. You see I like pretty things but they do have to be practical. Things you touch and use everyday should not be ugly or annoying. I really took that William Morris quote to heart.
“If you want a golden rule that will fit everything, this is it: Have nothing in your houses that you do not know to be useful or believe to be beautiful.”
William Morris
And who doesn’t like their washing drying outside while wafting in the gentle breeze of a summers day? Now, I know not everyone can or wants to hang their washing out to dry, no judgement here, but it is still quite handy for storage of those odd bits and pieces.
The Peg Bags actually turned out to be a really popular sew as a gift. The handle is big enough to hang over your arm and grab a peg with ease and the popper means you can actually hang it off the washing line for full hands-free freedom.
It’s also a great little skill builder and the perfect beginner sewing project if you are new to sewing and just want to get used to sewing on your machine without having to worry about fitting a garment. The pattern makes a lined/reversible bag, but you could make it unlined by cutting a single layer and just binding the raw edges to finish. And to be very Eco-conscious you could use up scraps of fabric by adding seams (don’t forget to add the seam allowance!) to the pattern so you can use up those smaller bits of fabric. And feel free to embellish your peg bag with embroidery or appliqué to make a really lovely personalised gift.

How to Make a Peg Bag with our PDF Sewing Pattern
Tools
- The Peg Bag PDF pattern – sewing pattern available here.
- The Pattern Prints on 4 sheets of A4 or US letter sized paper.
- 10 page Maker Instruction Booklet (in English). You can print your instructions or view the pattern instructions on a screen, or just follow the instructions below.
- We have a Printing Tutorial here if you are new to PDF patterns.
- You will need all the usual sewing stuff…a sewing machine, iron, decent scissors, pins, tape measure etc.
Suitable fabrics
MAIN FABRIC Any stable woven fabric will be fine, so have a good rummage through your stash but keep in mind it will need to be sturdy enough to hold its shape reasonably well. I’d suggest Denim, linen, quilting cotton, those kinds of fabric.
LINING/INNER FABRIC you could use the same as your outer fabric or if you have quite a heavy main fabric balance it with a lighter weight contrast fabric. I’m imagining a denim outer with a cotton lawn contrast lining.
Fabric Requirements & Haberdashery
MAIN FABRIC (for outer shell): 1 piece x 50cm deep x 60cm wide (20″ x 24″)
CONTRAST FABRIC (for lining/inner shell): 1 piece x 50cm deep x 60cm wide (20″ x 24″)
IRON ON INTERFACING: 1 piece x 28cm deep x 60cm wide (11″ x 24″)
LARGE PRESS STUD – mine is 2cm (3/4″) but use what you have or you could do a button and buttonhole
MATCHING SEWING THREAD – I’ve used a contrast so it shows in the photos
Abbreviations
RST: right side together / RS: right side / WS: wrong side / WSU: wrong side up / SA: seam allowance

01. Prepare your pattern.
Tape your pattern together and cut your pattern out using the black line. The grey line is the stitch line.
You will need to join the interfacing pattern together.

02. Cut
PATTERN A – Cut 2 in main fabric for the outer shell
PATTERN A – Cut 2 in contrast fabric for the inner shell/lining
PATTERN B – Cut 2 in INTERFACING
TIP: At each notch remember to make a small snip in the seam allowance (SA)

03. Apply the interfacing
CONTRAST FABRIC – place interfacing to wrong side (WS) and iron into place to reinforce handle and top edge

04. Time to sew!
Press as you go! I can’t stress this enough for any sewing project but taking the time to press anything you stitch will give you a much better result.
MAIN FABRIC/outer shell – place with Right Sides Together (RST) and stitch with 1cm seam allowance (SA) around the bucket. Press the seam.
Trim the SA down to 6mm (1/4″) at the curve so it will lay flat when turned to RS.
More to Sew …


05.
CONTRAST FABRIC/inner shell – place with Right Sides Together (RST) and stitch with 1cm SA around the bucket STOPPING at the notches to leave an opening in the base. Press the seam.
Trim the SA down to 6mm (1/4″) at the curve so it will lay flat when turned to RS.

06.
Turn the shells through to RS and press seam.

07. JOIN INNER & OUTER SHELLS TOGETHER
Turn the inner shell inside out so WS is facing you.
Slide the outer shell inside the inner shell so RST, aligning the raw edges, notches and at the seams.
Stitch with a 6mm SA. Press the stitch line.
TIP: If you’ve taken a slightly bigger seam allowance on the curve of the strap or have bulky fabric trim the SA down to a scant 6mm (1/4″) at the curves so it will lay flat.

08.
Turn through to Right Side (RS) by pulling the outer shell out through the hole left at the base of the inner shell.
The straps can be a bit fiddly to turn through but you can use a chopstick or something similar to help poke them to the RS.

09.
If you are making a reversible bag the seam should sit exactly on the side so it neither favours the inner or outer shell. If you are making it as a lined bag roll the inner shell lining slightly to the inside of the bag.
Press the seam.
I’d normally do an understitch to help hold the lining but it’s quite fiddly so I’m happy to skip it on this occasion and just give the seam a good press.
If your fabric doesn’t press well, giving you a nice sharp edge, or doesn’t stay flat, consider edgestitching/topstitching around the opening and handles.

10.
Close the opening in the base of the inner shell with a slipstitch.

11. Stitch the press stud securely in place. Or use a button and buttonhole if you prefer.
A quick final press and you’ve finished!
I hope you are very happy with your lovely handmade peg bag!
Have you seen our free Eye Mask PDF Sewing Pattern? Take a look HERE.
More to Sew …


