
How to make a pocket former.
One of the tricks I learnt after first leaving college (when I was still just a lowly Design Room assistant) was how to make patch pockets perfectly EVERY time – even when they have curved bottoms! I worked with some great sample machinists, who showed me this little trick. Of course, they let me do it wrong a few times before revealing the easiest way in the world.
If you have downloaded The Maria Apron PDF pattern, or the Wendy Smock Pattern you will already have seen the pattern piece labelled POCKET FORMER with the instruction to cut in card only – this is the same shape as your patch pocket pattern piece but WITHOUT THE SEAM ALLOWANCE and ladies that is the trick – just press your pocket AROUND a piece of card cut to the correct shape!
If you are using a pattern from another designer and don’t have a pocket former pattern piece – fear not! Just trace off your patch pocket pattern piece (or print an extra – oh, the joys of PDF patterns) and cut off ALL the seam allowances to follow along, but do remember to keep the original pocket pattern.
A MRS MAVEN TOP TIP: This is the same method that I used to ‘card’ my design patterns ready to send off to the factories for mass production. So feel free to card the whole pattern if it’s one you use a lot, it’ll last forever!!
If you are looking for a little help to make and stitch your pockets on The Maria Apron or The Wendy Smock, see our patch pocket tutorial here.
To make a pocket former template in card you will need:
- One patch pocket FORMER pattern piece (or a pattern WITHOUT seam allowances)
- A piece of card bigger than the pattern piece, a cereal box is good.
- Stapler ( and a stapler extractor is useful)
- Ruler, paper scissors and pencil

Take your POCKET FORMER PATTERN PIECE and fold in half. Take your piece of card and fold in half scoring the fold flat – I use the handle of my scissors.
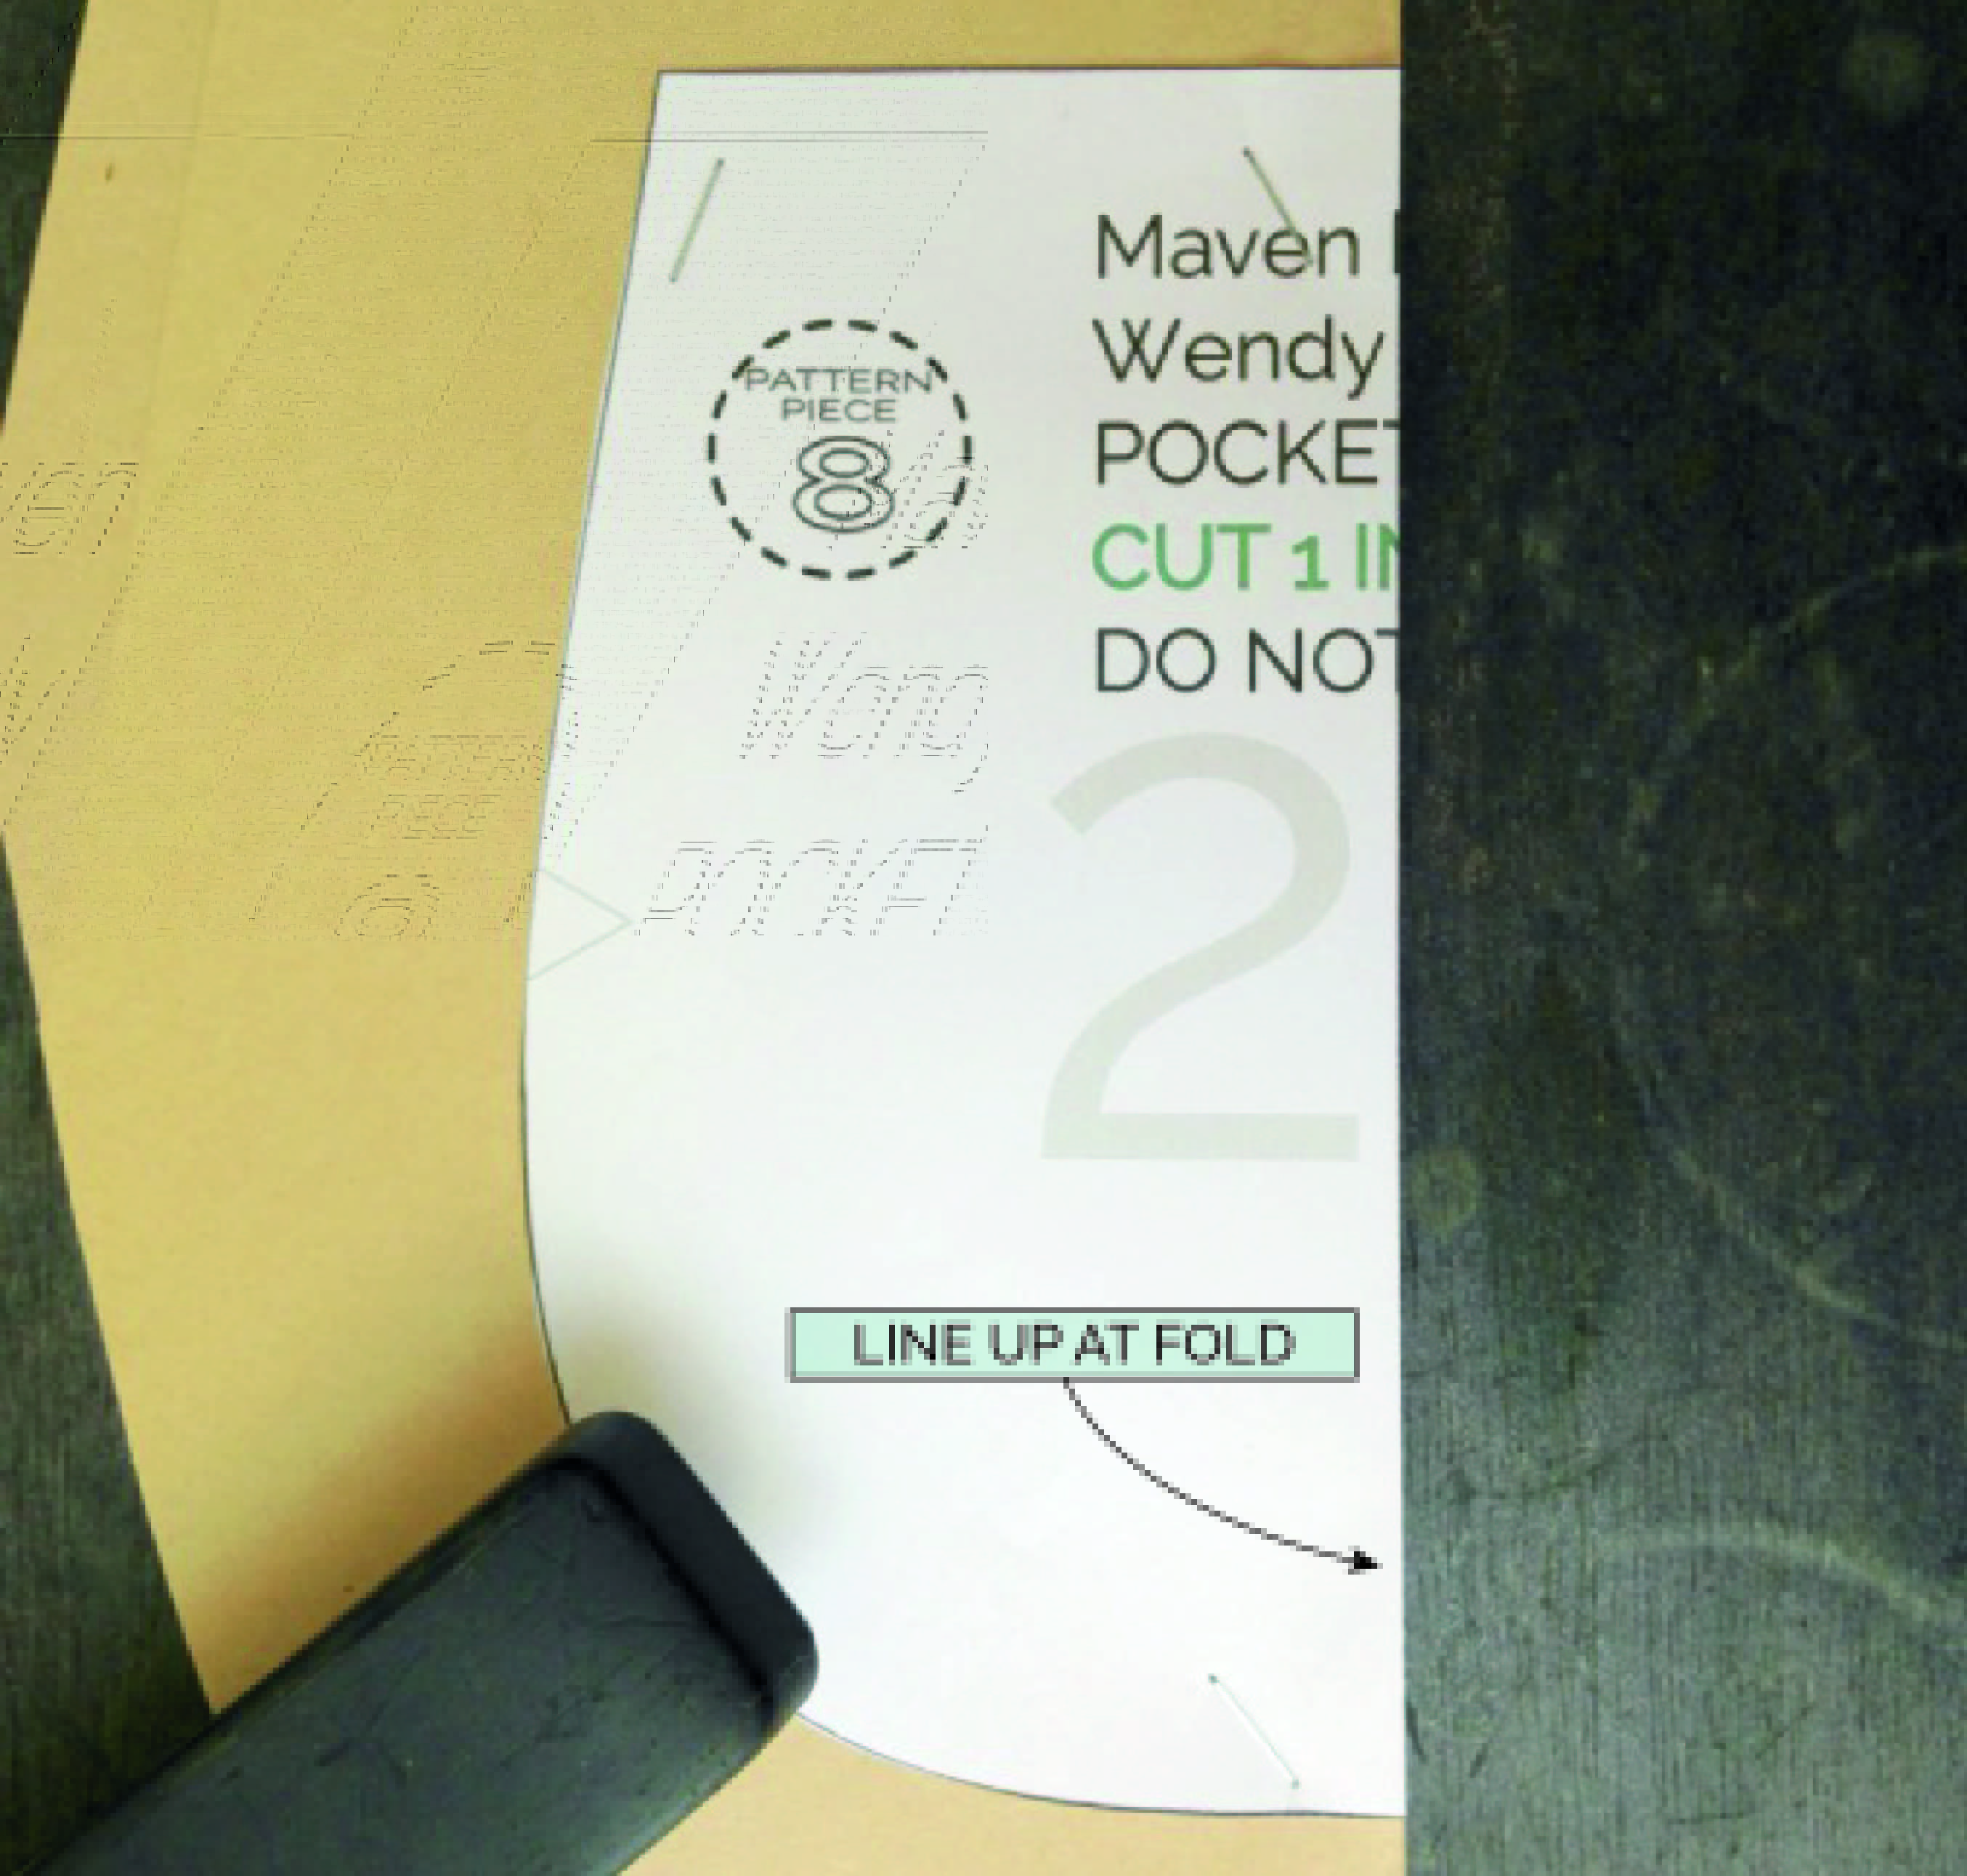
Place together, make sure the folded edges of both are aligning or your card template will be the wrong size later! Staple to hold in place.


Use the ruler and trace around the outside edge, taking care that you make a right angle at that centre fold line or you’ll get an odd pointy shape in the centre when you cut out the template.Cut out carefully. Because you are cutting it out while folded you know both sides are going to be symmetrical.

Un-staple and remember to write which pattern it belongs to!
So now what do you do with it?

Lay your card pocket former template on your pocket and press the seam allowance all the way around. You’ll get a smooth matching curve on EVERY pocket you make.
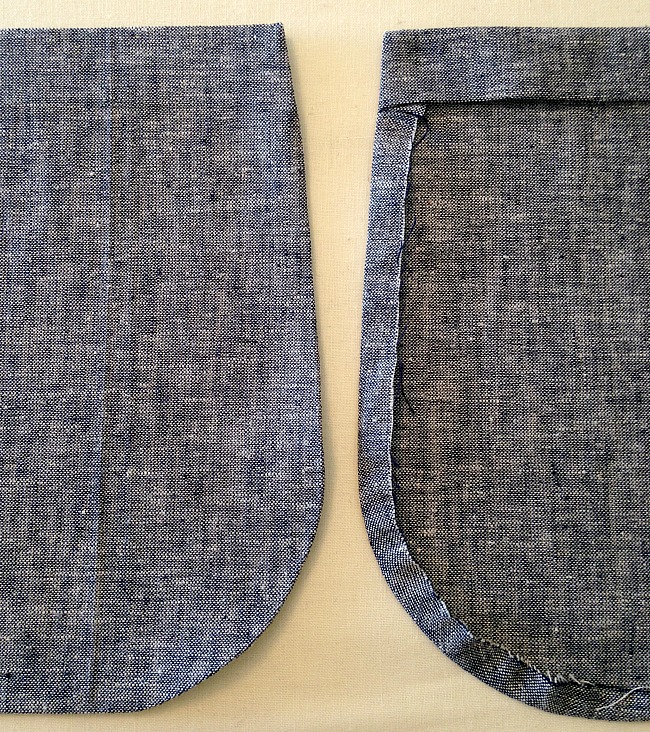
Oh, Look they match…how delightful!! Now all you need to do is stitch them on!
Need a little help attaching your pocket, maybe bagging out the corner or with the reinforcement stitch? Take a look at our Patch pocket Tutorial.
Happy Sewing!
Mrs M x

Hello !
This is the first time I have downloaded a pattern from Etsy. Your helpful hints are well worth it. Can’t wait to go in my stash and find some fabric for my project.
Hi!
I’m so glad you like all the tips, I hope you enjoy making your Smock!
But, how do should you measure to place them?? Mine are a bit off. Do I fold the dress, do I measure from the side seam, place straight or angled, help! Thank you!
Hi Abena! Ideally, you would have marked the pocket position before unpinning the pattern after cutting out, it’s easier to sew patch pockets on before the garment is made up as you can lay it out flat. If you are adding pockets when the garment is made you do need to do a lot of measuring. You can tack one pocket on first and check you’re happy. Fold your dress in half if possible and push through some pins to transfer the position to the other side, and then lay it as flat as possible and measure to double check they look the same. I would measure from the side seam and up from the hem. You can do them straight or angled, depends on how they look on your garment and what you like! I tend to go angled for big pockets and straight for smaller patch pockets. Hope that helps!
[…] paper and cut away all S/A. Templates are a great way to ensure consistency for topstitching or pressing patch pockets.13. You’ll need to flip the template over to mark one side of your garment. Line up the edge […]