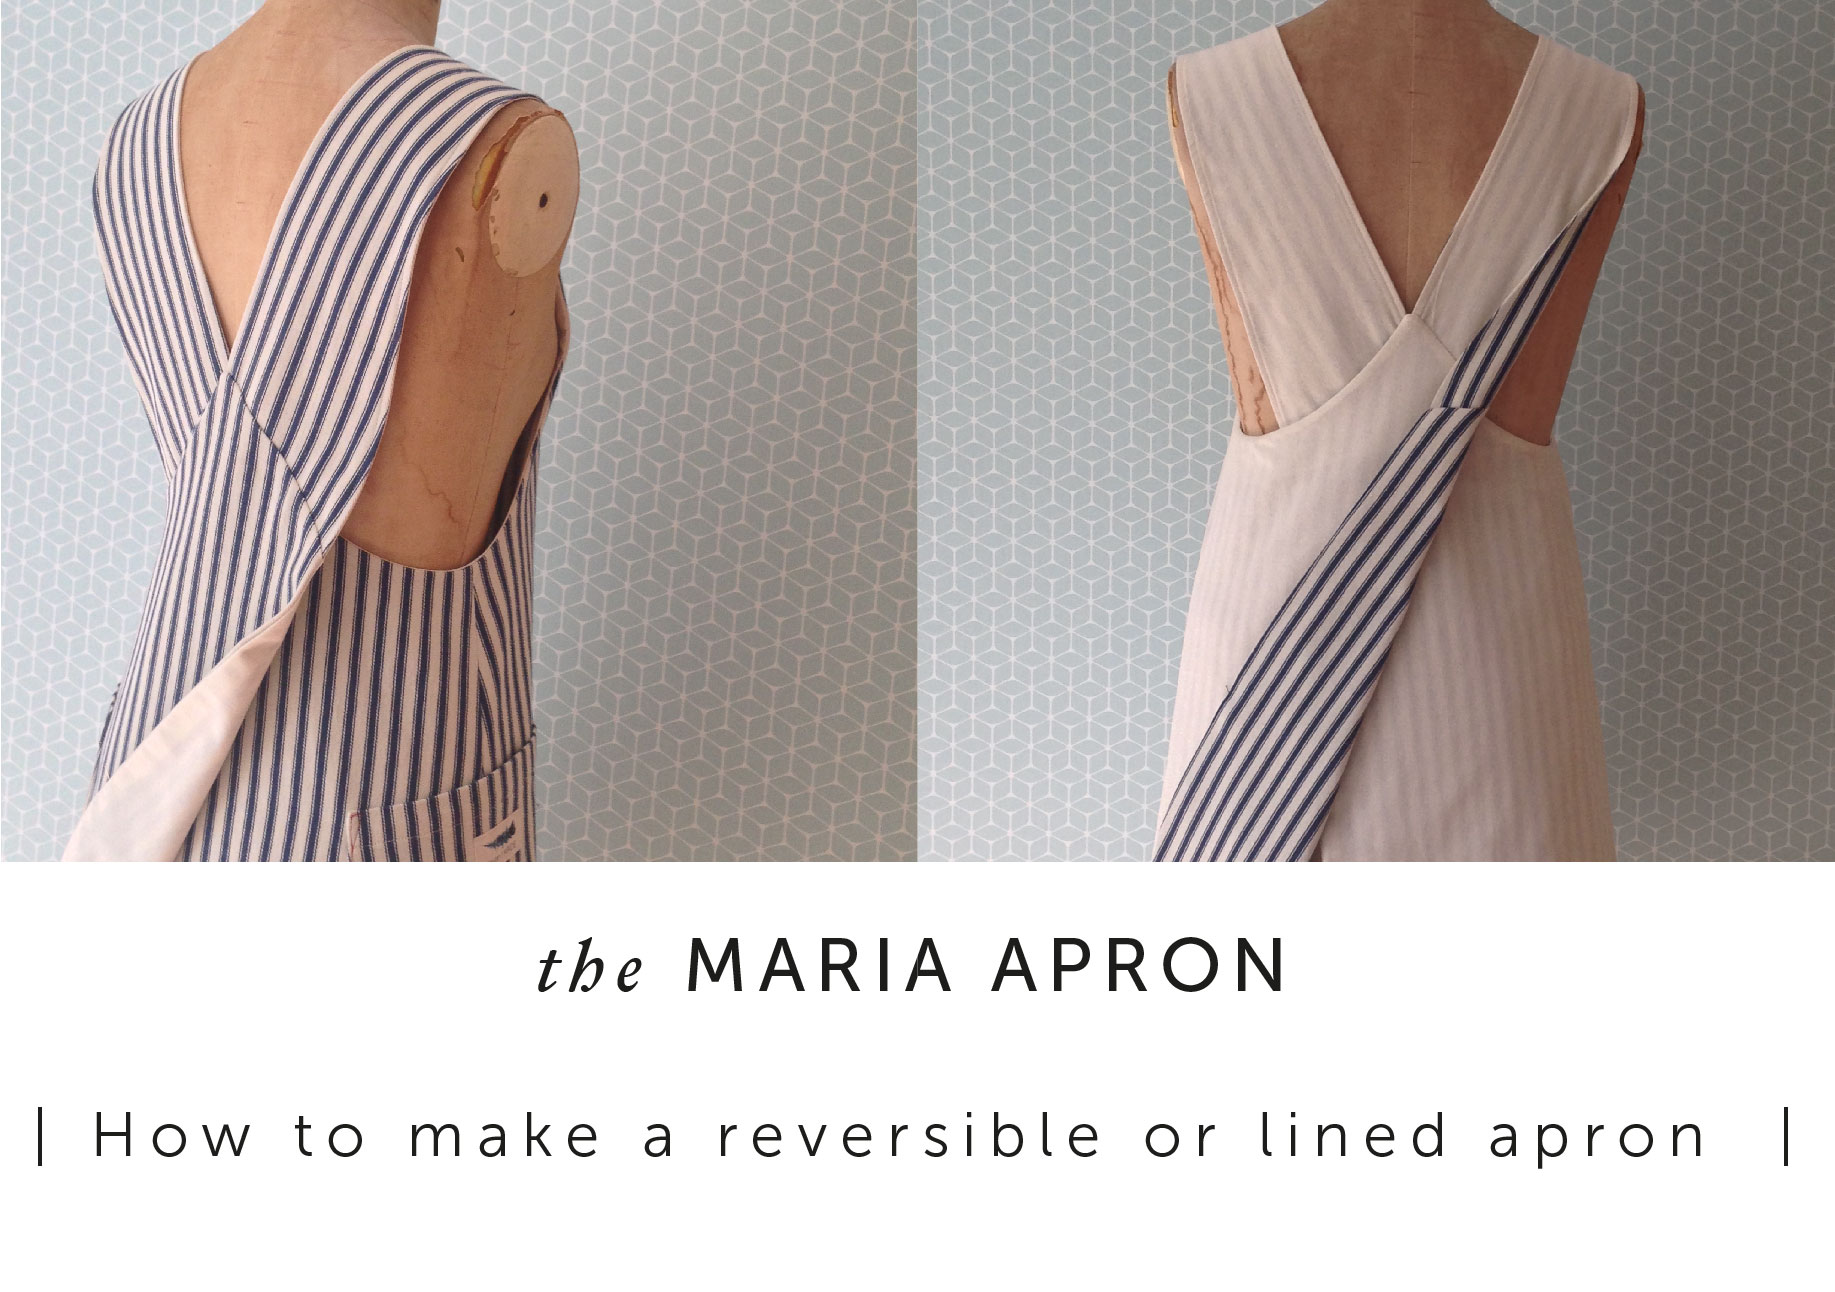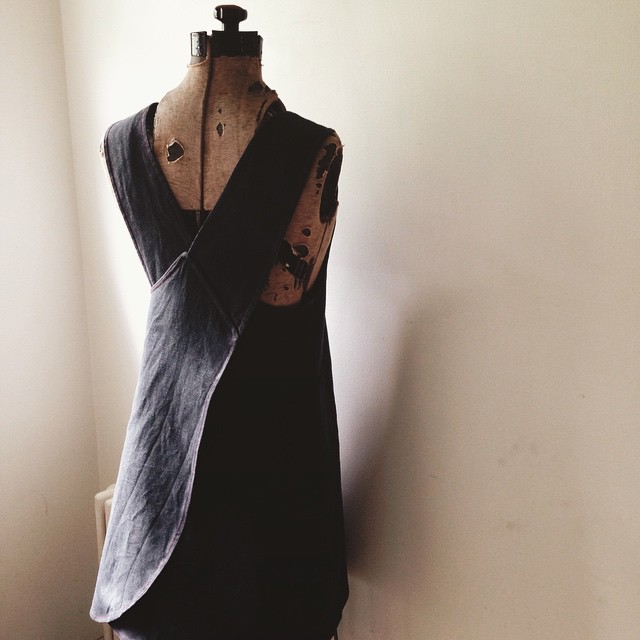

Oh wow! This photo tutorial has turned into a monster tutorial on how to sew the straps and facing for The Maria Apron!
You will need to have followed the instructions included with the pattern so the side seams are closed and neatened, the pockets attached and the facing is made.
Contrast | I have cut the UNDER STRAPS and the FACING in a contrast fabric so it is easier to see in the photos and that’s a good option to consider if you are making an apron in a heavier denim.
Interfacing | The facings are BLOCK FUSED as described in the pattern. I haven’t put any interfacing in any of the straps for the aprons I’ve made to date, and the pattern doesn’t suggest it, but if you are using a lightweight fabric you can BLOCK FUSE the understraps so they have a little more body and are a little more robust.
Abbreviations |
SA | seam allowance RS | right side RSU | right side (of fabric/garment) up RST | right sides together CB | centre back
Make the straps |
 You will have cut one pair of TOP STRAPS (has a single notch) and a pair of UNDER STRAPS (has a double notch). The under strap is slightly narrower than the top strap so that the seams roll to the underneath and not show on the front and give a professional finish!
 For each strap: Place one under strap and one top strap with RST and stitch together along the longest seam with a 6mm SA. (it doesn’t really matter if you stitch the other seam first, but do try to be consistent!)
 Press the seam flat and then press SA towards the under strap.
 Understitch on the under strap, close to the seam line and through all the seam allowances.
 With RST close the other seam and press flat.
 Turn the strap through to RS.
Press the seam so that it rolls towards the under strap. I haven’t topstitched this apron as I’m going to do some hand stitching on it later, but if you wish to topstitch your straps now’s the time!
Attach the facing |
With RST pin the facing to the apron body at the armholes only and stitch the seam closed with a 6mm SA.
 Press the SA towards the facing and understitch. Gently press the armhole without stretching.
Place the straps |
This bit can be a smidge confusing, so first of all, we will just roughly pin the straps in the correct place and make sure they are not twisted. After, we will go back and pin them in exactly the right place to sew them.
*a little side note | in the booklet instructions I have illustrated the apron RSU, below I’ve photographed it WSU – it doesn’t really matter which way you do it, it’s just to get those straps placed and laying correctly (it would make sense for you to follow one set of diagrams though!). The key point is to ensure they are not twisted and when they are finally being stitched in place the straps and apron are RST.
 Lay your apron body on a flat surface and place the straps as in the photo above. Make sure you use the double notches (marked in pink) to get the correct strap to the correct back.
 Use one pin to hold each strap in place.
 Take the strap on the right and pin to the opposing front position.
Repeat for the 2nd strap. At this point, you can check the straps are not twisted and are crossing over at the back.
Sewing the straps |
The important thing to realise when placing the straps ready for sewing is that you have to think about where the final stitchline will be.
I’ve marked in the SA with chalk as it helps to get the strap in exactly the right place – everything needs to meet at those intersecting SA/STITCHLINE points. Because the straps are on an angle it can be tricky to get your head around making everything line up, but all you have to do is to work to the FINISHED STITCHLINE when placing the straps – if you don’t get that point snuggled right up against the facing that’s when you can get a step or a lump.
Back straps |
 Place the straps to the apron with RST (check your notches are still at the same end).
 Place the strap right next to the facing – make sure it is at the 6mm stitchline point that you are concentrating your effort on (SEE THE RED ARROW ABOVE!). Pin to hold.
The other end of the strap needs to be placed on the point where the 1.5 cm SA/CB line (marked in white) intersects with the 6mm SA / STITCHLINE on the UNDERSTRAP (the red line). (See the RED ARROW again!)
Tip | Unless you have been super accurate with cutting and sewing so far your notches may not exactly match up – that’s OK. Their main purpose was to get the strap placed the right way around, so if they are a little bit out don’t worry – concentrate on placing the end of your strap to the CB line. (If they are a lot out- go back and check against your pattern as you may have stretched the top edge or taken the wrong SA somewhere.)
Pin or machine baste in the SA to hold.
 Wrap the facing around the end of the strap, so the SA and stitching will be to the wrong side of the finished apron.
 Pin the facing to the body.
Front straps |

Take one of the front straps you had temporarily pinned previously, unpin and take the strap around to the front of the apron, so they will be RST.
 Place the front straps and apron body RST, slide the strap underneath the facing and keep the facing out of the way!
 Nestle the front strap right up to the facing at the 6mm SA/stitchline point and pin or machine baste strap in position.
 Wrap the facing tightly around the strap. Pin, keeping the SA and stitching on the same side as the facing so it will be to the inside of the finished garment. Repeat for the other front strap.
And pin across the front facing.
Stitch & trim the facings | Use a 6mm SA and stitch across the front facing. Trim at each corner to reduce bulk.
Use a 6mm SA and stitch across the top of the back facings. Close the CB seam with a 1.5cm SA. Trim corners to reduce bulk.
Tip | if you are using a heavier fabric and the corners are really thick, you can gently bash them with a hammer to soften. It’s a good idea to sandwich your garment between a layer or two of spare fabric for a bit of protection first!
Now you just need to turn through to the right side and press.


The facings and understrap should not be visible from the front.
Finish the facing! |

While you’re here I may as well show you a picture of the final facing stage!
Once you have pressed your facing, pin through the SA at the underarm so the body side seam is directly on top of the facing side seam. ‘Stitch in the ditch’ of the seam to stop your facing poking out while it’s being worn. I’ve used a contrasting thread but in a matching colour it will completely sink into the groove of the seam and disappear.


