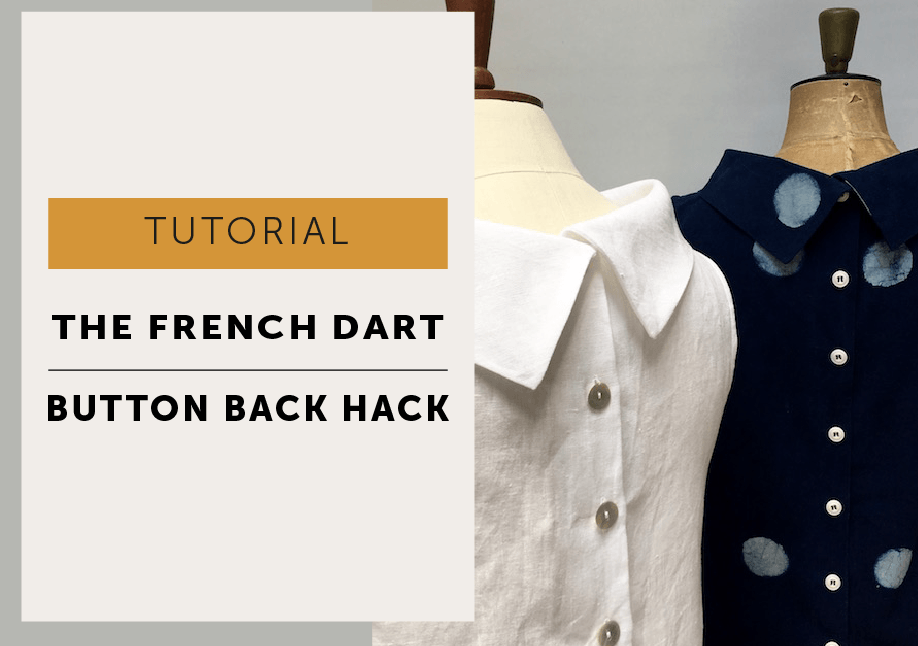
How to add buttons to the back of The French Dart Pattern
How do you turn The French Dart into a button-back top or dress? This pattern hack shows you how to add a button placket to the centre back, adjust the collar to fit, and finish the garment neatly with functional buttons and buttonholes. It’s a simple way to create a completely different look from the same pattern while keeping all the easy-to-wear shape of the original French Dart.
The French Dart Shift is possibly the most versatile pattern you will ever sew with and I this hack has become one of our most popular sewing and pattern hacks ever.
I originally made the Indigo Moon spot sample for The Festival of Quilts as I wanted to showcase the Corozo buttons that Mr.M had sourced. Corozo is a natural, sustainable product that works in harmony with the rainforests of Equador, and as it is an excellent alternative to plastic buttons so we felt it was an important message to share.
The sample and the buttons proved to be very popular and there were lots of requests for a tutorial on adding a button placket. The buttons and buttonholes are functional, but you don’t need to undo them to get the top on and off. I’ve added the buttons down the back of the garment, you could just as easily use these instructions and have them down the front instead. I’ve made this French Dart as a top but you could make a button through dress version, just be aware of how much ease you have in the hips and bum area – too little and your buttons and buttonholes may strain or pop open when you sit down! I made the top sleeveless – it was the height of summer here in England – you know that 3-day window where the sun shines consistently before normal British weather resumes when dressing involves sunglasses, factor 50, a cardigan and canoe, because who knows, but best be prepared?! I made no alterations to the pattern to make it sleeveless, just left the sleeves off and bound the armholes.
HABERDASHERY for a top
For all sizes: 1.5m of 150cm wide fabric (you will have enough fabric to cut out short sleeves if you don’t want a sleeveless top).
Indigo sample: Indigo Moon Fabric, 7 Corozo buttons – 24 ligne (15mm) || white linen sample | the linen was found in Ikea bargain corner, 7 Agoya shell buttons in natural – 24 ligne (15mm)
TOOLS: French Dart pattern, paper, scissors, tape, buttons, lightweight interfacing, buttonhole foot, and the usual sewing stuff!
ABBREVIATIONS
CB: centre back | CF: centre front | WS: wrong side | WST: wrong side together | RST: right side together | RS: right side | SA: seam allowance
THE PATTERN
First, you’ll need to alter the pattern. As always when altering a pattern trace off a copy so your original stays intact (if you have the PDF version you can always print another). Copy the collar, back and front but don’t cut them out yet.
I left out the back darts to make it a slightly boxier shape.
Decide on your length. I made the CB finished length (the length when it’s all sewn up and not including any seam or hem allowance) 60 cm and added a hem allowance of 4cm (pattern length including hem and neck SA – 64.6cm). No need to overcomplicate this bit, I just measure up from the hem in several places and draw a new line before chopping off the length. The only things to be aware of are;
- make sure the new line intersects the CF and CB lines at right angles to stop weird pointy angles.
- make sure your side seams are the same length and run smoothly around the body, again to avoid weird pointy angles.
ADDING THE BUTTON PLACKET
Working on the BACK BODY of your copy pattern, mark the CB line in a red to make it clear (the original ‘cut to the fold line’ is the CB).
Draw a line 1.5cm away and parallel to the CB line, creating a button placket. This will be the folded edge.
Draw another line 4.5cm away and parallel to the fold line, this makes the back facing.
*I used 15mm buttons. If you are using bigger/smaller buttons you can adjust the width of the placket and facing to accommodate your buttons and buttonholes.
When the facing folds back into place it should be the same shape at the neck and the hem as the main body. Fold the facing along the fold line so it sits in place, pin to hold and cut through both layers of paper. Make sure the neck and hem intersect the fold and CB at right angles. When you unfold the facing it will be exactly the same shape as the body. Make a notch in your pattern on the fold line at the neck and hem.
Fold up the hem in the same way before cutting out to make sure it is the same shape as the body when folded into place.
COLLAR
As we have extended the CB by adding 1.5cm for the placket, we need to add the same amount to EACH end of the collar so it still fits. (Don’t worry about the seam allowances as they are already on the pattern, just add the 1.5cm.) Remark your notches.
INTERFACING
Cut a strip 5cm wide and the length of your CB pattern and press onto the WS of the facing. By making the interfacing slightly wider than the facing and you’ll be able to press a nice sharp fold in your fabric.
CUT AND MAKE
Make your French dart according to the instructions.
- Stay tape the neck – for the back neck use half the given measurement and add 1.5cm, or finish the tape at CB if you forget as I did 😉
- Close and neaten French darts, shoulder and side seams. Leave out the back darts for a boxier shape top.
COLLAR
Press 1cm SA on the long edge to WS (STEP 14 in the instruction booklet) and pin in place.
Mark the midpoint between the SA notches.
Keep the 1cm SA pinned in place and fold collar RST in half at the midpoint, align the SA notches.
Close CB collar seam with 1cm SA, keeping 1cm SA folded in place and 6mm SA hanging free below.
Trim top corner to reduce bulk.
Turn through to RS and press seam so as not to roll to either front or back but to sit right on the edge.
FACING
If you haven’t already, apply your interfacing to the facing.
Neaten (overlock or zigzag) the edge of the facing. Press facing to WS and pin to hold at the neck edge.
ATTACH COLLAR
Place collar RST with body aligning the 6mm SA edge with neck edge. We are just attaching a single layer so keep the other side of collar free. Align notches and place the back seam of collar flush with the folded edge of the facing (you don’t want a step!). Stitch collar to the neckline with 6mm SA.
Trim corner of SA to prevent bulk.
On the WS of garment bring the free edge of the collar to the neckline to cover the stitching by 3mm and enclosing all the SA. Tack and then stitch in the ditch from the RS to finish. This is the same as our usual method of attaching the collar – we are just enclosing an end.
HEM
I allowed a 4cm hem allowance. I pressed it to WS by 4cm and then pressed the top raw edge under by 1cm and topstitching it at just under 3cm making it a clean-finished hem.
TOP TIP – Make sure your backs are EXACTLY the same length now before you make the buttonholes.
BUTTONS & BUTTONHOLES
I’ll only briefly explain how I mark my buttons and buttonholes because that could be a whole post by itself!
I always mark my button positions first (on the side of the garment to be buttonholed) and then mark my buttonholes around them to get the correct spacing. My first button was 1cm below the neck seam (my buttonhole foot wouldn’t sit any closer to the seam) and I had an 8cm spacing between each button.
I did my top buttonhole horizontally and started it 3mm to the right of the CB seam to allow the button enough space to sit on the CB.
The other buttons were all vertical and positioned centrally to the button positions on the CB line.
Once the buttonholes are made and cut, I pin the back bodies WST and push a pin through each buttonhole and mark a dot on the other side to show where to sew each button.
And there you have it, yet another garment from the French Dart Pattern!
More to Sew …


 We are celebrating 5 glorious years of The French Dart this week!

 AUDREY HEPBURN | I admit to having a slight obsession with this jumper from Breakfast a Tiffany’s (1961). Givenchy is credited as principle wardrobe (not sure if that includes the jumper) with Edith Head as costume supervisor


