Posted on

How to Sew a Curved Hem

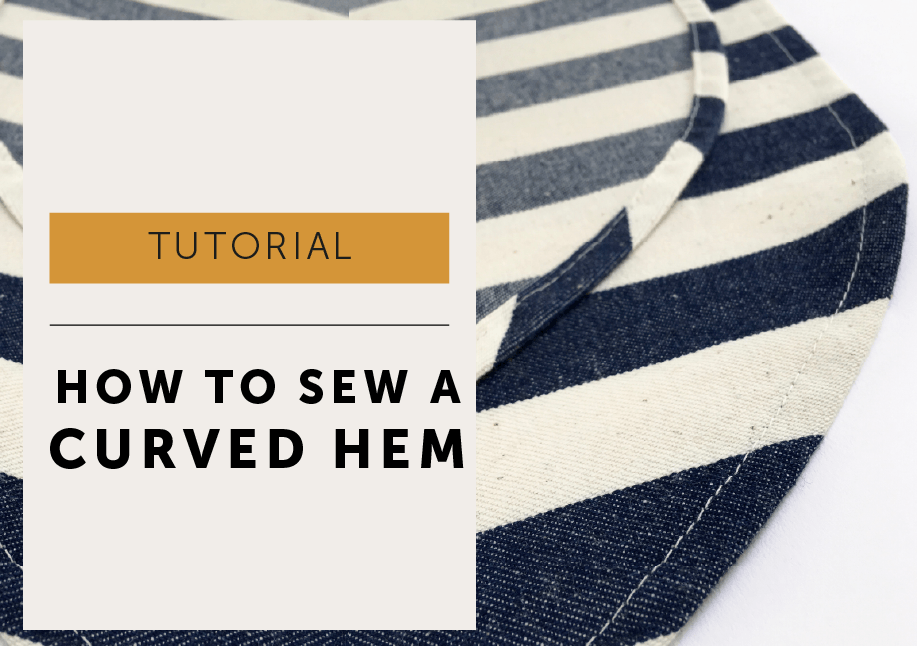
The Maria Apron Hem Tutorial

I’m going to show you How to Sew a Curved Hem! This is a super easy way to get a professional finish on a double turned curved hem.

Close up of a finished curved hem. How to Sew a Curved Hem.The Maria Apron Hem Sewing Pattern Free sewing Tutorial- MAVEN PATTERNS-THE MARIA APRON

You can’t help notice the beautiful sweeping curve at the hem of The Maria Apron. Because it is such a feature that curve does need to look smooth and they do need they match each other too!

This is my favourite way to make light work of turning and stitching the hem. At the time of writing I was stitching 4 stripey aprons. I was doing this factory-production-style and I found this to be the easiest way to stitch a curved hem. It gives a consistent result, so all the curves are lovely and even!

Key :  WS: wrong side | S/A: seam allowance

The hem of The Maria Apron has a 1.5cm S/A that is double turned hem and footstitched. But you could do this little trick on any double turned curved hem.

Close up of striped fabric ready to be  hemmed. How to Sew a Curved Hem.The Maria Apron Hem Sewing Pattern Free sewing Tutorial- MAVEN PATTERNS-THE MARIA APRON

Ready to hem

So here is the back of the apron, the body has been stitched, pockets in place and facings attached. Just the hem to finish.

Close up of a curved hem with one row of stitching. How to Sew a Curved Hem.The Maria Apron Hem Sewing Pattern Free sewing Tutorial- MAVEN PATTERNS-THE MARIA APRON

Stitch

To help with double turning and pressing that hem, all we are going to do is add an extra row of stitching. Yep, that’s the tip – more stitching! But it does save a smidge of time as it’s a little easier to press the curve without having to constantly measure it. Start from under the back facing and machine a row of stitching 6mm from the raw edge all the way around the hem until you get to the other side. Finish underneath the facing again.

Close up of pressing a curved hem. How to Sew a Curved Hem.The Maria Apron Hem Sewing Pattern Free sewing Tutorial- MAVEN PATTERNS-THE MARIA APRON

Press

Press the raw edge of the hem to the WS using the stitch line as a guide. The stitch line should just be rolled to the WS as in the picture. It folds over very neatly and evenly without too much effort!

Close up of double turning and pressing a curved hem. How to Sew a Curved Hem.The Maria Apron Hem Sewing Pattern Free sewing Tutorial- MAVEN PATTERNS-THE MARIA APRON

Press again

Fold again and press so the raw edge is completely enclosed. The stitch line is now hidden.

Close up of a tacked curved hem. How to Sew a Curved Hem.The Maria Apron Hem Sewing Pattern Free sewing Tutorial- MAVEN PATTERNS-THE MARIA APRON

Tack 

Tack the hem close to the folded edge, making sure you keep the hem width even.

Close up of a finished curved hem. How to Sew a Curved Hem.The Maria Apron Hem Sewing Pattern Free sewing Tutorial- MAVEN PATTERNS-THE MARIA APRON

Topstitch 

Footstitch the hem. To do a footstitch, line up the foot of your sewing machine with the edge of your garment and topstitch. Make sure you catch all the allowance on the back. Give it a press and you’re finished!

You could use this on any double turned curve. My maths worked as follows 1.5cm S/A – 6mm for stitch line guide, x2 for double turn hem = 1.2cm + 3mm to allow for the turn of the cloth (allowance for the thickness of the folded edges). You can easily adjust accordingly for different hem allowances but bear in mind that curved hems don’t like a very deep S/A, and fine fabrics like chiffon won’t need an extra allowance for the turn of cloth.

How to Sew a Curved Hem

And there you have it! You now know How to Sew a Curved Hem for a beautifully finished Maria Apron!

Posted on 2 Comments

The Patch Pocket Tutorial

We had a couple of requests for a photo tutorial for the patch pockets on The Maria Apron. So here it is!

The same principles will apply to the pockets for our Wendy Smock Top too. Wendy just has a little gathering at the base of each pocket, do that first and then follow below!MAVEN PATTERNS_MARIA APRON MAVEN PATTERNS_PATCH POCKET TUTORIAL


 KEY | RS(U): right side of pocket (up) | WS(U): wrong side of pocket (up) | S/A: seam allowance

You’ll need your Pocket Bag Former pattern piece. To work this really needs to be in card (a cereal box will do the job perfectly). If you need help here’s my tutorial

MAVEN PATTERNS_PATCH POCKET TUTORIAL

We are going to start at the ironing board: Everything above FOLD 2 is actually the facing of the pocket (a grown-on facing). The corner of the pocket bag will be ‘bagged out’ with the grown on facing so the raw edges will be concealed inside of it. Don’t freak out at the term ‘bag(ged) out’ it just means sewing your fabric with right sides together and then turning through so the RS is facing to the outside and all the stitching and seam allowances are enclosed on the inside.

Make fold 1 | Start with the RS of the pocket bag facing downwards and press the top edge 1cm to the WS – use the notches as a guide.

MAVEN PATTERNS_PATCH POCKET TUTORIAL

Make fold 2 | Still with RS facing down, at the next set of notches fold down again to the WS of the pocket and press in FOLD 2, creating the facing for the top of the pocket. Fold 2 is 2.3cm from FOLD 1. Why such a random number I hear thee ask? Because, a little later, we will topstitch 2cm down from the top edge of the pocket (this will stop the facing poking out during wear), which leaves a 3mm allowance to catch the stitching on. Clever stuff.

MAVEN PATTERNS_PATCH POCKET TUTORIAL

Turn facing to RS | Turn the pocket bag over so RSU is facing you.

At FOLD 2, flip the facing over from the back of the pocket to the front, and pin through the facing and S/A.

MAVEN PATTERNS_PATCH POCKET TUTORIAL

Stitch | At each pocket corner, take a 1cm S/A and stitch through the facing.

Trim each corner to reduce bulk and give a little press.

MAVEN PATTERNS_PATCH POCKET TUTORIAL

Turn corner | Turn those corners out to the right side now. Poke out the corners gently so they are nice and square (I use my small scissors, but be careful!) and press again. There you go, a bagged out corner!

MAVEN PATTERNS_PATCH POCKET TUTORIAL

Pressing the curve | Grab the pocket former and slide it underneath your pocket facing and then use it as a template to press a 1cm S/A around your pocket. Remove template.

Oh look, a delightfully smooth curve and 2 matching pockets. Hurrah! Now is a good time to check they are in fact the same size and shape. They are? Jolly good – on we go.

MAVEN PATTERNS_PATCH POCKET TUTORIAL

Topstitch and pocket placement | Topstitch across the top of the pockets 2cm down from the top edge to hold the facing in place.

Pin the pocket on your apron. Remember the pocket marker dots sit 5mm INSIDE the finished pocket edge (an industry trick so the marks don’t show on the finished garment).

TIP | You can use a fabric marker pen or chalk to mark a line 5mm above the dots which is where the top edge of your patch pocket sits and mark a line 5mm on the outside of the dots for the outside edge of the pockets. Check you are happy with the position of the pockets and then tack them in place.

MAVEN PATTERNS_PATCH POCKET TUTORIAL

Stitch into place | The pockets will be edgestitched onto your garment, but as this is a functional garment that will hopefully get a lot of wear, the pockets will benefit from a little reinforcement. This should help to give many years of joy and use from your apron.

Reinforce corners with a triangle | Start at point 1, stitch up to point 2, pivot your garment 90º and stitch across 3 stitches to point 3 (doesn’t matter how many stitches, but keep them the same number on all of your corners). Pivot again and stitch back to point 1 completing the reinforcement triangle. Then just continue to edgestitch the pocket bag all the way around and finish with a triangle again on the other side.

Voila! You’ve mastered the art of the patch pocket.

Get creative | Don’t forget you can have some fun with your patch pockets to make the most of your fabric’s design. Stripes can run in different directions – a good plan if you don’t want to match them to the apron body but don’t want to look like you didn’t think about it. That’s why ready-to-wear check shirts usually have pockets cut on the bias – it avoids stripe matching. Or you could pick a favourite part of a print and give it pride of place on your pocket. If you do get creative, remember that patterns or stripes on pockets are usually cut to pair each other!

MAVEN PATTERNS_PATCH POCKET TUTORIAL