
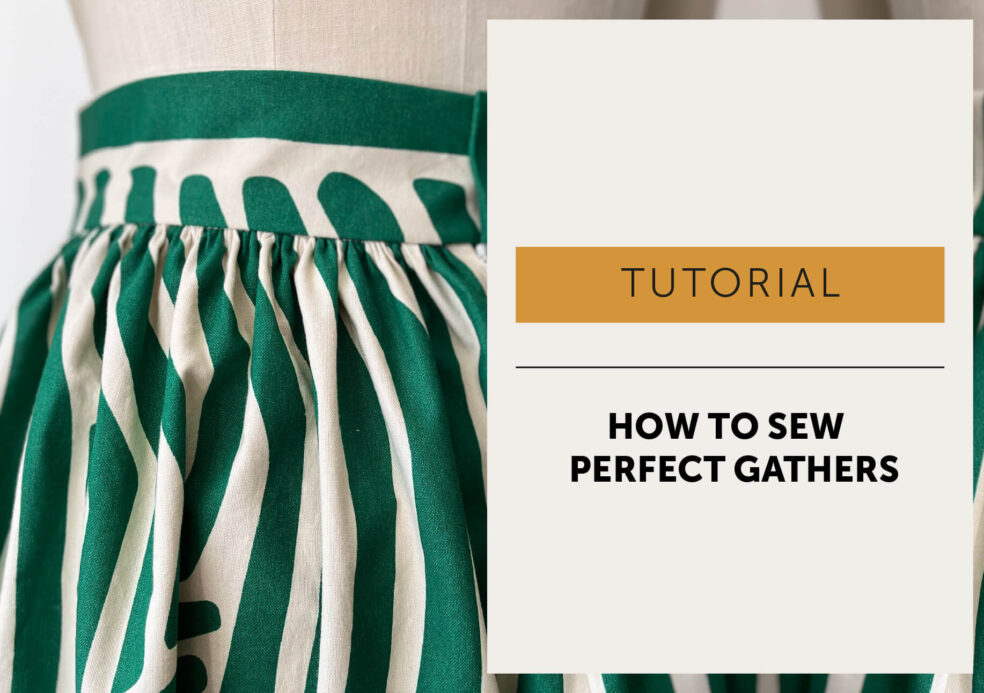
Gathering Fabric – Technique & tips
How do you sew gathers that look soft and even instead of bulky or uneven? In this tutorial, we show you a simple method for sewing gathers with control and consistency, including how to prepare your fabric, distribute fullness evenly, and stitch everything smoothly into place. Whether you’re adding gentle shaping or creating more dramatic volume, these techniques will help you achieve clean, balanced gathers with a professional finish.
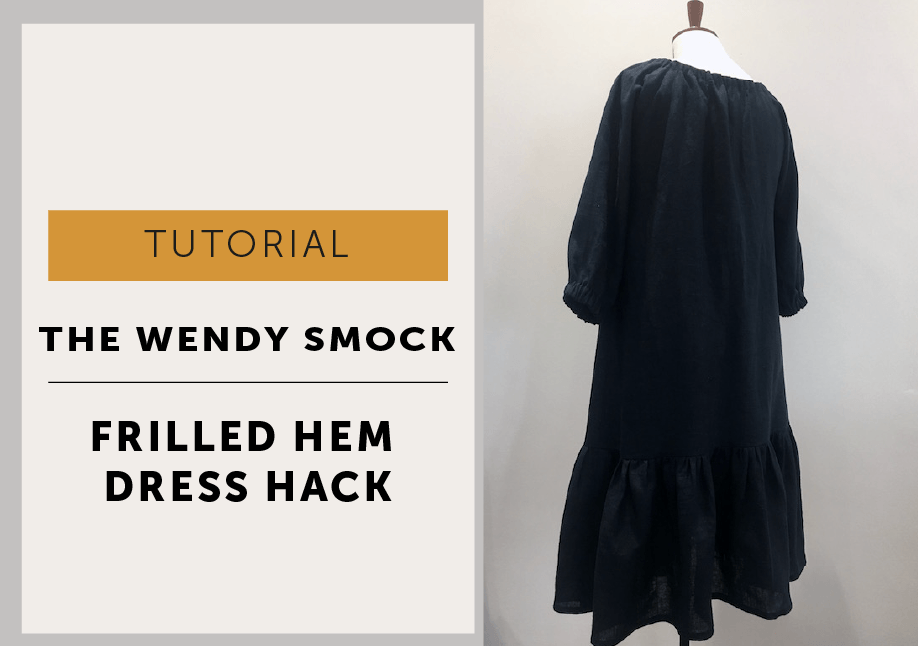
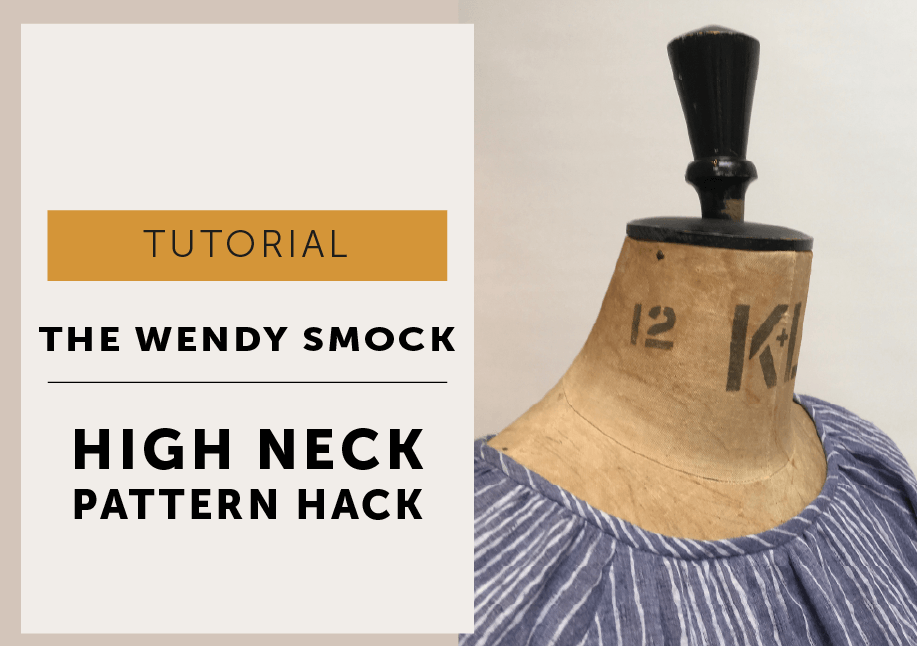
Gathering is a great way to add fullness and volume and is often used for gathered skirts like The Bloom Skirt sewing pattern or on a neckline like The Wendy Smock.

How to gather fabric
Learning how to sew gathers is a basic sewing technique that isn’t too hard to master. For this tutorial I’m concentrating on the traditional way of how to sew gathers with rows of gathering stitches and it is perfect for light to medium weight woven fabrics. Not sure if it’s the right method for your fabric? Just do a little test sample, the fabric will soon let you know!
Gathering Ratios
A gathering ratio is just the amount of fabric that you will gather onto a flat area like a gathered skirt onto a waistband or bodice. Or you might have a smaller area as a design detail such as the sleeve head of The Kitty Dress or on the back of the Joy Dress.

You may not need to worry about gathering ratios, usually how much gathering you have in a garment will already be decided by the pattern. But it’s good to have an understanding should you want or need to add more or less gathering.
There is no set gathering ratio. Generally speaking, finer fabrics look good with a higher ratio of gathering but heavier fabrics can look too bulky. Do a test sample of gathering on your fabric and if you like it and it works for your fabric then it’s right!
Examples of gathering ratios

2 rows of gathering stitches

3 rows of gathering stitches

3 rows of gathering stitches

3 rows of gathering stitches
The above samples are all made of cotton poplin and show how different gathering ratios can look. And also shows the difference in gathering with 2 versus 3 rows of gathering threads (explained later in the tutorial).
- A ratio of 2:1 means the piece being gathered is twice as long as the flat section it is being gathered onto.
- E.G if you had a 30cm flat section, the total fabric to gather into it would be 60cm.
- 1.5:1 means 1½ times as long
- 2.5:1 means 2 ½ times as long
- 3:1 means 3 times as long and so on.
Note / Not all fabrics gather well using this method, heavier fabrics might look better pleated. Or you can use a zig zag stitch over a cord (that’s a tutorial for a different day). For stretch fabrics you may need a different technique. For the cuff of The Somerset t-shirt I use shirring elastic to create gathers as that helps retain the stretch of the fabric.
Machine settings
These can vary depending on your fabric and sewing machine.
- Do a test first, you may need to experiment to find the best settings for your fabric and machine.
- Set your stitch length to the LONGEST possible stitch length for your machine. Fine and lightweight fabrics can be gathered using a shorter stitch. You may find it gives you more control over your gathers but they can be harder to pull.
- Tension – if necessary loosen your top tension so the threads pull easily.
- Use a quality thread, you are going to be pulling the thread and we do not want the thread to snap.
- Take care not to snap your gathering threads because that is very, very annoying!
How to Sew Gathers


- For this example I’m working with a 1.5cm seam allowance and the stitch line is marked in blue pen.
- Decide how many rows of gathering you want to do. You can do 2 or 3 rows of stitching. (Images below)
- Work In Sections. If you have a large area to be gathered, dividing the area into sections makes it much easier to handle. To gather a skirt onto a waistband, I would divide it into 4 equal sections but you can do more if you wish.
- To reduce bulk at seam junctions, lift the seam allowances out of the way and stitch up to the seamlines. The exception being if you are working with a very fine fabric then you could stitch across pressed open seam allowances.
- Start with the first section (or between the notches to show where your gathering will start and finish) and stitch with Right Side of the Fabric Facing Up.
- Gathering rows must not cross each other.
- Do not back stitch at each end but leave long ends to the threads.
- Work in sections and just repeat for each section.


2 rows of gathering stitches

Stitch 2 rows in the seam allowance parallel to each other. The first about 3-5mm away above the stitchline, and the second 3-5mm above that.
TIP / Your machine may have the option to just move your needle across.
3 rows of gathering stitches

Stitch 3 rows of gathering stitches, with the 3rd row on the body of the garment.
As before, stitch 2 rows in the seam allowance parallel to each other, the first about 3-5mm away above the stitchline, and the second 3-5mm above that. Stitch the 3rd Row 3-5mm below the stitchline on the garment.
TIP / Your machine may have the option to just move your needle across.
The advantage of the 3rd row is that it does make nicer gathers as they are easier to control. The disadvantage is the 3rd row will be removed and the stitching could potentially leave a mark on your garment. So test on your fabric first!
Time to gather!

Again working one section at a time; pull up the bobbin threads, sliding the fabric along the thread to create gathers to roughly the desired length.


Match the seams/notches and pin the 2 fabrics with Right Sides Together and fine tune gathering to fit. Take your time and distribute the gathering evenly.


Once you have finished one section, wrap the long threads around a pin in a figure of 8 to hold everything in place and move onto the next section of gathering.
When all the sections have been gathered, unwrap the threads from the pins and either tie them off in a secure knot or stitch them by hand to fix your gathers.
Set your machine stitch length back to your normal stitch length


Sew your seam with the correct seam allowance to join the fabrics together.
I always sew with the gathers facing upwards so I can see what they are up to and I can avoid any uneven and unsightly tucks. If you do get any areas with tucks that you don’t like, you can just unpick that little area and re-sew.

Neaten the seam allowances together, which will give you a stronger seam. Unless it’s an enclosed by a waistband and then no need to neaten!
How to Press Gathers


Don’t press directly on or across the gathering as you will squash your gathers. We do not want to flatten the fullness you’ve just created!
On the Wrong Side, with the tip of your iron, just press the stitchline and seam allowance. Then press the seam away from the gathers towards the flat/ungathered side.
With the tip of the iron facing towards the seamline, press in between the gathers and up to the seam but not over it. Be sure the fabric is flat under the iron at all times so you don’t iron in creases and squash the gathers.
And don’t forget to remove the 3rd row of gathering if applicable.
All done and now you know How To sew Gathers!
Happy gathering! Mrs M x


