


How do you sew an invisible zip neatly and without frustration? In this invisible zip tutorial, which is perfect for beginners, we break the process down step by step; from stabilising the seam and positioning the zip correctly to stitching close to the coil for a clean, professional finish. You’ll also find tips for stripe matching, shortening an invisible zip, and avoiding the most common mistakesto achieve a seamless, professional finish.
How to easily sew an Invisible zip
Inserting a zip can be a bit daunting and an invisible zip (sometimes called concealed zips) even more so. But honestly fear not, here’s an easy way to insert invisible zips without a load of fuss. Invisible zips are actually my favourite zip to use because when they’re closed they are, well, almost invisible.
If you are new to invisible zips, don’t panic. I don’t always get it right first time – and I still unpick sometimes. Practise makes perfect or so they say, and if not perfect, practise at least makes you familiar with the process. So, round up some scraps of fabric and do a few tests before jumping into your garment. It’s also much easier to insert a zip in a stable fabric such as cotton poplin than a shifty, slippery satin or chiffon!
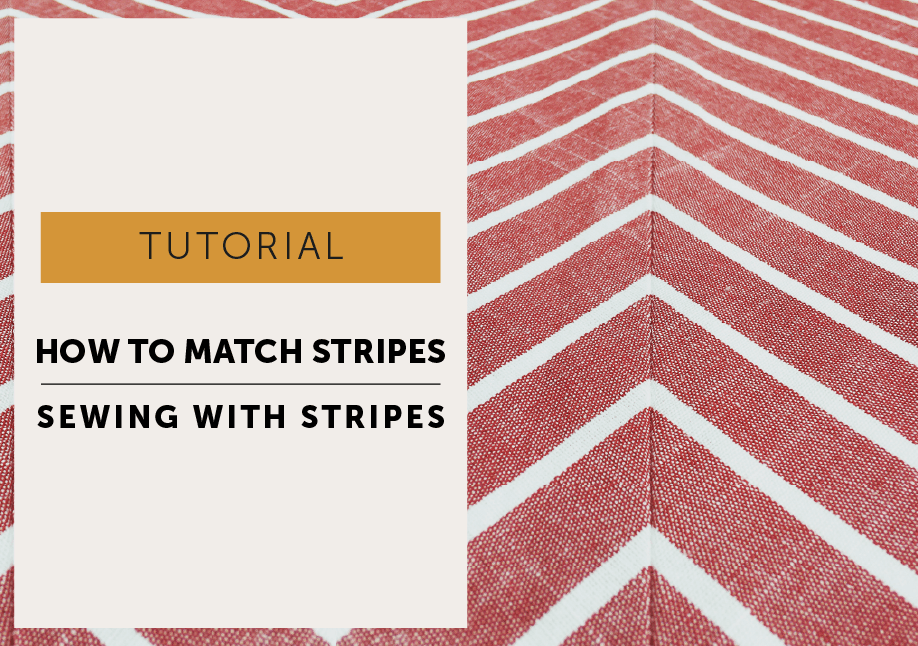
This is a simplified version of a post I originally shared for The Barcelona pattern, which explains how to stripe match, seam match and shorten an invisible zip. It’s a little bit more advanced due to the nature of the matchy – matchy process but you can see that invisible zip tutorial HERE.
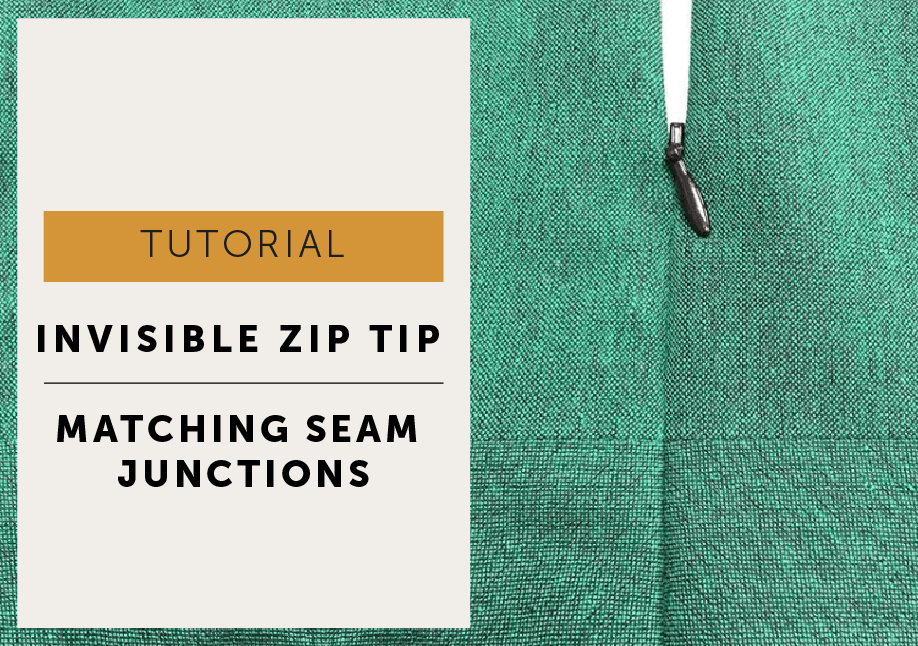
This method closes the seam before you insert the zip rather than after. My normal method of invisible zip insertion (stitch down each side of zip, stitch up from the bottom to close the seam) was fine and dandy (and if you prefer/are happy with that method, carry on – we’re not doing brain surgery here) but I felt this one was just easier and better to help avoid the dreaded bump at the base of the zip situation.
For this example I am inserting an 20cm (8″) invisible zip and placing it into a 17cm (6¾”) opening in a centre back seam of a skirt that has a 1.5cm (5/8″) seam allowances.
INVISIBLE ZIP TIPS
- An invisible zip is always stitched from the top down to the bottom.
- Invisible zips are placed RS of zip to RS of garment.
- The coil (teeth) sits right on the CB line.
- You never get to use the entire length of an invisible zip. You lose around 2.5-3cm (1″) as you can’t stitch right to the bottom because the zip puller is in the way. If you have a 20.5cm (8”) zip the finished length will be about 17cm (7”)
- Invisible zips are very easy to shorten. I often shorten an invisible zip after it I have sewn it in and always with the zip closed. You could do it before hand but remember it must be longer than your actual opening. If in doubt insert the zip and
chop it offcarefully shorten after. (Tips on how to shorten an Invisible zip HERE)

TOOLS
- Invisible zip (Also called a concealed zipper)
- Invisible zipper foot
- Regular zipper foot
- Usual machine presser foot
- Fabric marking pen/chalk implement of choice
- The usual sewing stuff; iron, thread, pins, scissors, sewing machine
ABBREVIATIONS
WSU: wrong side up / WS: wrong side / RSU: right side up / RS: right side / SA: seam allowance / CB: centre back
How to sew an Invisible zip

1. SPOT FUSE the seam allowance to stabilise the area.
Apply a strip of lightweight fusible interfacing along the seam where you will be inserting the zip. I make mine twice as wide as the SA (seam allowance) and 3cm (1″ or so) longer than the finished zip length.

2. Press the zip.
Open the zip and lay on the ironing board with WSU. With a cool iron press the coils (the teeth) flat to uncurl them so they are easier to sew. WARNING! If your iron is too hot, the teeth will melt. Close the zip.

3. Close the seam.
With RST pin the seam together from hem to the notch at the base of the zip opening.
Start at the hem and stitch the seam closed with 1.5cm SA, using your normal machine foot, stopping at the zip notch with a backstitch.
Neaten the raw seam edges.

Press the seam open.
Gently press the seam allowance of the zip opening which will give you a guideline to help place your zip.
4. Place the zip.

It’s really easy to get an invisible zip twisted as you pin it in place. The RS of the zip will be facing the RS of the garment.
I find the best way is to lay the garment with WSU facing you, and then fold and pin the SA into place.
Place the zip FACE down onto the garment, so WS of the zip is facing you.
Open the zip a couple of inches and pin the zip tape to the SA on each side of the opening with one pin.
This is just to place the zip without twisting it, we will pin the zip accurately to stitch in the following steps.

NOTE – The zip tape will be narrower than the 1.5cm SA.
Open the zip so the puller is all the way to the bottom.
Start on one side of the zip (it doesn’t matter which side) and place the top stop on the stitch line. In this case it would be 1.5cm from the top edges as we have a 1.5cm SA at the waist edge (I’ve marked the waist stichline with a red pen line) and pin the tape to the SA.
Keep the zip coil positioned ON the pressed CB seam line.
Once you have pinned one side of the zip in place, tack next to the teeth coil to hold in place.
On the zip tape, mark the base of the opening so you know where to stop stitching.
5. Change to an invisible zip foot.

Take a look at your zip foot and you will see 2 grooves or channels on the bottom of your invisible zip foot – yours may not look exactly mine but you’ll get the idea.
The coils of the zip will sit in one of these channels depending on which side you are stitching. Choose the groove furthest away from the SA and so that you are stitching through the zip tape right next to the coil.
Start with a backstitch at the top of the zip and stitch close to the zip coil. Roll the coil away from the needle with your fingers as you stitch so it sits perpendicular to the zip tape as you sew.
You need to stitch as close to the coil teeth as possible but do not stitch on the coil as your zip will not close!
Stop with a backstitch when you get to your mark at the base of the zip opening.
*I prefer to use an invisible zip foot but many makers like to use an ordinary zip foot.

Now to repeat with the other side of the zip.
Make sure you line up the top stops on each side of the zip or it will look uneven and stepped at the top when it is closed.
Pin and tack into place. Starting at the top with a backstitch, stitch the other side of the zip using the other groove of your machine foot, again stopping with a backstitch at your mark at the base of the opening.

Close the zip to check puller will run up and down smoothly and all looks good before continuing. Getting the puller to the right side can be a little bit fiddly sometimes, but I just remove any tacking that’s in the way and get the pointy, end bit of the puller to poke through to the right side first.
If you have stitched on the teeth of the zip it won’t close so you’ll need unpick that section and re-stitch. But please remember that there is no such thing as the sewing police – if you’re happy to wear it, it’s good enough!
6. Anchor the zip to the seam allowance
(If you need to shorten your zip, do that first – see the other Invisible Zip tutorial here)
The point of securing the zip is to reduce the strain on the zip and also to stop the tape flapping about. Make sure you are only stitching zip tape to SA and you are not stitching through the actual garment.

Change to an ordinary zip foot (sometimes called a half foot). There’s two ways to do this step, it’s mostly personal preference but Option 1 is probably the stronger of the 2.


OPTION 1 / Anchor the full length of the zip tape to the seam allowance. Start at the top and machine stitch the tape and SA together.
OPTION 2 / Anchor the zip tape to the seam allowance at the base of the zip for just a few centimetres. You can do this bit by hand if you prefer.
Press

Give your zip a gentle final press.
NOTES / I discovered the original version of this technique a while ago, when it popped up in my Instagram feed from Threads Magazine. The YouTube video is demonstrated by the delightful Kenneth D King. I’ve adapted the original technique a little bit to help with stripe matching, I only close the CB seam to the bottom of the zip opening. The original method also closes the zip opening using a machine basting stitch. I also prefer to use an invisible zip foot, it’s just what I’m used to, but Mr King uses a generic adjustable zipper foot. The original video can be viewed here: YouTube LINK: Imperceptible Zipper by Kenneth D. King.


