
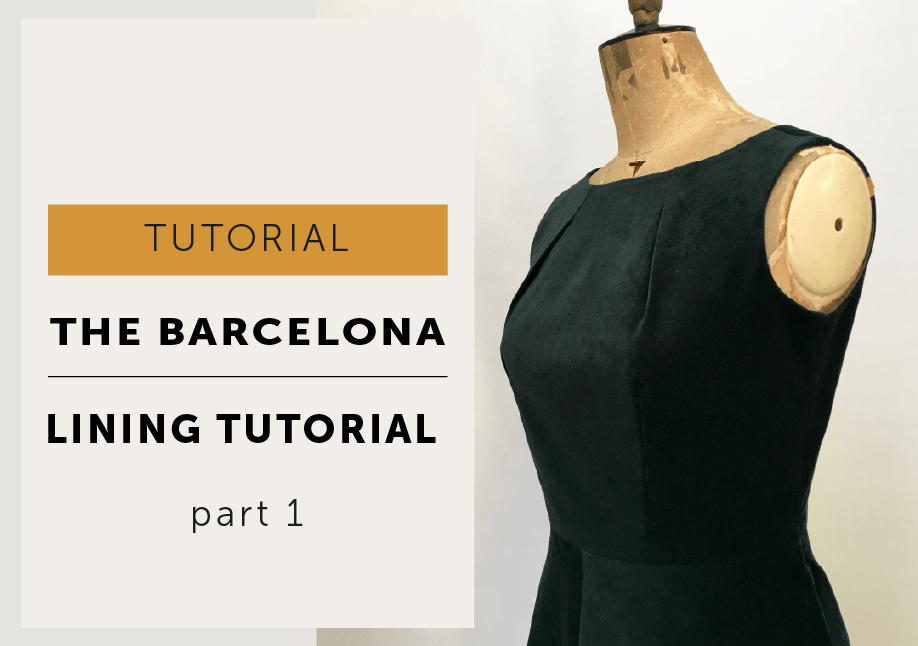
How do you line the Barcelona dress so it sits smoothly and feels comfortable to wear? In part 2 of this tutorial, I’ll walk you through the construction stage, showing how to join the lining to the dress, bag out the armholes and neckline, and stitch everything cleanly so the inside looks just as good as the outside.
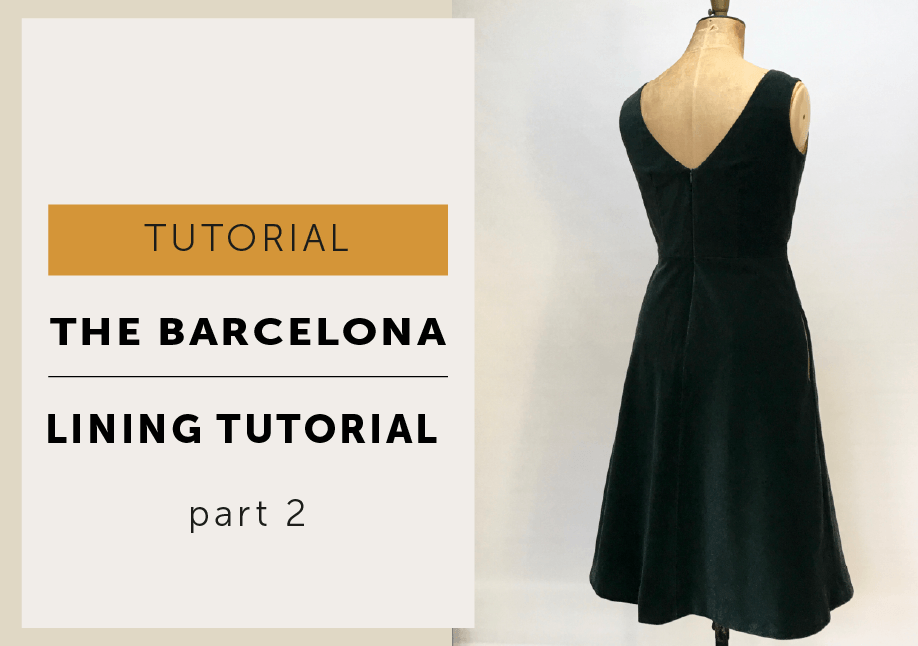
How to add a lining to the Barcelona Dress – part 2 / sewing the lining

This is part 2 of our lining tutorial, in which we are adding a lining to the Barcelona dress. This is where we find out how to stitch her up!
You should already have your lining pattern ready, but if you missed it, off you go and do your homework! We’ll wait here for you…The Barcelona Lining tutorial part 1
CUTTING & SEWING VELVET. Our dress is in (woven) cotton velvet, or as it’s sometimes called velveteen, so all the usual rules apply regarding sewing and cutting fabric with a nap (a pile). If you are working with a silk velvet or similar, these are even trickier, slippier fabrics and you are going to want to take more steps than I’ve listed below! Threads magazine has a good guide here. Of course, you are not obliged to use velvet, I’m sure your fabric of choice will be most delightful!
NAP. If you brush your hand up and down you can feel one direction feels smooth and one is rough. The smooth is the direction of the nap. I like to cut with smooth up and rough down as the fabric looks darker when it’s worn. Not everyone is going to agree with me here, many prefer to have the smooth running down the body, especially on a skirt as it does feel nicer when you smooth your skirt down during wear. With smooth running down it appears lighter, and I think it’s a bit too shiny, but it’s also supposed to wear better in the seat area. Whichever you choose, BE CONSISTENT and have all the hems of your pattern pieces facing in one direction.
CUTTING. Cut in one layer and one direction. Pin in the SA only so as not to mark the cloth.
PRESSING. Even though it’s velvet I did chuck it in the machine on a quick 30° pre-wash, as per the washing instructions. I was using curtains from Ikea with a washing label, so not really a risk, but do check the washing instructions of your fabric first! I then followed with a gentle pressing on the reverse only so as not to flatten the pile and make it go shiny. Use a spare bit of fabric as a pressing cloth underneath so the pile of your garment is always face to face with another piece of velvet. And PRESS rather than iron – lift in an up and down motion rather than dragging back and forth! Use steam, avoid over-pressing and use the tip of the iron when pressing seams. Gently press seam allowances (SA) open, avoid pressing the edges of the SA so as not to create an impression on the garment. If you do, lift the SA up and steam gently underneath and the impression mark may press away. And for the love-of-all-that-is-sewing allow your garment to cool before moving it after pressing!
*In industry we used a needle board for pressing, which has hundreds of tiny needles poking up to support the pile of the fabric. I haven’t found it necessary to get one for domestic use, but useful to know if you are planning to sew a lot of this type of fabric.
POCKET BAGS. Cut them in lining – the velvet is will be too bulky.
SEWING.The seams can get quite thick, so press seam allowance open and grade the SA whenever necessary. Tack seams to prevent them from moving and shifting. Hold the fabric taut during stitching, but don’t stretch it. I used a walking foot to stitch the whole dress to help with creeping seams, but test to ensure you don’t get marks from the foot on the pile. A Teflon foot and a roller foot are also recommended but I don’t have either of those! With velvet be very careful with pins and pin in the SA. I pinned horizontally across a seam (as usual and without thinking) and it left an impression on the velvet. Test your stitching and choice of needle on a scrap of fabric to get the optimum results.
FUSING. The general advice is to use a sew-in interfacing so as not to crush the pile. I broke the rules and used a lightweight tricot iron-on interfacing, placing a scrap of velvet underneath so the pile is face to face before fusing. Again TEST on your fabric first!
Abbreviations
SA | seam allowance RS | right side RSU | right side (of fabric/garment) up RST | right sides together CB | centre back CF | centre front WB | waistband
MAKE. Start by making the main shell of the dress following the Maker Instructions included with your pattern.
THE MAIN SHELL. Make the outer shell but leave side seams unstitched and the hem unfinished.

A little more info. I did not neaten the shoulder seams or the front darts. I neatened all the other seams open, as even though it’s lined the velvet was dropping messy bits everywhere. In a different fabric, I would have neatened the skirt seams open as the lining is loose at the hem, but would not neaten the bodice or waist seams.
- Make the front bodice. Make neck dart tucks as instructions. Press front waist darts OPEN, do not neaten. (*If not making in velvet press darts towards CF as usual).
- Make the back bodices with darts pressed towards CB.
- Make the front skirt and attach pocket bags.
- Make back skirt and attach pocket bags.
- Attach the skirts to the bodices, neaten waist seam open.
- Neaten back side seam (but not the front side seam) and CB seam.
- Close back seam and insert the invisible zip (remembering you have a 6mm SA at the top edge).
- Close shoulder seams, press open but do not neaten.
- DO NOT CLOSE SIDE SEAMS
THE LINING. Make the lining but leave side seams unstitched and hem unfinished.
A little more info. Neaten the skirt seams open and the CB seam. No need to neaten the bodice lining seams. Press the darts in the opposite direction to the main shell to reduce bulk.


- Make the front bodice. Press the neck dart tucks towards the armhole. I pressed the front waist darts towards the side seam; if you are not pressing the main shell darts open, the lining darts will lay in the opposite direction to the main shell to reduce bulk.
- Make the back bodices, making tucks instead of darts pressed towards SS.
- Close the CF skirt seam and neaten SA open.
- Attach the skirts to the bodices.
- Close shoulder seams.
- Neaten the side seams and centre back seams.
- Close the CB skirt seam from hem to the zip notch.
ATTACH LINING. Now the fun starts!
This lining method bags out the neckline and armhole creating a clean finish with no exposed seams. The front and back armholes are sewn separately as it’s not possible to turn the dress through the armhole as with some other methods.
STEP 1. NECKLINE
- Place the shell and the lining with RST, and pin the neckline together, align at CF and shoulder seams.

- To finish lining neatly at the zip; fold the CB lining SA to WS of lining. Place folded edge of the lining so it is set 1cm back from CB of the main shell.
- Ease the back neck lining to fit the main shell if necessary.
- At the CB/zip, fold the SA of the main shell to WS, so it lays on top and covers the folded edge of the lining.
- Stitch neckline with 6mm SA.

- stitch all the way around the neckline and gently press.

- Turn through to RS and understitch on the lining.
STEP 2. ARMHOLES
The clever part of this method is that the front and back armholes are stitched separately. It works really well as the dress is too bulky to pull through the armhole using a “burrito” method, and we have already closed the back seam with a zip – I always prefer to put a zip in a flat garment.

- Line up the shoulder seams
- Fold in SA at the shoulder so RST and pin to hold.
- We are now working on HALF an armhole at a time – either the front or the back, it doesn’t matter which one you do first.
- Follow your way along the edge of the dress from the shoulder to the armhole and at the underarm pin the SA so RST, making sure you haven’t twisted the bodice.

Hold together the bodice where you have pinned at the underarm and shoulder and pull the dress through so the WRONG SIDE is now facing you. Pin or tack lining and body RST along the armhole until you get to the shoulder.

- Stitch the armhole seam closed with a 6mm SA from underarm and stop at the shoulder seam. Press the seam.

- Pull the dress back through to the RS.

- Now repeat to close the other side of the armhole, finishing your stitching EXACTLY at the shoulder seam to meet your first line of stitching.
- Once you have completed both armholes, understitch on the lining. Start at the underarm and stitch towards the shoulder – you won’t be able to understitch all the way to the shoulder seam just go as far as possible.
SIDE SEAMS

- Pin the side seam of the lining and main shell RST, taking care to line up the underarm seam.
- Close the seam with a 1.5cm SA – stitch around the pocket bag in the main shell as described in the instructions.
- Neaten the front side seam (as explained in the maker instructions) but stop the neatening when you get to the lining.
- Press the seam open
- To stop the lining rolling out at the underarm it needs to be attached to the main shell. Line up up the side seams of the shell and lining so they are sitting on top of each other. Pin in the groove of the seam. Stitch in the ditch of the side seam just below the underarm for about 1.5cm (1/2″) to keep the layers together. Alternatively, you can stitch by hand on the inside of the dress through the SA to hold the layers together.
ATTACH THE LINING TO THE ZIP

Turn in the lining SA at the CB and pin to the zip tape so it sits approx 1cm back from the zip coil.

Slip stitch the lining to the zip tape. You can then sew your hook and eye at the top of the zip.
HEM
- Allow the dress to drop for at least 24 hours before levelling and hemming.
- The lining has a 2cm hem allowance and just needs the hem to be double turned and stitched; that is press the hem up once at 1cm, turn and press again so a total hem of 2cm hem has been taken and machine stitch. You can use the same method that is used to hem our Maria Apron pattern, shown here in this tutorial.
- The main shell has a 3cm hem and is finished by hand.
- Your Barcelona just needs a light pressing and you’re finished.
More to Sew …


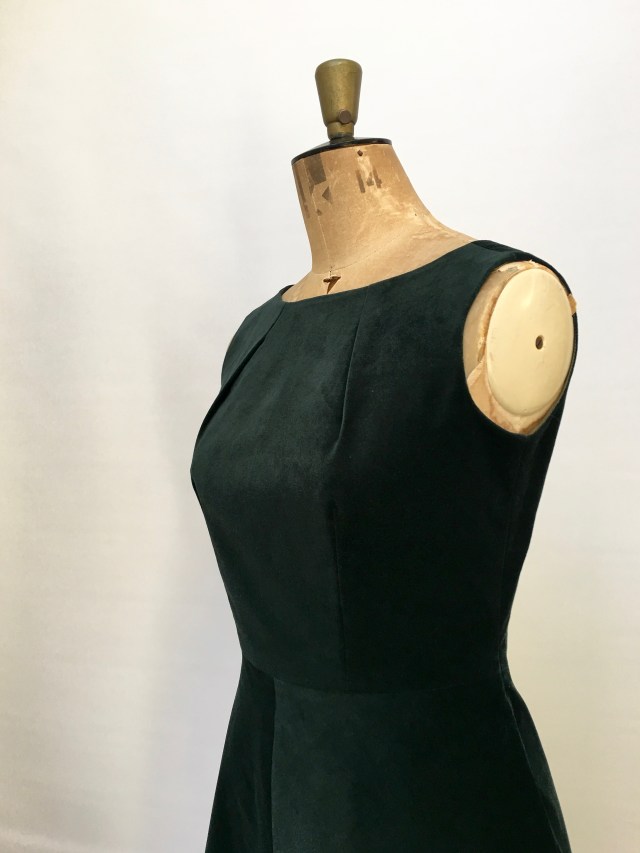
 And she’s a beauty with her feature dart tucks and flattering boat neck…
 & Oh My! Look at her chevroned detailed skirt!
 And she comes with 2 back bodices…VERSION A has a classic high neck and VERSION B has a rather sassy V-back!
 and by the way…SHE HAS POCKETS!!!