It was so lovely to meet you all at the Sewing Bee Live and The Knit & Stitch Show! A big thank you to all of you that took the time to say hi, bought one of our paper patterns or showed your support with a smile. The sewing community really is the best!
Our newly launched paper patterns were very popular – phew! – and I’m very pleased to say that after a lot of beavering away behind the scenes (behind the seams?) we are nearly ready to sell them online. It’s taken a little longer than anticipated – life kinda got in the way over here.
The paper patterns will almost certainly be on Etsy first, alongside our PDF patterns. And then we will pop them in our very own shop when we’ve dotted all the i’s and crossed all the t’s.
Our collection of patterns each come in such a beautiful box, lovely and practical for keeping all of your pattern pieces and the Maker Instruction booklet together.
And of course, they’d make the most delightful Christmas gift for the sewist in your life!???
We’ll be back with an update in a few days…Happy Sewing!!
It’s all go here at Maven Towers…we’ve just launched our paper patterns at The Sewing Bee Live and now,
I’m so excited to announce that we have The Maven App!
An actual App in the APP STORE people!
The Maven App has been developed by my nephew, Harry, who has done an amazing amount of work to create a practical and functional tool to benefit us Makers.
It’ll be very handy when you are out and about and ‘surprise!’ you spot a delightful length of cloth. Now you’ll be able to check just how much fabric and haberdashery you need to buy (I use the word need very lightly there). Each pattern is listed on the landing page, click the style you like to see an overview……scroll down to select your chosen version, and then you can see all the specific fabric and haberdashery requirementsOn our about page you’ll find the story of Mrs Maven and the links to our social media stuff. And of course, we have the Maven size chart and some tips too.
You can’t purchase a pattern through the app yet, but you’ll be able to soon because PAPER PATTERNS will be on the website site very soon!By their very nature apps are constantly evolving and developing, so if there are features you’d like to see, let us know we’d love your feedback! Email Us at [email protected]
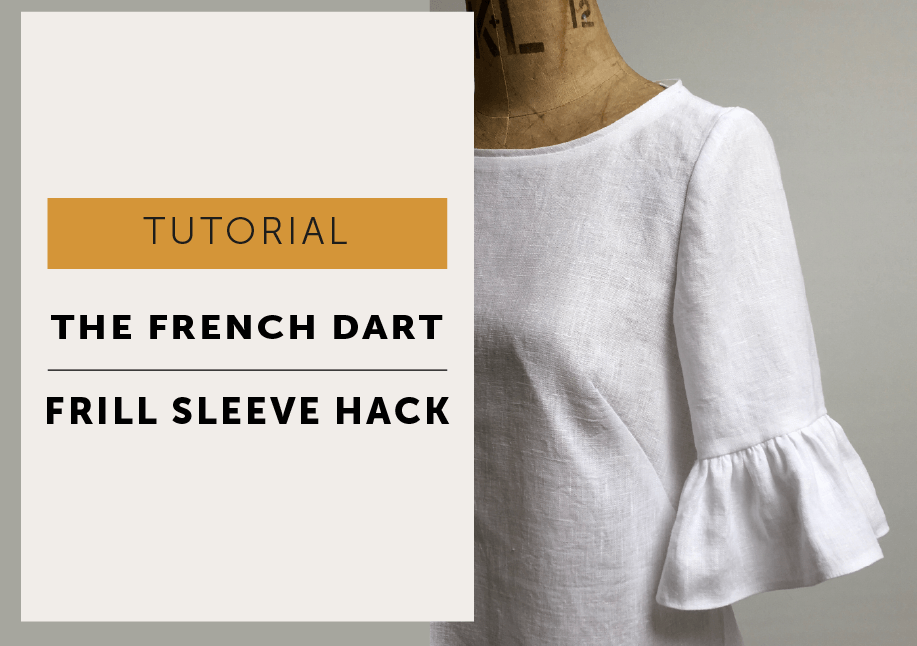
How do you turn a simple sleeve into a soft, frilled statement detail? This pattern hack shows you how to add a frill to the sleeve using straightforward cutting and sewing steps, so you can transform a basic sleeve into something with a little more movement and personality. It is an easy way to adapt an existing pattern and introduce shape and texture without changing the overall fit of the garment.
Sleeves and frills are apparently the ‘thing’ this season.
As you can see from the mood board, frill sleeves are all the rage and anything goes! All you need to do is look for inspiration and decide the length and fullness you want. Take a close look at them…what will it be? The ivory one has a shorter sleeve length and longer frill compared to the black top which has a long frill and full length sleeves. Or the contrast stripe direction with a Breton feel. Maybe a double layer of frilly-ness is your thing. Personally, I love the gingham and the seam stitched to create a ruffled top edge. If you look carefully you can see a peplum at the waist done in the same style. If you want to create this yourself it is the same principle as the method below – a rectangle gathered up and just stitched on. This is a very simple pattern hack that will give you extra mileage out of The French Dart Shift pattern (or indeed any pattern). And here’s the real joy…when you are fed up with frills at your elbows, just chop them off and you are left with a classic top that you will be able to continue to wear for years. No wasteful transient fashions for us!
HOW TO ADD A FRILL TO THE SLEEVE – METHOD
KEY:
S/A: seam allowance / RST: right sides together
Trace the sleeve pattern. Decide the length you want the sleeve to finish without the frill. I wanted my frill to sit just above my elbow so I made my pattern 24cm nett (without seam allowance) in length and then added a 1cm hem allowance to attach the frill with. Check you like the hem circumference width, if you need to adjust it, now is the time but remember you need to be able to bend your arm. I made the size 10 pattern with a 36cm finished hem circumference. (I’m 5’2″ so you may need a longer sleeve than me :/ Just measure your overarm or a garment you like.
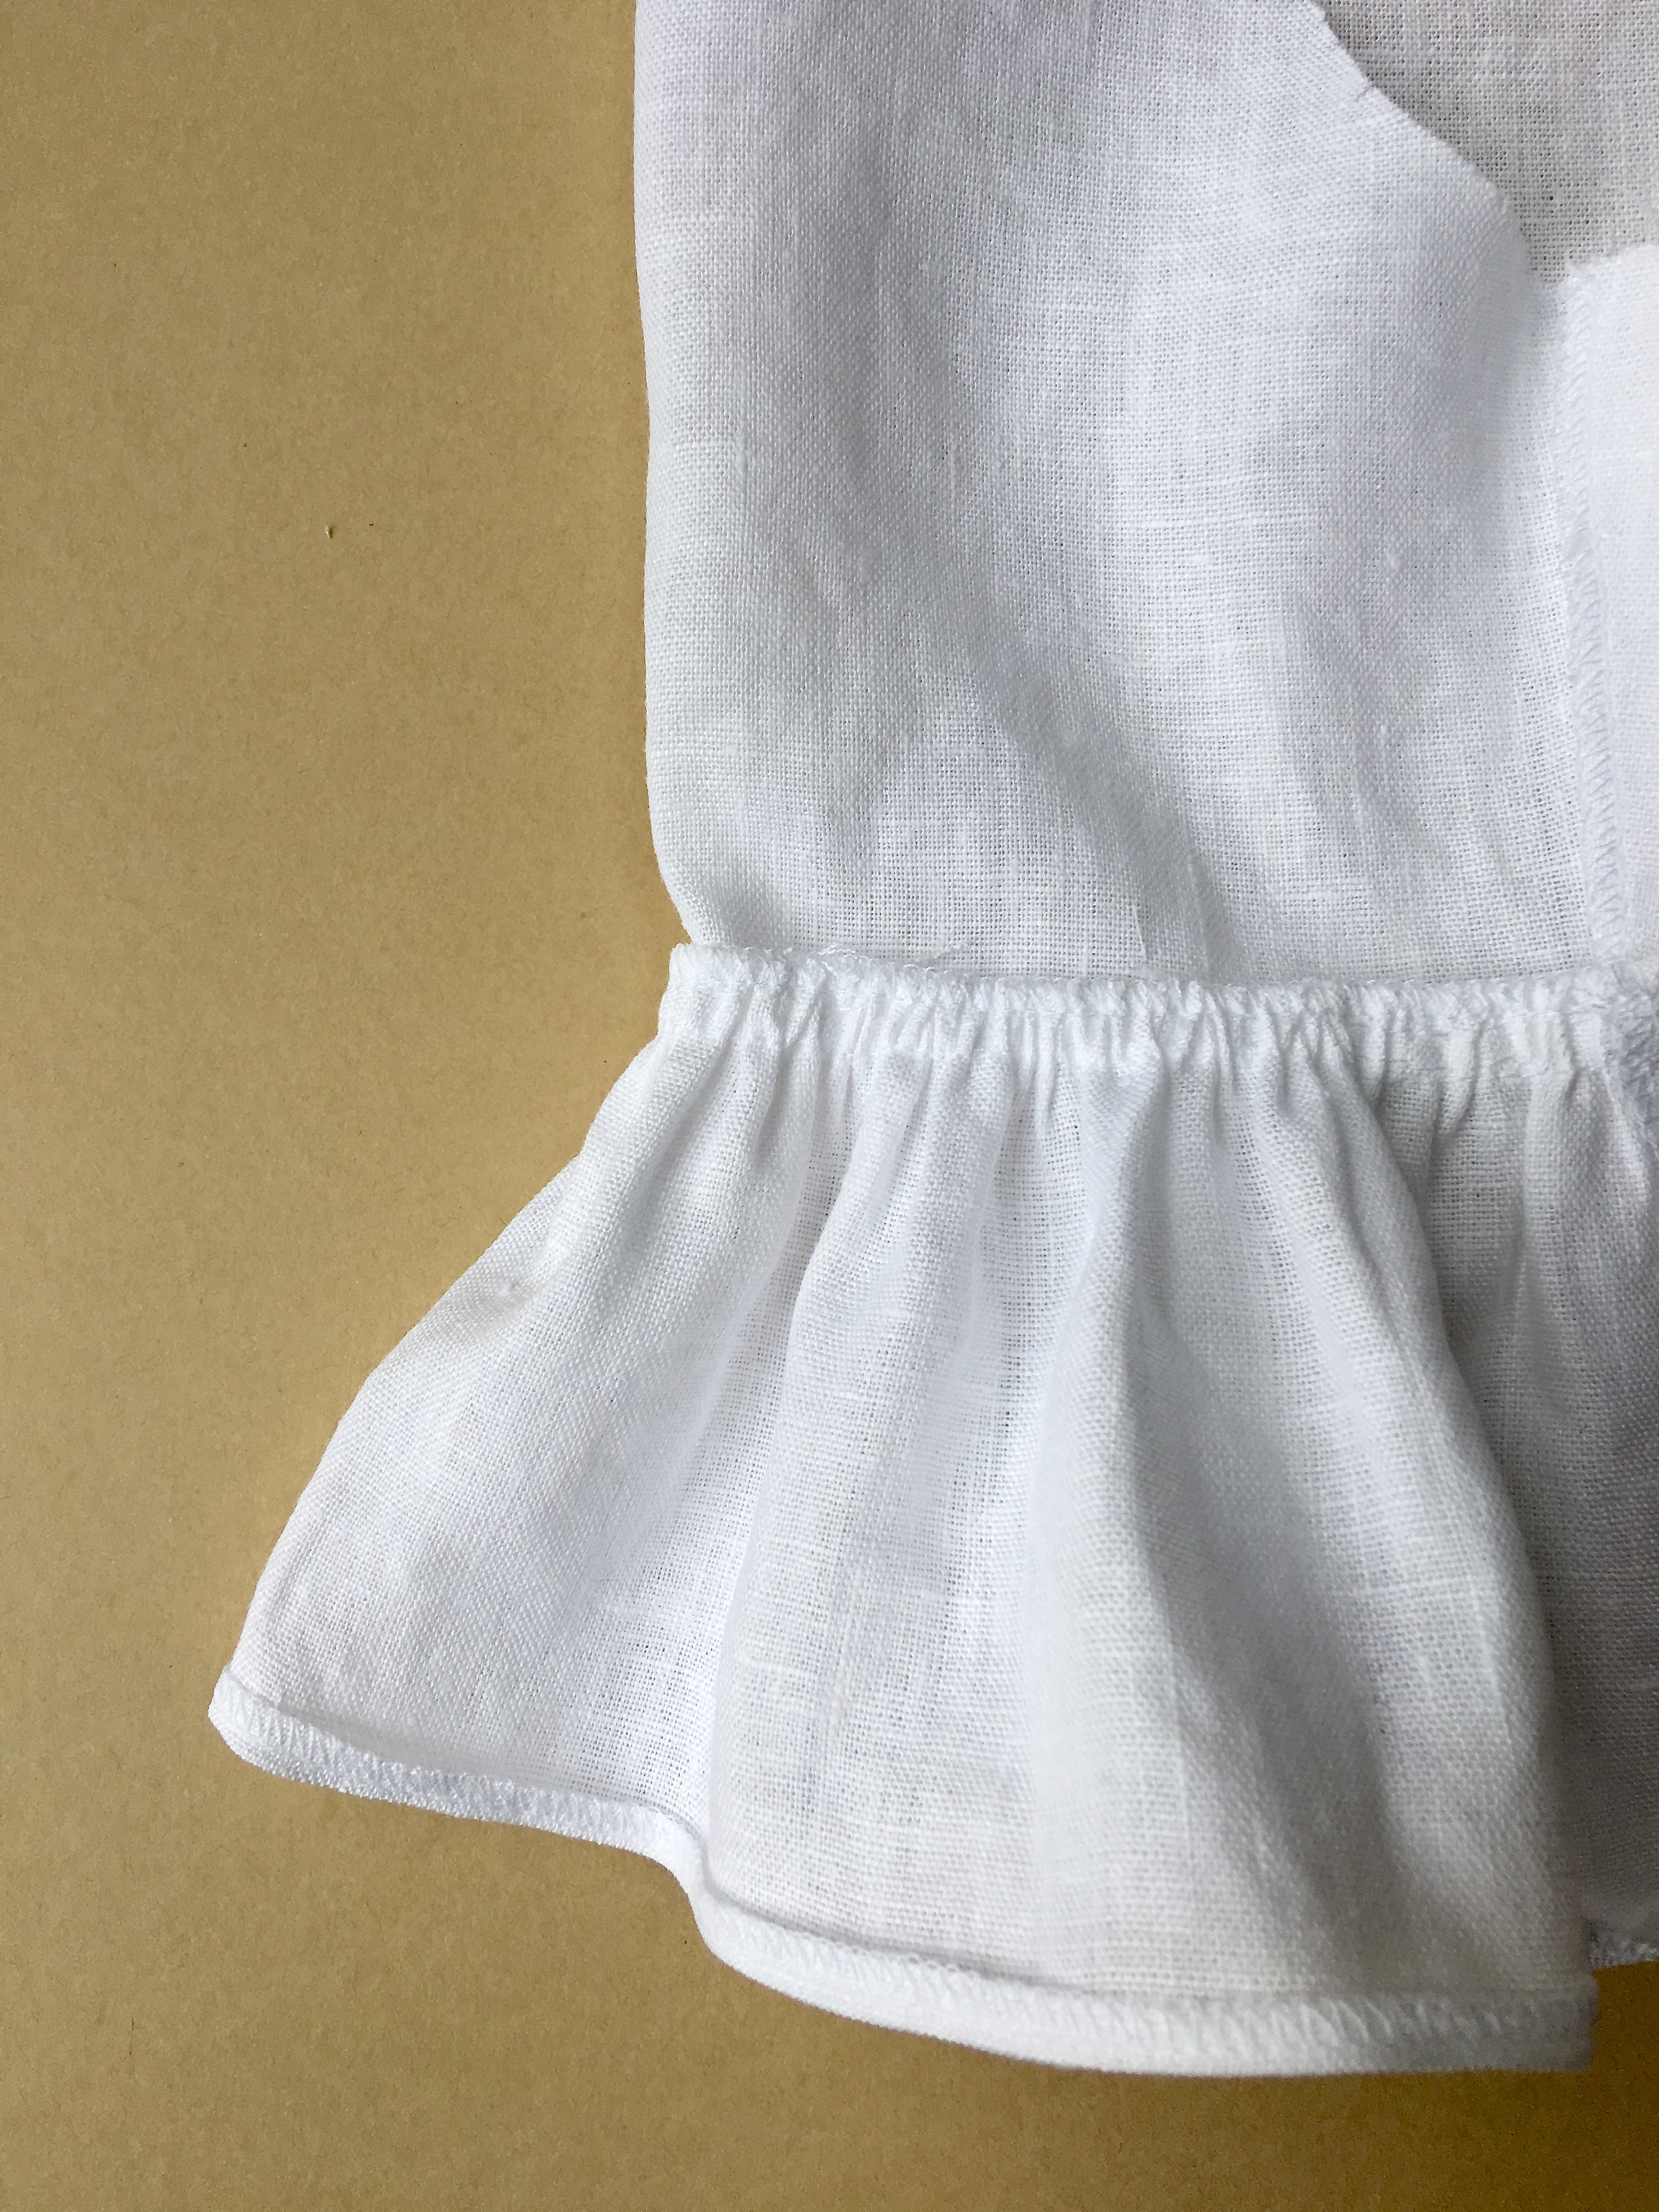
Next, decide how much fullness you want in your frill. I worked on a 2:1 ratio so there is twice the length of fabric for the frill compared to the NETT hem circumference of the sleeve. You can add more if you want, it depends a little on your fabric. A finer fabric might want a bit more gathering than my linen. I did a test to check what it would look like before I cut out my garment.
The one on the left is 2:1 ratio (20cm length gathered onto a 10cm piece of fabric) and on the right 2½:1 (25cm length gathered onto a 10cm piece of fabric)
To make your frill pattern:
It’s not complicated, it’s a rectangle and you’ll need to cut 1 pair.
To calculate the width of the frill pattern: take the NETT sleeve hem measurement (without seam allowances) and multiply by the ratio amount of frill.
The depth of the pattern is how deep do you want your frill to finish – I made mine to finish 10cm.
EXAMPLE:
In my case with a 2:1 ratio – PATTERN WIDTH is 36cm (nett hem width) x 2 = 72cm and depth is 10cm.
or for more fullness with a 2½:1 ratio – PATTERN WIDTH is 36cm x 2½ = 90cm and depth is 10cm.
Then add 1cm seam allowance all the way around the pattern piece. The grainline runs in the same direction as the sleeve, so along the shortest side of your pattern. You can change the grainline to run along the width if that works better for your fabric. If you are cutting stripes, they would look very nice running around, rather than down, the sleeve.
MAKE:
Make your garment up following your usual instructions. We will make the sleeves completely before setting them in.
SLEEVE: With RST, stitch the underarm seam, overlock and press open.
FRILL: With RST stitch the fold the frill in half so the shortest seams are together. Stitch with a 1cm S/A, overlock and press open.
Run 2 rows of gathering along one edge and pull up evenly to the sleeve hem measurement.
Divide sleeve hem and frill into quarters, by folding in half and then half again and mark these points. With RST pin frill to sleeve hem, line up the at seams and the marks you just made to keep your gathering spread evenly. Attach the frill to sleeve hem with 1cm S/A. Check its all even and lovely before overlocking the seam and pressing upwards towards sleeve.
Overlock frill hem. Turn and press overlocking to the wrong side and edgestitch hem.
Give a press and then carry on and set in your sleeves and finish your garment.
And don’t forget when this frill sleeve trend has passed, don’t hide your French Dart Shift in the back of the wardrobe – chop off the frills and give it a new life!