Posted on

The Joy Dress | by Jen Hogg

Many of you will know Jen as a semi-finalist from The Great British Sewing Bee in 2019 and from the Jenerates Sewing Ruler. I first teamed up with Jen as part of our French Dart week a little while ago when Jen’s glorious Nani Iro French Dart popped up on our Instagram. If you haven’t seen that post you can find it here, it’s a marvellous hack! And I’m delighted to say Jen has returned as a guest writer to share her thoughts on our latest pattern The Joy Dress.

PAID POST | This article was  written by Jen Hogg. I have paid Jen for her time, skills and effort, but all opinions are her own.

So let me hand you over to Jen!

So far I’ve made 3 versions of this dress and I love them all. 

The colourful check version is made from a fine linen, which was actually a piece of surplus from a mill in Ireland.  The fabric is very soft with good drape, which also meant it was a complete pain to cut out.

Version 2 is again in a linen, this time a gorgeous green which was a gift from my very good friend and fellow Sewing Bee, Mercedes.  It’s a little firmer than the checked linen, but my challenge this time was that Mercedes was envisaging a top, but I decided to squeeze a dress out of it, as you do!  The frill was sacrificed.

The third version is from a piece of vintage cotton gingham, the most robust of the three fabrics I used.

As always Mrs M has given us great instructions and technique tips so I’m only going to go over the hacks I made.

Adding length

The sizing on this pattern was perfect for me.  My only alteration was to add length because I wanted this dress to fall just above ankle length.  I’m quite tall and I added a 1.5cm to the bodice and 14cm to the skirt, both at the points marked on the pattern.

Stabilising the neck and arm holes. 

Instead of stay stitching, Mrs M suggests using fusible interfacing to stabilise the neck line.  I love this technique, it gives such a crisp finish. 

I cut strips of weft-insertion woven interfacing with a pinking cutter, which gives a softer edge.  This is something I always do if I’m applying interfacing to the back of the garment fabric – by that I mean the fabric which is actually going to be the outer layer of my garment and not the facing or lining.  It means you shouldn’t see a ridge where the interfacing ends, though as always, if in doubt try it out on a scrap first.

The strips are cut on the bias which means they curve round the neck and armholes perfectly.  I ironed them centred on the stitch line, on top of a silicone baking sheet / oven liner.  The glue on the interfacing doesn’t stick to the sheet, so you can go over the edge without wrecking the ironing board cover.

In seam pockets

As usual I used the couture method for these, where the pocket is formed entirely on the front part of the dress. There’s a summary of that technique here.
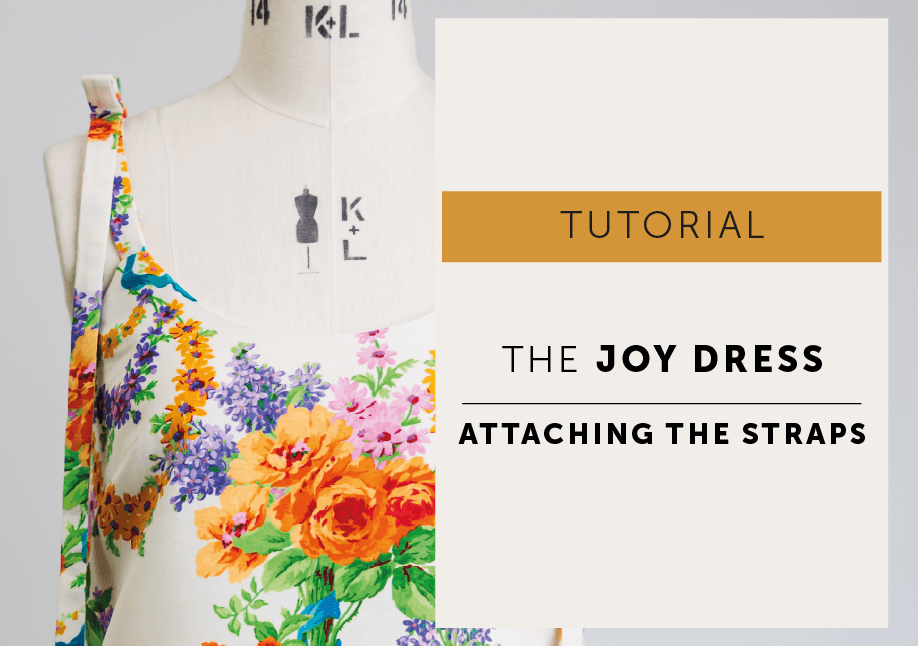
No-tie straps

My first version of the Joy dress was the checked linen.  I thought that there was enough going on for me with the check and the frill, so I decided to make the straps plain.

  • Cut straps are the same width as in the pattern.
  • Make two straps longer than you’ll need.  I made mine about 45cm long to give me plenty of room for adjustment.
  • Attach the straps to the front of the dress per the pattern instructions. 
  • Don’t attach them to the back.  Instead, stitch the facing to the body leaving a gap for each of the back straps.  My gap is marked in pink pen in the photo, and the strap notches are marked by the red pins. 
  • Before understitching the facing, try the dress on.  Flip the facing to the inside and pull the straps fully through at the front so they sit in the correct position.  Pin the straps to the back to give you a good fit. 
  • With the dress still right-way-out, and before you unpin the straps at the back, mark the length you need, right the way across the strap.  I use an iron-off Frixion pen for this.  At this stage I check my straps are the same length
  • Poke the back straps through the gaps you left when you stitched the facing to the body.  Make sure they’re not twisted at this point.
  • Turn the dress wrong-side-out, and pull the straps through until the line you marked on them matches up with the stitch line either side of the gap.

  • Now finish off sewing the facing and the body together by stitching across the gaps, with the straps in place. 
  • That’s you back on to the pattern instructions, to understitch the facings.

Adding volume to the back


I love the silhouette of this dress, with the volume at the back.  I decided to play with that a little on the gingham version, and added 8cm to the width at the centre back.  It’s very swishy.

No frill

The green version was tight for fabric, so it’s frill-less.  Very simply, I added the frill length to the dress pieces and hemmed it by hand.

Keeping the back facing in line

Mrs M suggests sewing a few bar tacks among the folds at the back facing to stop it from rolling over, if you’re using soft fabric.  It absolutely works.  Mine are about 2cm long, and don’t interrupt the flow of the dress at all.

I’m sure these won’t be my only version of the Joy dress.  The fit at the neck is perfect, plus the space between the straps and the height of the back are spot on to cover underwear – love that attention to detail.  I can see that it’s going to be a go-to dress pattern for me to use as a foundation for other shapes.  Thank you Mrs M!


Thank you Jen! It always gives me such pleasure to see how our patterns are adapted and personalised. The eagle-eyed among you will have noticed the elastic detail that Jen has added at the back of this beautiful linen version –  READ PART 2 with all the details HERE!


Jen Hogg lives in Glasgow with her husband and dog, and has two children at university. She reached the semi-final of The Great British Sewing Bee Series 5 (2019) and now runs a small business selling self-designed sewing tools and writes for a variety of magazines and blogs. In addition to sewing, she enjoys knitting, crochet and many other textile crafts, as well as silversmithing, photography and generally making things. You can follow Jen on Instagram and Facebook @jenerates, and at www.jenhogg.co.uk


Posted on

Introducing our new pattern – The Joy Dress

Say hello to Joy!

We are so happy to share a little Joy with you!

Our newest pattern Joy is the perfect easy-to-wear dress.
She’s a lovely versatile addition to your summer wardrobe, comfortable and yet smart enough for any occasion.

Style Joy with flip flops for the beach, trainers for sight-seeing or heels for cocktails on the terrace.
Your choice of fabric will mean Joy can be casual and fun or choose a luxurious silky fabric in a fabulous print to make a chic statement dress.

Joy has a scoop neckline and the option of a plain back or why not make Version B that has this delightful gathered back detail.

Joy is a slim A-line shape with a relaxed fit through the waist, frilled hem, and tie strap and, of course, I included in-seam pockets.

Version B has a little more ease at the waist and hips due to the gathering detail on the back bodice.

As always, we’ve made this pattern with the idea you may want to pattern hack!

Joy is midi-length, finishing comfortably past the knee, but it’s easy to lengthen using the adjustment lines on the pattern should you fancy a bit of swishy ankle length drama. Or you could easily make her slip dress style without the frill if you are short of fabric.

We have kept the neckline the same as The Simone Set, so it will be easy to interchange the straps. And keep an eye out for our upcoming joyful blog post from Jen Hogg with all the details on how she made her dresses (3 of them!) with a fixed strap instead of the tie option and added extra fullness.

| DESIGN FEATURES |

• Version A – plain back
• Version B – gathered back detail
• Adjustable tie straps
• Bust darts
• Scoop neckline
• In-seam pockets
• Frill hem

The Joy Dress is and Advanced Beginner pattern and is available in UK sizes 8-22 (see listing photos for more detailed info).

The Joy Dress is currently available in PDF only, but we hope to print her soon.


FABRIC DETAILS | Floral silk from Selvedge & Bolts // Linen from Ikea bargain corner stitched with Celofil Tencel thread from James Tailoring and machine dyed orange with Dylon dye.


As always, we will be donating 20% of the profit from our launch weekend. The charity we have chosen for The Joy Dress is Coram.org

Every day Coram offers direct, practical help and emotional support to vulnerable children, young people, and their families. They extend support through the Coram Group Charities to help children and young people access their legal rights and school children avoid harm by making safe and healthy choices.

I want to just make it clear we are not in any way linked to Coram.org but coincidentally my maiden name is Coram and Mr M and I have recently joined our business together and are officially called The Coram Group Limited!

Happy Sewing from Maven HQ


Posted on

The Joy Dress | attaching the straps and facing

Are you ready for some sewing Joy?! The Joy Dress, our latest pattern, will be live at 6pm tonight!

The one place that needs a little attention when making the Joy Dress is the front straps – a little attention to detail here can help to make your garment look really professional and avoid a lumpy step either side of that strap.

It’s the same method used for our Simone Set Camisole but who doesn’t love an extra photo tutorial? 

Ready for some lovely straps? Jolly good! Read on…

  • So at this point in the construction process you will have followed the instructions in your Maker Instruction booklet and your dress body and facing will be made up but still separate.
  • You will have made and turned through your straps.
  • Do make sure you give everything a gentle press before continuing!

ABBREVIATIONS | CB: centre back | CF: centre front | WS: wrong side  | RST: right side together | RS: right side | SA: seam allowance

ATTACH THE FRONT STRAPS

The dress has a 1cm SA on the neckline and armhole and back edge and 1cm SA on the camisole ‘peak’ to attach the front strap. I’ve drawn in the SA stitchlines with black pen for illustrative purposes. (I’m recycling photos for this tutorial from the Simone Set tutorial so if the seam allowance looks slightly smaller than I’m stating, it’s because in these photos they are 😉 but don’t worry because the construction is exactly the same.)

STRAPS – attach at front |

  • Place the strap to front camisole with RST (right sides together).
  • Align the top of the strap with the top edge of the camisole.
  • Staystitch in SA to hold strap in place.
  • Repeat for the other front strap.
  • Attach the back straps following the in the instruction booklet.

ATTACH THE FACING

  • Turn body so RIGHT SIDE is facing out and turn the facing so WRONG SIDE is facing out.
  • With RST slide the camisole inside the facing.

  • Align the neckline, armhole and back edges, matching notches and side seams and pin.
  • Make sure that straps are hanging straight down and not caught in the facing edge. The straps will be sitting between the body and the facing.
  • Anchor straps firmly in place by stitching straight across at the ‘peak’ at the notches and through all layers.

On this stitchline, mark the outside edges of the straps with chalk or fabric marker pen, it should be something that won’t leave a permanent mark.

  • Attach the facing to the body at the neckline, armhole and back with a 1cm SA. It’s important that you stitch through the intersect point you marked earlier (at the edge of the strap) to avoid a step on your finished camisole.
  • If necessary, adjust your line of stitching by taking more or less SA. I’ve drawn the original SA in black pen but I’ve adjusted my stitchline to make sure I stitch through the intersect point.
  • Press the stitchline to set the stitches and trim SA at the strap to reduce bulk. Trim the SA at neckline and armhole down to 6mm SA on the curved edges. I prefer to the trim SA, rather than clipping or notching, as it gives a smoother curve. (Also, I rarely grade a SA and only ever bother if it is necessary to reduce bulk for a thicker fabric.)
  • Turn through to RS and check you are happy with the straps!

So why am I being so pedantic about stitching to those intersect points?

Because I want to show you how to make a garment that you can wear and be proud of.  The straps are one area where a little bit of knowledge and extra care will make all the difference to the finished result. Does this mean that it has to be perfect. No. This isn’t couture. The aim is just for you to be happy with it. So let me show you what we are trying to avoid…

  • Stitching too wide and missing the intersect point = “steps” either side of the strap

  • Stitching to the inside of the intersect points = the strap doesn’t turn through to the right side properly and will reduce in the length slightly because it’s caught at the point where you have stitched over it.

| UNDERSTITCH |

To make the facing seam roll to the inside of the camisole the next step is to understitch.

  • Turn camisole to RS and pull the facing out so it is extended away from body.
  • RSU understitch through the facing and SA layers. (You may find it easier to press the SA towards the facing before understitching, but it can be done without).
  • Stitch as far as you can up to the front strap peak area, you will only be able to go so far because of your sewing machine foot.
  • Turn facing to the inside of the camisole.
  • Carefully press along the edge with the seam rolled very slightly to the inside of the camisole so it is not visible on the RS .
  • You can find our UNDERSTITCHING TUTORIAL HERE
  • And finally STITCH IN THE DITCH of the side seam to attach the facing and body together.

PERFECT! Now just tie your straps in a delightful little bow and you’ll be ready for the sunshine!