
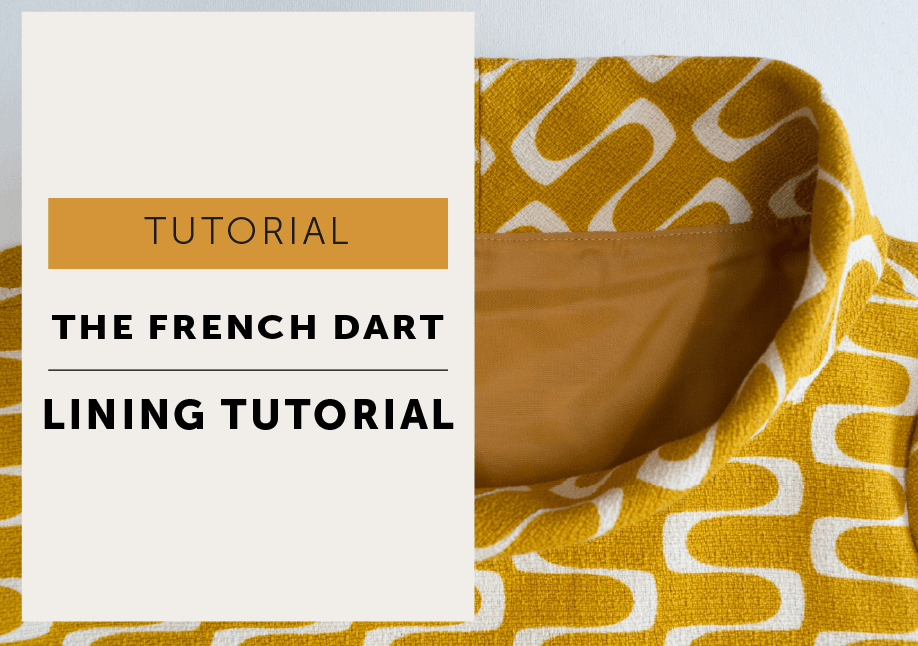
How do you add a lining to a dress or garment so it looks clean on the inside as well as the outside? Adding a lining is a simple but transformative step in garment making, giving your pieces a more professional finish, improving comfort, and helping certain fabrics drape and wear better. In this tutorial, we walk you through how to draft and sew a lining so it fits neatly within your garment, with all the key construction steps clearly explained.

How to add a lining to The French Dart sewing pattern
I wasn’t planning to do a lining tutorial at all, but happily finding 2 metres of the perfectly coloured gold lining in my stash to match this beautiful Barkcloth, set me off on a path….and I thought it might be useful! So, let’s add a lining to The French dart pattern.
SUPPLIES
You will need The French Dart Shift Pattern (or similar style dress pattern) and the fabric and haberdashery listed plus
- 1mt lining
- paper to make a lining pattern (if you don’t have pattern paper, improvise…wallpaper, newspaper, A4 sheets taped together)
STEP 1 – PATTERN
Firstly, you need to make a lining pattern. Yep, really you do. You could cheat and just cut the body of the dress in the lining but as lining fabric doesn’t ‘give’ and you may well find that it all gets a little tight across the back. Sometimes you can add a pleat at the back (like inside a jacket, go on take a quick look at one, I’ll wait) but ideally, you don’t want any extra bulk at the back of a dress, just a little extra ease for movement.
So here’s what you do…The finished lining pattern will be WIDER and SHORTER than the main body pattern, and the sleeve is going to stay unlined, so no sleeve lining pattern needed!

Trace off the front and back body pattern, marking all the notches and darts. Extend the shoulder seam by 3mm and mark with a cross.
Next, mark a point half way down the armhole and 5mm OUT from the pattern and again 5mm OUT at the underarm.
Draw a GRADE LINE on the lining pattern 5mm away and parallel to the Centre Front Line (CF).

Redraw the armhole: using your original pattern piece as a template to join the points you just marked together.
The side seam needs to move OUT 5mm as well: Take the main pattern and lay on top of the lining pattern. Line up at the underarm (U/A), remember to use the new U/A point on the lining pattern, and the CF with the GRADE LINE (keep the patterns parallel with each other) and re-draw the side seam and bust dart.

Make the lining pattern 3cm shorter (which is the hem allowance of the dress) than the main pattern. The lining pattern will have a 1.5cm hem allowance so it will finish 1.5cm higher than the dress hem because you don’t want your lining on display when you strut your stuff!
Repeat all the above for the back pattern.
Check your lining patterns against your originals…line them up at the C/F’s and C/B’s, are the lining patterns wider and shorter?
Do the front and back lining patterns fit together at the side seam? Yes? Good! Label them as your lining pattern, the size, and to cut them on the fold.
Now cut them out in lining.
STEP 2 – SEW
Make the body of your dress as described in your Maker Instructions. (Tape the neckline, make front and back darts, shoulders, pockets and side seams and hem.)
Make and hem the sleeves and put them to one side.

MAKE THE COLLAR
close the centre back (CB) seam and press open, fold collar in half and pin so raw edges are together. Be sure to line up all notches so the collar is not twisted.
With right sides together (RST) pin the folded collar into the neckline of the dress, align notches to prevent the collar from twisting. Tack in 6mm seam allowance (S/A) to hold
MAKE THE LINING
Stitch and neaten bust darts, make back darts, close and overlock side seams together. Close shoulder seams and overlock open.

Double turn hem lining: Press up the hem 1.5cm, and then fold up the hem again so raw edge meets your pressed line, and press in a second line. Re-fold the hem along the pressed lines so the raw edge is enclosed and top stitch the hem.

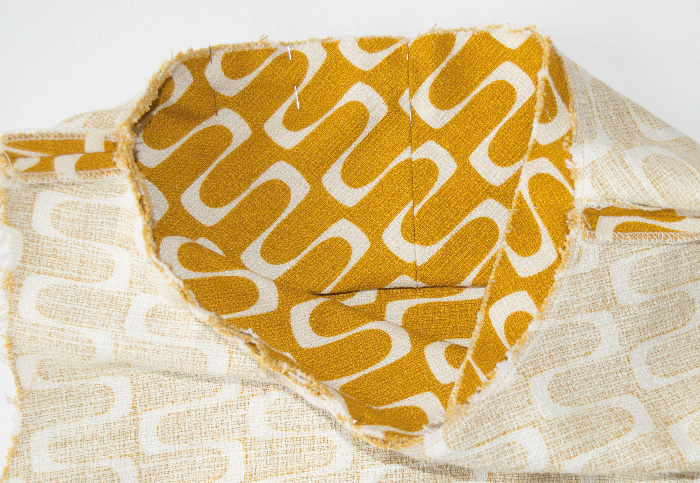
ATTACH LINING AT NECKLINE
With RST, place the lining body inside the main body, align notches and pin. The collar is now sandwiched between the body and lining. Stitch the neckline with a 6mm S/A. Press neckline, with the S/A down and pressed AWAY from the collar. Understitch the lining around the neckline.
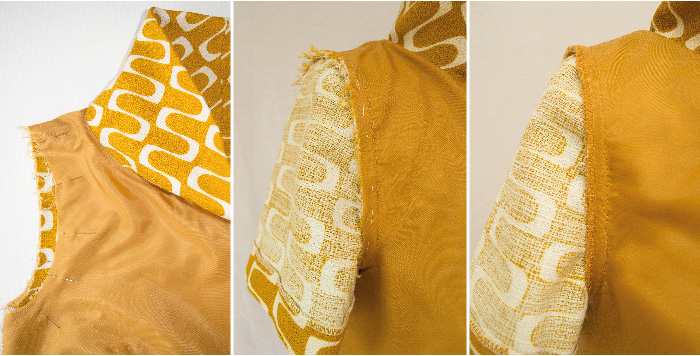
Pin armhole of body and lining together, aligning all the notches. Tack to hold.
Follow the Maker Instructions and set in the sleeves.
Overlock armhole together to neaten, treating all layers (sleeve/body/lining) as one. Give it a press.
That’s it, you’re done…wear and enjoy!
More to Sew …


Hi
What do you do about the pockets? Do you make them in the lining as well.
Thanks.
Nikki
Hi Nikki,
You can use either, it really depends on how heavy your shell fabric is. If it’s a thicker weight then using lining for the pocket bags is a good option. I did use lining fabric for the gold barkcloth one in the tutorial.
Thanks
Sorry to be a bit dumb as never done it before but if I make the pockets as part of the lining. How do I finish the main dress edges and fix to the lining
Nikki
Hi Nikki!
The lining itself doesn’t have any pocket bags, they are just in the main dress. If your main fabric is thick cutting the pocket bags in lining instead of your main fabric will help reduce bulkiness.
And then you just attach them to the main dress as usual.
Thanks
Sorry to be a bit dumb as never done it before but if I make the pockets as part of the lining. How do I finish the main dress edges and fix to the lining
Nikki
Thank you! I was unsure whether the lining should be larger than the body, you saved me from staying stuck in my current project.