![]()

So here at Maven, we do our in-seam pockets a little differently. You may have noticed our pocket bags have a curvy bit, which has many a function.
“So why a curvy bit, Mrs M? Go on then, talk pockets and garment construction.”
Oh well, if you insist!
- That curvy bit acts as a hinge and it gives a bit of support to the pocket bag.
- The curvy bit makes it easier to neaten around the edge of the pocket (especially if you are using an overlocker).
- Our method of construction sets the pocket back from the seam edge so it is less likely to show.
- We don’t have any snipping into seams to make a weak point – pockets are functional and need to be strong!
- The pocket bag is overlocked together after construction, again, so it’s stronger.
If you’ve made a Maven Pattern before, this is the same construction method as our other in-seam pockets – The Barcelona just has different seam allowances because of the bias cut skirt.
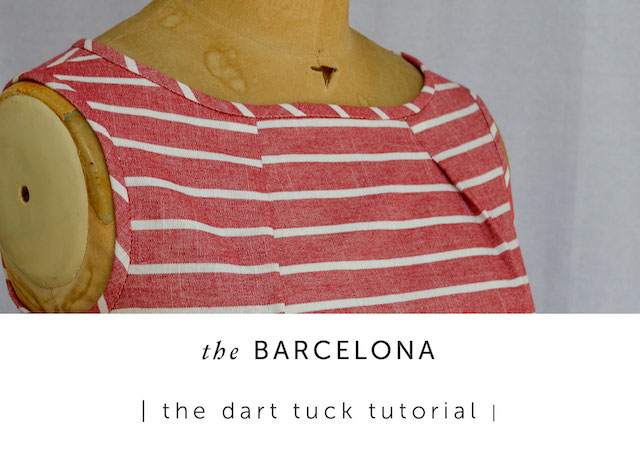
Stripe matching |
I’ve covered the process of sewing with stripes and stripe matching in another tutorial called rather imaginatively ‘Sewing with stripes’.
I did match the pocket bags to the skirt, just to see if it could be done easily. All I did was lay the pocket pattern piece in position directly on the cut skirt panel as if it was ready to be sewn on and then traced the stripes onto the pattern. You don’t really see it unless you look for it, so most definitely not something to worry over unless your fabric is a little sheer and the stripes show through. In that case, I would avoid the issue altogether and cut them in plain cotton!
METHOD |

Interfacing | your garment is cut, make sure you have cut 2 PAIRS of pocket bags (so you have 4 bags in total). Transfer the marker dot positions to your garment; chalk, fabric marker pen, tailor tacks – whatever works for you. Fuse the strip of interfacing to the pocket mouth on the FRONT body.

look closely – there is a pocket bag there!
Attach the bags | Place the pocket bags to the front and back garment, with right sides of the fabric facing each other, and so the notches on the pocket bags line up with the side seam notches and stitch together with a 1cm seam allowance.

Front skirt | Overlock (or neaten with your usual method) the raw edge of the pocket bag and garment together, starting and finishing about 3cm above and below the pocket bag.
Back skirt | Rather than starting the overlocking just above the pocket bag – start at the underarm and overlock the entire seam right down to the hem.

Press the pocket bags AWAY from the garment and understitch on the front pocket bags.

Side seam | Pin with right sides of fabric facing each other. When matching a style that has a seam that needs to be aligned I usually start by pinning that together first. Then I use all the pins and match all the stripes! Line up the pocket marker dots on the front body with the corresponding ones on the back body.

Take a 1.5cm seam allowance, start at the underarm and stitch down to the first marker dot, PIVOT * and stitch from the dot across the pocket bag until you are back at a 1.5cm seam allowance on the pocket bag. (The stitch line is marked on the pattern piece, so you could transfer the line across with chalk and a ruler if you wanted). Carry on around the pocket bag, and stitch TO the next marker dot, PIVOT again and continue down to the hem.
*TO PIVOT: stitch to the marker dot, leave your machine needle IN your garment, lift your machine foot and turn your work in the direction you want to stitch, drop your foot back down and continue to stitch – makes a nice tidy corner!

Reinforce each of the corners at the pivot point as in-seam pockets can take quite a lot of stress. Set your machine to a smaller stitch length and just stitch a second machine row DIRECTLY ON TOP of your first row of stitching about 3cm either side of each marker dot. Don’t forget to put your stitch length back to your normal setting!

Neaten | Overlock the front side seam from underarm to hem, all the way around the pocket bag – it’s easier because of the curved shape!!!
Press the pocket bags towards the front body. Press the side seams OPEN above and below the pocket bag, as far as you can.
And from the right side…


Now you get to swish around and smugly say “why yes I did make my dress…it’s got pockets!”