Posted on

How to Gather Fabric Tutorial

how to sew gathering a step by step tutorial

How to sew Gathering: An easy way to sew gathering.

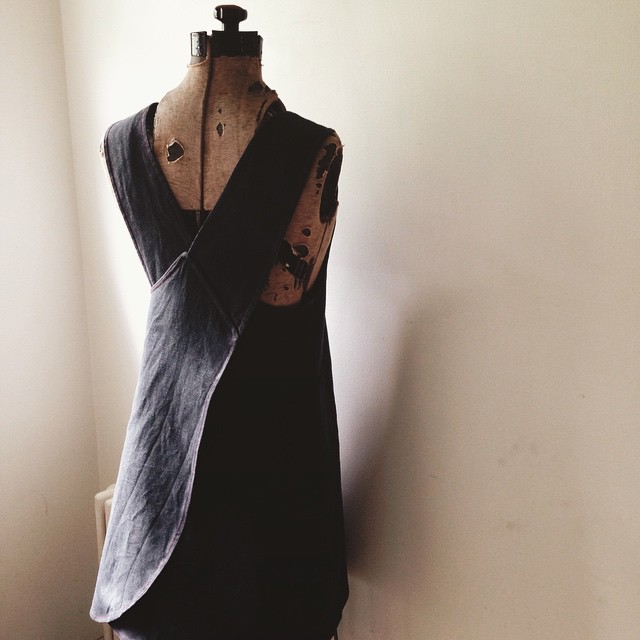
I’ve always avoided sewing garments that had lots of gathering, it seemed like such a lot of work. But with my next pattern release, The Wendy Artisan Smock, I couldn’t really escape it as the whole neckline is gathered and then bound – talk about facing your sewing demons – I’ve now made so many samples, that gathering necklines has actually become quite therapeutic!

So anyway, there is always more than one way to stitch anything, but this is my straightforward method for how to gather fabric using a sewing machine.

UPDATE / I have a new gathering tutorial which a little more in depth – HERE

Maven Patterns - gathering tutorial

How to sew Gathering (as in The Wendy Maker Instructions)

Set your stitch length to the LONGEST possible stitch length for your machine.

You need to stitch 2 rows in the seam allowance, parallel to each other, the first about 3mm from the edge of the fabric. These MUST NOT CROSS each other! Leave long ends to the threads.

Maven Patterns - gathering tutorial

In the case of The Wendy Smock, we’re gathering a neckline that is to be finished with binding, so it’s quite a long run of gathering. I found the best way to manage this was to work in sections (front, back and shoulders), stopping and the restarting at each seam. If your run of gathering is too long, the threads break – trust me, that can be just a little bit annoying.

Pull up the two long threads that are facing you (ignore the ones at the back) and gently slide the fabric along until gathers form, you can work from both ends.

Maven Patterns - gathering tutorial

Continue pulling up the threads until your fabric is gathered to the correct measurement, then wrap the excess fabric temporarily around a pin to hold. Continue along the neckline until it’s all gathered.

Maven Patterns - gathering tutorial

Double check your gathering is pulled up to the correct measurements, try your Wendy Smock Top on and see if it sits right on you. More gathers will make a smaller neckline and less will make a wider neckline, remember to make a note of the new measurements if you change them! When you are happy tie the threads securely together to fix them – you could stitch them in place by hand if you prefer, especially if you are not finishing your garment now.
Then all you need to do is make sure all your gathering is spread evenly before you finish your neckline. Oh yeah, and don’t forget to set your machine BACK to normal stitch length, it’s not like I’d forget to do something like that…

Happy sewing! Mrs M x

Posted on

Instagram first for Maven!

#mavenmakers Salt_of_the_North

#mavenmakers Salt_of_the_North


I’m so excited to share this with you all…The first Maria Wrap Apron has appeared on Instagram! YAY!!

Maddy posted her apron on her lovely Instagram Salt_of_the North. She has made such a beautiful job of this one. I was very intrigued to see she is going to add some red line embroidery to the front, I can’t wait to see it completed. I just love the idea of everyone personalising their Aprons.

You should go and check out Salt_of_the North, it’s a wonderfully curated collection of images – very inspiring. A big thank you to Maddy for sharing her apron and I hope it’s not too long before her dream of being a shepherdess is fulfilled!

Don’t forget to add your own Maven Makes to Instagram by tagging us @mavenpatterns and with the hashtags #mavenmakers #mavenpatterns


Posted on 5 Comments

How to make patch pockets perfectly – every time!

How to make a pocket former.

One of the tricks I learnt after first leaving college (when I was still just a lowly Design Room assistant) was how to make patch pockets perfectly EVERY time – even when they have curved bottoms! I worked with some great sample machinists, who showed me this little trick. Of course, they let me do it wrong a few times before revealing the easiest way in the world.

If you have downloaded The Maria Apron PDF pattern, or the Wendy Smock Pattern  you will already have seen the pattern piece labelled POCKET FORMER with the instruction to cut in card only – this is the same shape as your patch pocket pattern piece but WITHOUT THE SEAM ALLOWANCE and ladies that is the trick – just press your pocket AROUND a piece of card cut to the correct shape!

If you are using a pattern from another designer and don’t have a pocket former pattern piece – fear not! Just trace off your patch pocket pattern piece (or print an extra – oh, the joys of PDF patterns) and cut off ALL the seam allowances to follow along, but do remember to keep the original pocket pattern.

A MRS MAVEN TOP TIP: This is the same method that I used to ‘card’ my design patterns ready to send off to the factories for mass production. So feel free to card the whole pattern if it’s one you use a lot, it’ll last forever!! 

If you are looking for a little help to make and stitch your pockets on The Maria Apron or The Wendy Smock, see our patch pocket tutorial here.

To make a pocket former template in card you will need:

  • One patch pocket FORMER pattern piece (or a pattern WITHOUT seam allowances)
  • A piece of card bigger than the pattern piece, a cereal box is good.
  • Stapler ( and a stapler extractor is useful)
  • Ruler, paper scissors and pencil
Patch Pocket Tutorial - Maven Patterns

Take your POCKET FORMER PATTERN PIECE and fold in half. Take your piece of card and fold in half scoring the fold flat – I use the handle of my scissors.

Patch Pocket Tutorial - Maven Patterns

Place together, make sure the folded edges of both are aligning or your card template will be the wrong size later! Staple to hold in place.

Patch Pocket Tutorial - Maven Patterns

Use the ruler and trace around the outside edge, taking care that you make a right angle at that centre fold line or you’ll get an odd pointy shape in the centre when you cut out the template.Cut out carefully. Because you are cutting it out while folded you know both sides are going to be symmetrical.

Patch Pocket Tutorial - Maven Patterns

Un-staple and remember to write which pattern it belongs to!

So now what do you do with it?

Patch Pocket Tutorial - Maven Patterns

Lay your card pocket former template on your pocket and press the seam allowance all the way around. You’ll get a smooth matching curve on EVERY pocket you make.

Patch Pocket Tutorial - Maven Patterns

Oh, Look they match…how delightful!! Now all you need to do is stitch them on!

Need a little help attaching your pocket, maybe bagging out the corner or with the reinforcement stitch? Take a look at our Patch pocket Tutorial.

Happy Sewing!

Mrs M x

Posted on 3 Comments

The Maria Wrap Apron – PDF Sewing Pattern

Maven Patterns The Maria Wrap Apron web3

The Maria Wrap Apron – PDF Sewing Pattern by Maven Patterns

Maven Patterns The Maria Wrap Apron

At last…an action shot of The Maria Wrap Apron in her natural surroundings.

She was named after my very lovely and creative friend Maria, who is a textile artist – you can see her work here. The apron was created following a conversation with Maria and another friend Miss Kitty about garments that are missing from our lives, a Maker’s apron was needed for creating and for messy print work in the Design Studio. That conversation grew and evolved and now, as a result, I’m naming all of my patterns after the very inspiring ladies I’ve been lucky to meet along my journey,  but I’ll tell you more about them another day.

Maven Patterns The Maria Wrap Apron

This is the full back pinafore dress version (version B), with a tie fastening on the side. You’ll need to wear something under her – perhaps leggings, I’m quite keen on wearing her with my jeans. She looks great with a skinny t-shirt underneath – the styling makes her quite low on the sides so that is more of a necessity than a suggestion!

So, just a little recap …The Maria wrap Apron by Maven Patterns. Perfect for a day in the studio, as a dress, she is great for a day of (fabric) shopping, perfect as a practical apron for one’s domestic duties. And, honestly, there really isn’t a better apron to wear while staring wistfully at the kitchen wall…