Hi! I'm Sharon.
I've always sewn and made stuff. My love of making led me to study fashion and pattern cutting, and I worked for many years as a pattern cutter in London. Now I am an independent Pattern Designer at Maven Patterns, creating my own glorious PDF sewing patterns that you can download and make at home!
https://mavenpatterns.co.uk/shop/
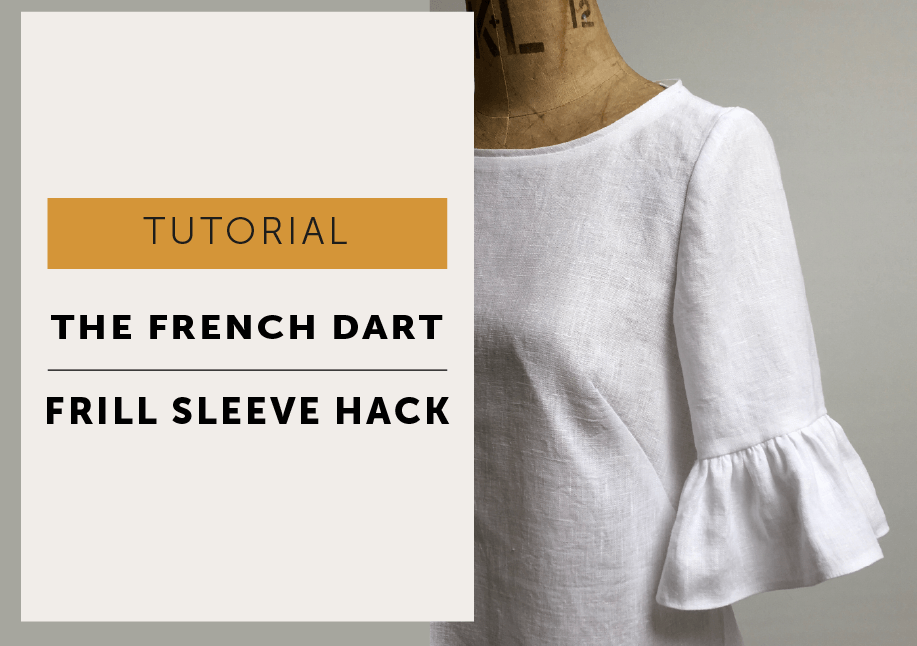
How do you turn a simple sleeve into a soft, frilled statement detail? This pattern hack shows you how to add a frill to the sleeve using straightforward cutting and sewing steps, so you can transform a basic sleeve into something with a little more movement and personality. It is an easy way to adapt an existing pattern and introduce shape and texture without changing the overall fit of the garment.
Sleeves and frills are apparently the ‘thing’ this season.
As you can see from the mood board, frill sleeves are all the rage and anything goes! All you need to do is look for inspiration and decide the length and fullness you want. Take a close look at them…what will it be? The ivory one has a shorter sleeve length and longer frill compared to the black top which has a long frill and full length sleeves. Or the contrast stripe direction with a Breton feel. Maybe a double layer of frilly-ness is your thing. Personally, I love the gingham and the seam stitched to create a ruffled top edge. If you look carefully you can see a peplum at the waist done in the same style. If you want to create this yourself it is the same principle as the method below – a rectangle gathered up and just stitched on. This is a very simple pattern hack that will give you extra mileage out of The French Dart Shift pattern (or indeed any pattern). And here’s the real joy…when you are fed up with frills at your elbows, just chop them off and you are left with a classic top that you will be able to continue to wear for years. No wasteful transient fashions for us!
HOW TO ADD A FRILL TO THE SLEEVE – METHOD
KEY:
S/A: seam allowance / RST: right sides together
Trace the sleeve pattern. Decide the length you want the sleeve to finish without the frill. I wanted my frill to sit just above my elbow so I made my pattern 24cm nett (without seam allowance) in length and then added a 1cm hem allowance to attach the frill with. Check you like the hem circumference width, if you need to adjust it, now is the time but remember you need to be able to bend your arm. I made the size 10 pattern with a 36cm finished hem circumference. (I’m 5’2″ so you may need a longer sleeve than me :/ Just measure your overarm or a garment you like.
Next, decide how much fullness you want in your frill. I worked on a 2:1 ratio so there is twice the length of fabric for the frill compared to the NETT hem circumference of the sleeve. You can add more if you want, it depends a little on your fabric. A finer fabric might want a bit more gathering than my linen. I did a test to check what it would look like before I cut out my garment.
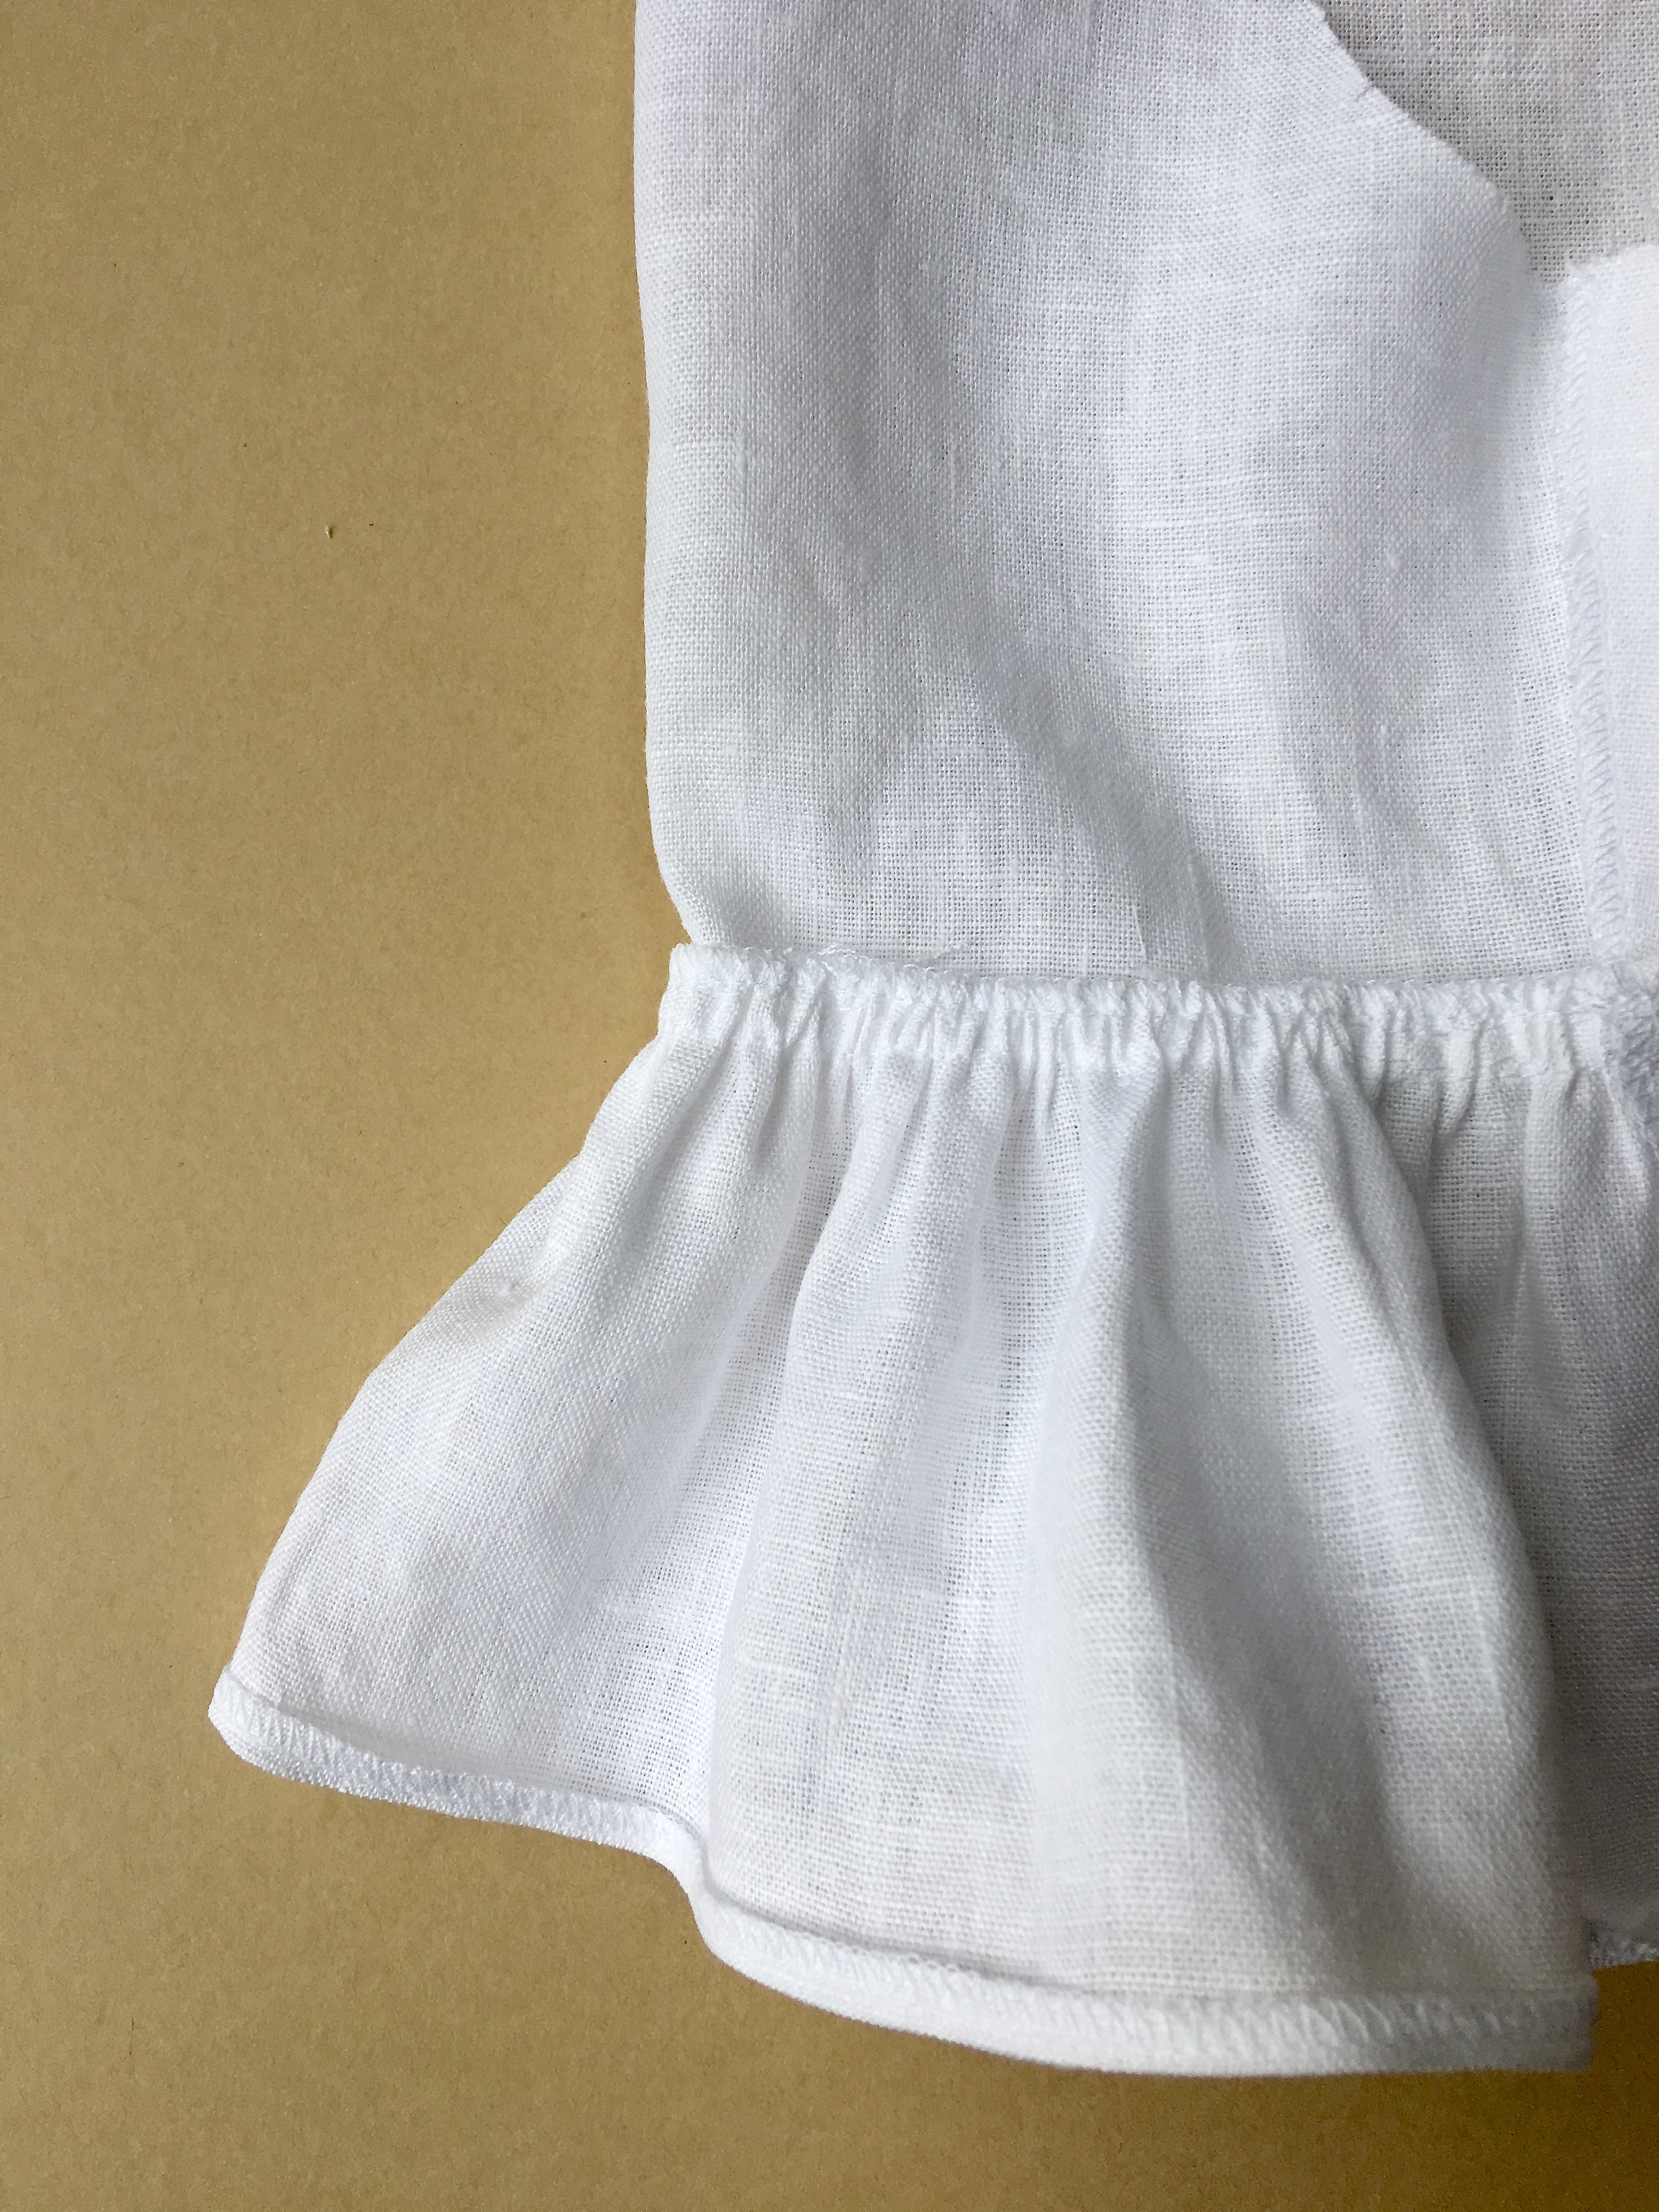
The one on the left is 2:1 ratio (20cm length gathered onto a 10cm piece of fabric) and on the right 2½:1 (25cm length gathered onto a 10cm piece of fabric)
To make your frill pattern:
It’s not complicated, it’s a rectangle and you’ll need to cut 1 pair.
To calculate the width of the frill pattern: take the NETT sleeve hem measurement (without seam allowances) and multiply by the ratio amount of frill.
The depth of the pattern is how deep do you want your frill to finish – I made mine to finish 10cm.
EXAMPLE:
In my case with a 2:1 ratio – PATTERN WIDTH is 36cm (nett hem width) x 2 = 72cm and depth is 10cm.
or for more fullness with a 2½:1 ratio – PATTERN WIDTH is 36cm x 2½ = 90cm and depth is 10cm.
Then add 1cm seam allowance all the way around the pattern piece. The grainline runs in the same direction as the sleeve, so along the shortest side of your pattern. You can change the grainline to run along the width if that works better for your fabric. If you are cutting stripes, they would look very nice running around, rather than down, the sleeve.
MAKE:
Make your garment up following your usual instructions. We will make the sleeves completely before setting them in.
SLEEVE: With RST, stitch the underarm seam, overlock and press open.
FRILL: With RST stitch the fold the frill in half so the shortest seams are together. Stitch with a 1cm S/A, overlock and press open.
Run 2 rows of gathering along one edge and pull up evenly to the sleeve hem measurement.
Divide sleeve hem and frill into quarters, by folding in half and then half again and mark these points. With RST pin frill to sleeve hem, line up the at seams and the marks you just made to keep your gathering spread evenly. Attach the frill to sleeve hem with 1cm S/A. Check its all even and lovely before overlocking the seam and pressing upwards towards sleeve.
Overlock frill hem. Turn and press overlocking to the wrong side and edgestitch hem.
Give a press and then carry on and set in your sleeves and finish your garment.
And don’t forget when this frill sleeve trend has passed, don’t hide your French Dart Shift in the back of the wardrobe – chop off the frills and give it a new life!
We have a new pattern release to share with all of you lovely sewing ladies…
I’m so pleased to put this style out, I’ve loved working on this new pattern so much!
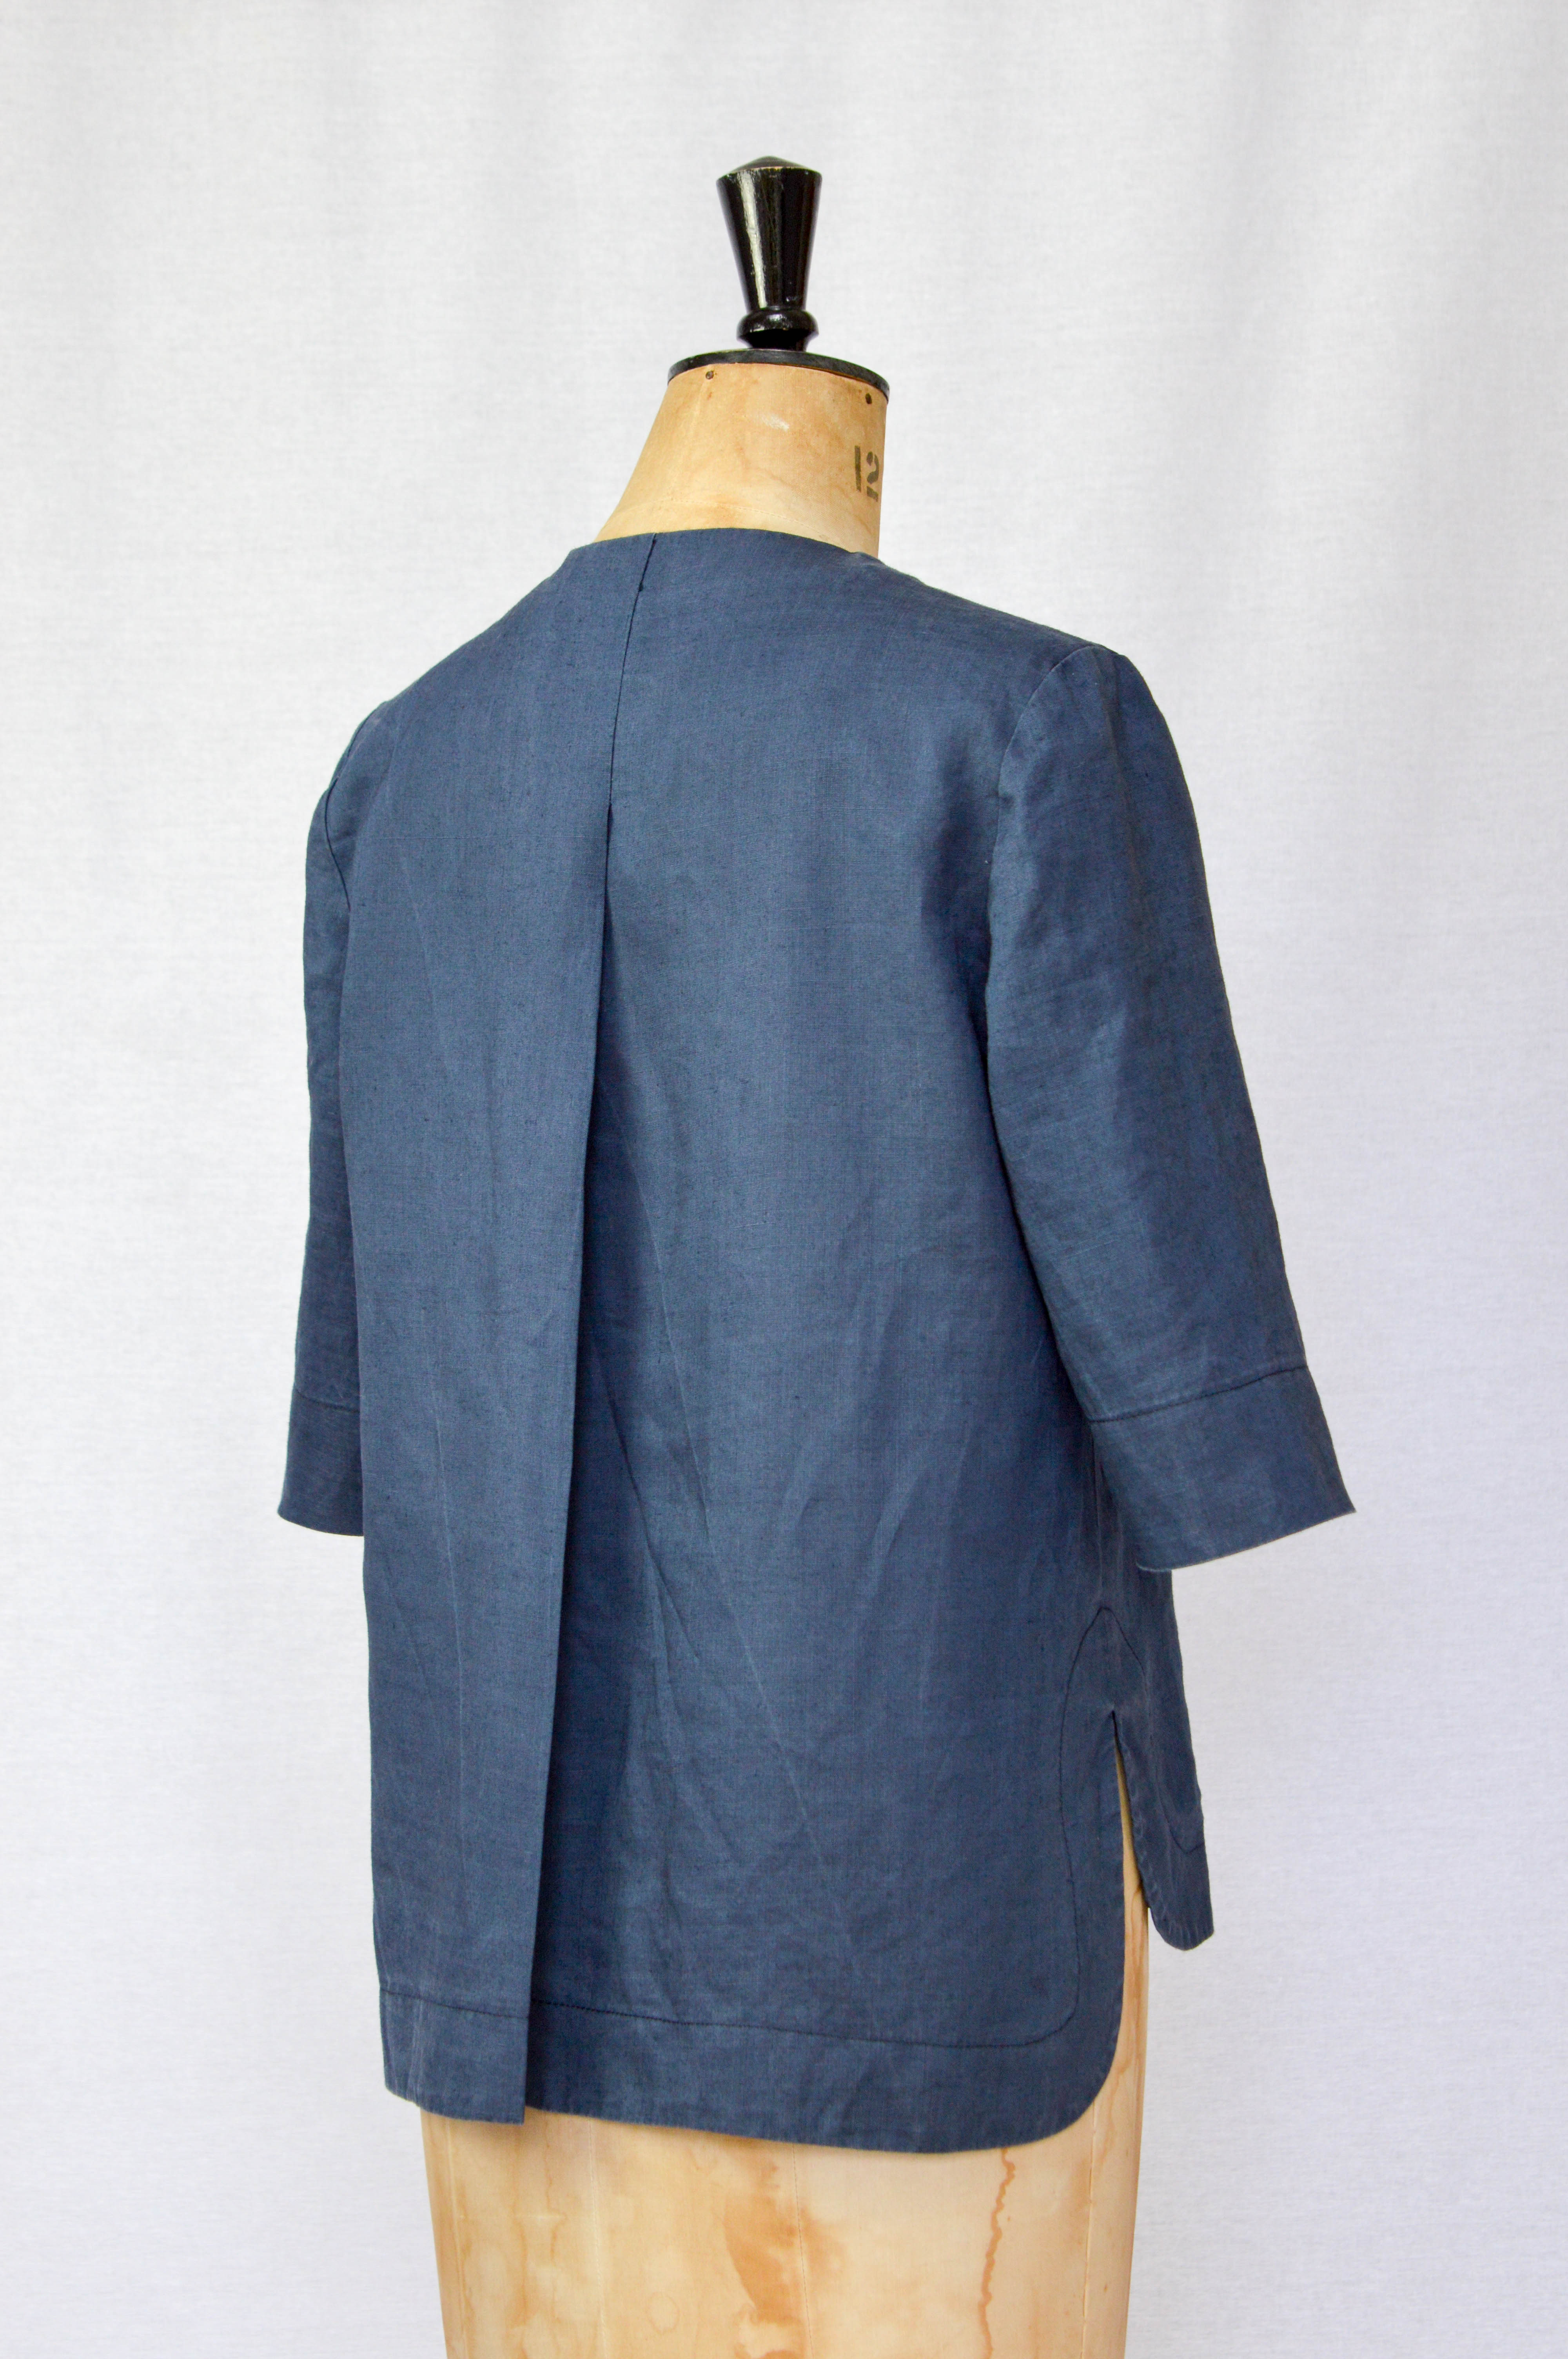
The Rochester has been designed with simple, understated styling in mind. She’s an easy to wear style with a relaxed fit and a slight A-line shape, but fitted at the shoulders for a flattering look. She has a deep centre back pleat, curved hem and side splits with stitched facing and elbow length sleeves.
You have the option to make a top (approx. mid hip length) and a knee length dress. The neckline is elasticated and gathered, so NO ZIP needed – you’re welcome! The top has a small frilled edge on the neckline and the dress has a clean edge but as the pattern is exactly the same and the difference is in the construction they are totally interchangeable – even as you are making them!
We’ve set the sewing skill level as intermediate, the tricky bit is stitching the hem (see the tutorial here) but if you have a little experience and like a challenge, do join in the fun!
DESIGN FEATURES:
SEWING SKILL LEVEL: intermediate
Version A: The Top (mid hip length approx)
Version B: The Dress with tie belt (knee length approx)
Elasticated and gathered front neckline
Elbow length sleeves
Curved hem and side split with feature topstitching
Centre back pleat
In-seam side pockets (dress only)
NO ZIP!
Easy to shorten or lengthen, with guides on your pattern
Unlined
PATTERN FEATURES:
LAYERS FEATURE: select and only print the size(s) you want
MULTI SIZE PATTERN: UK SIZES 8-18
SEE PHOTOS FOR SIZE CHART & FABRIC REQUIREMENTS
Illustrated guide (ENGLISH ONLY) to printing your pattern and sewing your tunic
Fully supported with PHOTO TUTORIALS
Includes seam allowances.
Can be printed on either A4 or US letter paper, using ADOBE ACROBAT READER
A0 copyshop file (2 sheets)
This lightweight linen has worked really well for the top, choose a woven fabric that will be happy to accommodate that gathered neckline…linens, chambrays, lawn or viscose. The dress is made in the most wonderful crepe but it wasn’t happy with the frill – hence the 2nd neck option.
This hem detail is one of my most favourite things – there is a template included in the pattern to give you a topstitch guide line to make life easier! I’ve also added ‘length/shorten your pattern here’ guidelines on the pattern for The Rochester so you don’t have to worry about the curves and the facing if you need to make any length adjustments. The dress is approximately knee length (Eve is 5’4″ as a guide).
Oh and pockets…always need pockets in a dress. Looks good without the tie belt too!
I hope you all love our new pattern, The Rochester, as much as we do xxx
You can get 20% off the usual price until midnight (GMT) on Sunday (21/5/17)