


She’ll be released into the wild tomorrow people!
And with a cheeky little Valentines Weekend Offer…spread the word!
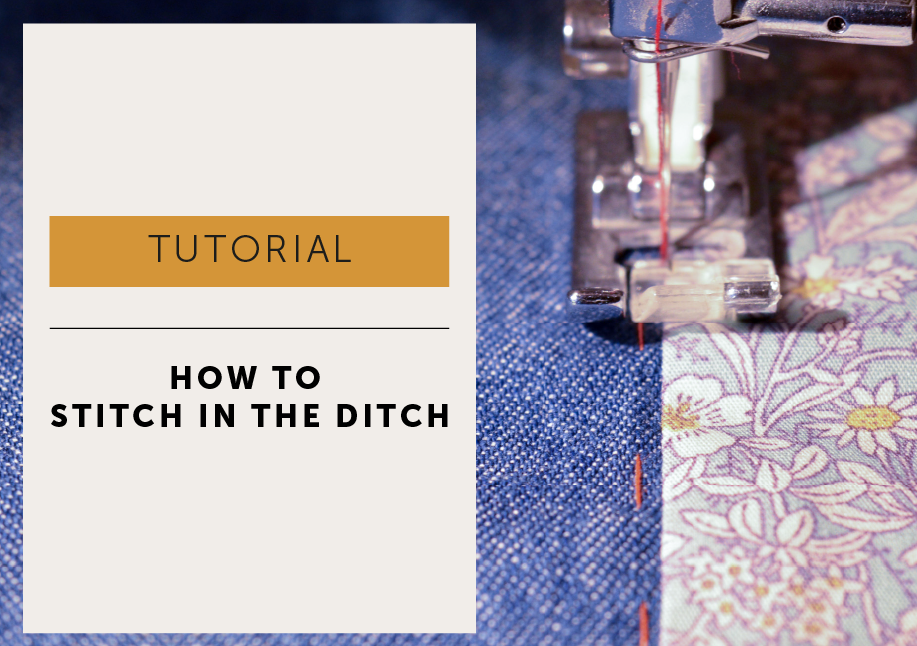
What does “stitch in the ditch” mean, and when should you use it in sewing? Stitching in the ditch is a discreet technique that hides stitches within a seam line to secure facings, waistbands, bindings and other finishes neatly from the outside. In this tutorial, we show you how to stitch accurately in the seam “ditch” for an almost invisible finish, along with tips to help you achieve clean, professional results.
Stitch In the Ditch is a sewing technique where you machine stitch directly in the channel or ‘ditch’ of a seam. It’s used a lot in quilting and sometimes known as ‘ditch quilting’. As the stitches sink into the ditch they are barely visible on the right side of a garment and one of my favourite ways to anchor facings, waistbands and collars without visible topstitching. I’ve touched on the ‘Stitch in the Ditch’ technique before in the Bias Binding tutorial. I find it’s a very handy little process to know and have in your sewing tool box.
The French Dart Shift pattern has a lovely roll collar that needs to be finished at the neckline so it is neat and secure to the inside of the garment. I could have finished the neckline with a facing, but it would have annoyed me flapping about, so instead it’s held in place by a row of machine stitching called ‘Stitch in the Ditch’.
I’ve always called this technique ‘Sink Stitching’, but in an incredibly unscientific poll on Instagram consisting of at least 4 comments, ‘Stitch in the Ditch’ came out top as the preferred name – so I’ll try to remember to stick with that for this ‘How to Stitch in the Ditch’ Tutorial.
I‘ve based this tutorial as if you are stitching the collar on the French Dart Shift so you have a folded edge to cover your seam with, but you could just stitch in the ditch at side seams to hold down a waist facing, or in a shoulder seam to hold a neck facing, or just overlock the bottom of a waistband and stitch in the ditch through the waist seam to secure in place.
DENIM = garment.
PRINT = collar (could be binding, waistband, facing … you get the idea)

1. WITH THE WRONG SIDE OF GARMENT FACING YOU:
Press all the seam allowances AWAY from garment. Cover the machine stitching by about 2mm with edge of collar (*waistband, binding, facing…) and tack to hold in place.

2. Now you get to stitch in the ditch…
With RIGHT SIDE of garment facing you, line up your machine needle with the groove (the ditch) of the seam and stitch right IN that groove. That’s it, easy peasy! It’s all in the prep, as long as you stitch IN the groove and to the right of your tacking thread the back will be caught and your stitches will be virtually invisible as they will ‘settle’ into the groove of the seam.

3. Stating the obvious here: I’ve stitched in red, but stitch in the same colour as your main fabric even if you are using a contrasting topstitching colour so those stitches do actually sink in to the groove and disappear.
Also it doesn’t look SO great if your needle jumps out of the groove! I did that on purpose, just to show you – honestly, the sacrifices I make 😉


The Maria Wrap Apron – PDF Sewing Pattern by Maven Patterns

At last…an action shot of The Maria Wrap Apron in her natural surroundings.
She was named after my very lovely and creative friend Maria, who is a textile artist – you can see her work here. The apron was created following a conversation with Maria and another friend Miss Kitty about garments that are missing from our lives, a Maker’s apron was needed for creating and for messy print work in the Design Studio. That conversation grew and evolved and now, as a result, I’m naming all of my patterns after the very inspiring ladies I’ve been lucky to meet along my journey, but I’ll tell you more about them another day.

This is the full back pinafore dress version (version B), with a tie fastening on the side. You’ll need to wear something under her – perhaps leggings, I’m quite keen on wearing her with my jeans. She looks great with a skinny t-shirt underneath – the styling makes her quite low on the sides so that is more of a necessity than a suggestion!
So, just a little recap …The Maria wrap Apron by Maven Patterns. Perfect for a day in the studio, as a dress, she is great for a day of (fabric) shopping, perfect as a practical apron for one’s domestic duties. And, honestly, there really isn’t a better apron to wear while staring wistfully at the kitchen wall…
