Posted on

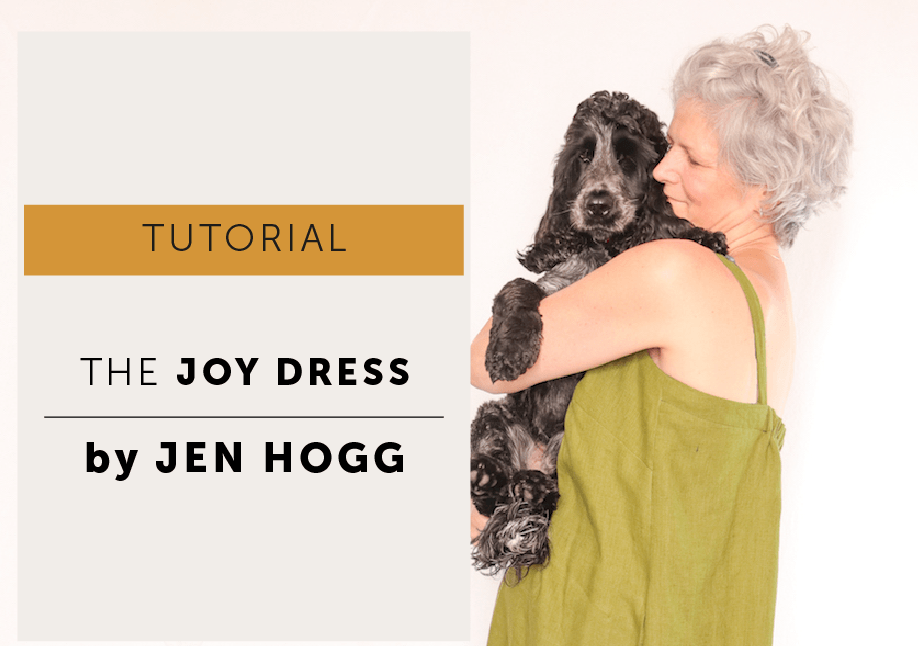
The Joy Dress by Jen Hogg

The Joy Dress Sewing Pattern by Jen Hogg - Maven Patterns

Many of you will know Jen as a semi-finalist from The Great British Sewing Bee in 2019 and from the Jenerates Sewing Ruler. I first teamed up with Jen as part of our French Dart week a little while ago when Jen’s glorious Nani Iro French Dart popped up on our Instagram. If you haven’t seen that post you can find it here, it’s a marvellous hack! And I’m delighted to say Jen has returned as a guest writer to share her thoughts on our latest pattern The Joy Dress.

PAID POST | This article wasย  written by Jen Hogg. I have paid Jen for her time, skills and effort, but all opinions are her own.

So let me hand you over to Jen!

So far Iโ€™ve made 3 versions of this dress and I love them all.ย 

The colourful check version is made from a fine linen, which was actually a piece of surplus from a mill in Ireland.ย  The fabric is very soft with good drape, which also meant it was a complete pain to cut out.

Version 2 is again in a linen, this time a gorgeous green which was a gift from my very good friend and fellow Sewing Bee, Mercedes.ย  Itโ€™s a little firmer than the checked linen, but my challenge this time was that Mercedes was envisaging a top, but I decided to squeeze a dress out of it, as you do!ย  The frill was sacrificed.

The third version is from a piece of vintage cotton gingham, the most robust of the three fabrics I used.

As always Mrs M has given us great instructions and technique tips so Iโ€™m only going to go over the hacks I made.

Adding length

The sizing on this pattern was perfect for me.ย  My only alteration was to add length because I wanted this dress to fall just above ankle length.ย  Iโ€™m quite tall and I added a 1.5cm to the bodice and 14cm to the skirt, both at the points marked on the pattern.

Stabilising the neck and arm holes.ย 

Instead of stay stitching, Mrs M suggests using fusible interfacing to stabilise the neck line.ย  I love this technique, it gives such a crisp finish.ย 

I cut strips of weft-insertion woven interfacing with a pinking cutter, which gives a softer edge.ย  This is something I always do if Iโ€™m applying interfacing to the back of the garment fabric โ€“ by that I mean the fabric which is actually going to be the outer layer of my garment and not the facing or lining.ย  It means you shouldnโ€™t see a ridge where the interfacing ends, though as always, if in doubt try it out on a scrap first.

The strips are cut on the bias which means they curve round the neck and armholes perfectly.ย  I ironed them centred on the stitch line, on top of a silicone baking sheet / oven liner.ย  The glue on the interfacing doesnโ€™t stick to the sheet, so you can go over the edge without wrecking the ironing board cover.

In seam pockets

As usual I used the couture method for these, where the pocket is formed entirely on the front part of the dress. Thereโ€™s a summary of that technique here.

No-tie straps

My first version of the Joy dress was the checked linen.ย  I thought that there was enough going on for me with the check and the frill, so I decided to make the straps plain.

  • Cut straps are the same width as in the pattern.
  • Make two straps longer than youโ€™ll need.ย  I made mine about 45cm long to give me plenty of room for adjustment.
  • Attach the straps to the front of the dress per the pattern instructions.ย 
  • Donโ€™t attach them to the back.ย  Instead, stitch the facing to the body leaving a gap for each of the back straps.ย  My gap is marked in pink pen in the photo, and the strap notches are marked by the red pins.ย 
  • Before understitching the facing, try the dress on.ย  Flip the facing to the inside and pull the straps fully through at the front so they sit in the correct position.ย  Pin the straps to the back to give you a good fit.ย 
  • With the dress still right-way-out, and before you unpin the straps at the back, mark the length you need, right the way across the strap.ย  I use an iron-off Frixion pen for this.ย  At this stage I check my straps are the same length
  • Poke the back straps through the gaps you left when you stitched the facing to the body.ย  Make sure theyโ€™re not twisted at this point.
  • Turn the dress wrong-side-out, and pull the straps through until the line you marked on them matches up with the stitch line either side of the gap.

  • Now finish off sewing the facing and the body together by stitching across the gaps, with the straps in place.ย 
  • Thatโ€™s you back on to the pattern instructions, to understitch the facings.

Adding volume to the back


I love the silhouette of this dress, with the volume at the back.ย  I decided to play with that a little on the gingham version, and added 8cm to the width at the centre back.ย  Itโ€™s very swishy.

No frill

The green version was tight for fabric, so itโ€™s frill-less.ย  Very simply, I added the frill length to the dress pieces and hemmed it by hand.

Keeping the back facing in line

Mrs M suggests sewing a few bar tacks among the folds at the back facing to stop it from rolling over, if youโ€™re using soft fabric.ย  It absolutely works.ย  Mine are about 2cm long, and donโ€™t interrupt the flow of the dress at all.

Iโ€™m sure these wonโ€™t be my only version of the Joy dress.ย  The fit at the neck is perfect, plus the space between the straps and the height of the back are spot on to cover underwear โ€“ love that attention to detail.ย  I can see that itโ€™s going to be a go-to dress pattern for me to use as a foundation for other shapes.ย  Thank you Mrs M!


Thank you Jen! It always gives me such pleasure to see how our patterns are adapted and personalised. The eagle-eyed among you will have noticed the elastic detail that Jen has added at the back of this beautiful linen version –ย  READ PART 2 with all the details HERE!


Jen Hogg lives in Glasgow with her husband and dog, and has two children at university. She reached the semi-final of The Great British Sewing Bee Series 5 (2019) and now runs a small business selling self-designed sewing tools and writes for a variety of magazines and blogs. In addition to sewing, she enjoys knitting, crochet and many other textile crafts, as well as silversmithing, photography and generally making things. You can follow Jen on Instagram and Facebook @jenerates, and at www.jenhogg.co.uk

 

join the gang! NEWSLETTER SIGN UP!
Posted on

The Wendy Smock – the frilled dress hack

The Wendy Smock - the frilled dress hack

The Wendy Smock Dress Hack

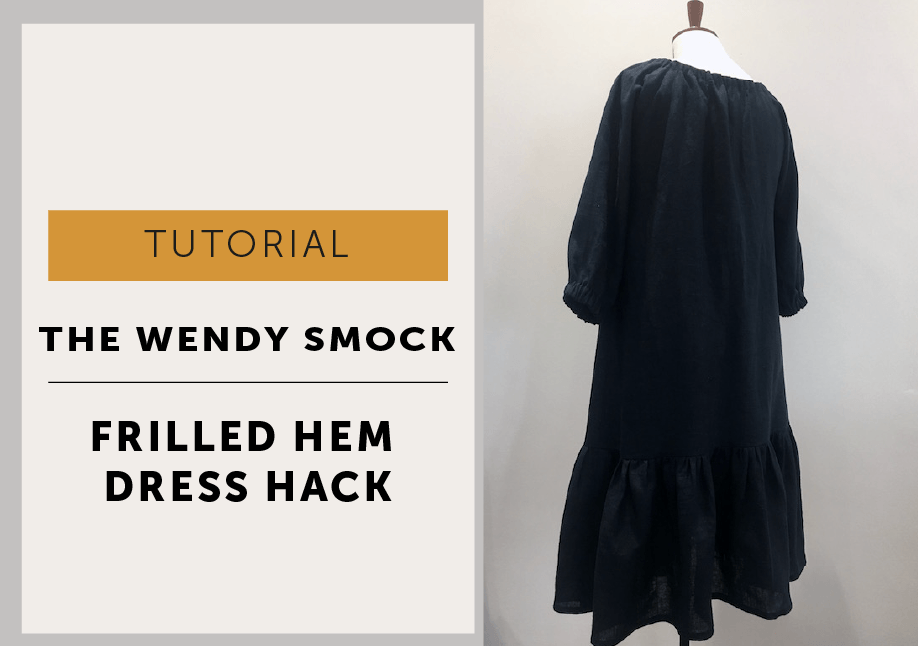
I did a little hacking of our Wendy Smock pattern and, if I do say so myself, made a rather splendid dress!ย 

This was actually a salvage job from a previously failed hack and that poor thing has lain, neglected, in the pile of doom all lockdown. But then the sun came out and the UK got hot. And nothing fits anymore (I’m talking body and mood, here! hello menopause, lockdown and well…cake and beer) so I needed a new plan. And voila…she’s now a cool frilled hem dress that’s perfect for the heat!

There’s no actual tutorial just these ramblingsโ€ฆit really is just a case of making our Wendy pattern longer and attaching a frill, but check out our French Dart Frill Sleeve Hack tutorial if you are looking for a little more in the way of detail – itโ€™s exactly the same process just on a different scale.

You’ll need to make a few decisions

  • how long you’d like your dress
  • how deep you’d like your frill
  • how full you’ll like your frill
  • I’ve included my measurements as a guide but I’m only 5’2″ so bear that in mind. This dress finishes about 5″ above my ankles so adjust to your height/needs/desires!ย 

PATTERN ALTERATION

First up: lengthen the bodice pattern.

  • overall length – frill depth = amount to add + seam allowances

I added about 5cm extra to the length of the bodice patterns and added 1cm SA to attach the frill. Please remember I am short! And keep in mind we are still going to add more length with the frill. Don’t over-complicate this bit, I literally just extended the side seams and added on the extra length. Do take the time to check your side seams are the same length and that they will create a smooth hemline when you join them.

FRILL | I didnโ€™t actually make a pattern I just chalked it straight on my fabric as the frill is just made up of 2 rectangles, one for the front one for the back.

DEPTH – Youโ€™ll need to decide how deep and how full you would like your frill to be.

I made my frill to finish 33cm deep and added 1cm SA to attach to the body and 2cm hem allowance so I could turn it twice and have a cleanly finished hem, so I cut the rectangle 36cm deep.

WIDTH – The width of your pattern will dictate how gathered your frill is. I decided on a gathering ratio of 2:1. That just means whatever the hem width of the front or back panel is, I doubled it for the frill width. My front had a hem width of 65cm; 65cm x 2 = 130cm + 1cm each end for the seam allowance = my rectangle was cut 132cm wide.

You can change the ratio to suit you and your fabric, a bit more or a bit less gathering to work with the amount of fabric you have will be fine! If you are short of fabric you can join several rectangles together to make your frill.  I just made the same size for the front and back panels as they werenโ€™t very different in size and I was very short of fabric!

GRAINLINE – I cut the frill across the piece of fabric so it is on the same grain line as the bodice. If you have a plain fabric you can cut the frill with the longest length parallel to the selvedge, but be aware if you have a printed fabric it may look odd.ย 

CONSTRUCTION – remember to press everything as you sew.

Itโ€™s all very straight forward – make your Wendy as usual and when you get to the hemming stage, just stick a frill on the bottom!

  • Run gathering stitches across the top of each rectangle. I did 2 rows, but do 3 if you prefer, and I gathered each rectangle in 2 sections so I could gather half a rectangle at a time to make it more manageable.ย 
  • With right sides of the fabric together, join the frills at the side seam. Neaten and press seams open.
  • Hem the frill.
  • Attach frill to the body with a 1cm seam allowance. Neaten the seam together and press upwards away from the frill.
  • Waft around the house/park/shop at whatever is this week’s acceptably social distance.
  • If you need a little more frill info see our French Dart Frill Sleeve Hack tutorial as the method is the same.
  • I decided later to run my dress in a little at the sides and our High Neck Smock tutorial has instructions to help you!

The eagle-eyed amongst you may have spotted a couple of other differences. I used a wider elastic, 2.5cm wide, at the cuff and I can confirm itโ€™s quite comfy! And the neckline of this Wendy is different too as I have elasticated her rather than finished with the usual binding. This was actually the first method I tried out for Wendy at the toile stage many moons ago before settling on the binding method, but I think that will need to be a whole different tutorial!

More to Sew …


join the gang! NEWSLETTER SIGN UP!
Posted on

A Little Inspiration and Philosophy

Do you ever wonder where the inspiration behind a sewing pattern comes from? Ideas can literally come from anywhere and everywhere. I mean, who hasn’t followed someone around a supermarket to get a better look at an interesting pocket or seam? Old films from the 50’s and 60’s are a constant source of joy for details and silhouettes. All of the little ideas just get tucked away subconsciously until it’s time for them to come into the daylight.ย You see, to be creative you have to put something in for something to come out. You have to take notice of the small stuff, theย unusualย colour combinations in the most random place, a shape,ย a silhouetteย of a shadow. Don’t just look at clothes, just look. Once you start looking at things with the eyes of a Maker, everything becomes a potential.

And then, of course, you find a fabric. Designs for me are often a response to a fabric…what does that cloth need to become? How will it drape? And this stripe was just begging to be made into a chevron. I made this skirt way back in 2014, when only the idea of Maven existed (the fabric was from John Lewis, but sadly no longer available). The skirt eventually developed into our Barcelona dress pattern. The Barcelona pattern was only released this year but she actually became a dress pattern in 2015 and gained her name when I did the classic make a last minute dress for a trip to Barcelona. I like to give the patterns time to develop naturally. We personally wearer trial everything so we know it works in the real world. I want garments in my wardrobe that are flexible and solve problems, not create them, not just for today but for years.

But above all for me, this quote by William Morris has resonated within my design work from the moment I first heard it. It made sense of my naturalย desire to make for purpose and practicality. I believe a garment has to meet the criteria of longevity and to function well within a wardrobe and within a lifestyle if we are to put the effort and time into making something. If we are going to use resources, we need to make consciously with a view to loving each garment for a lifetime. Here at Maven, that really is at the core of what we believe.ย 

The French Dart pattern as a top | The Barcelona pattern as a skirt

Sewing Tutorials

More to Sew …


join the gang! NEWSLETTER SIGN UP!