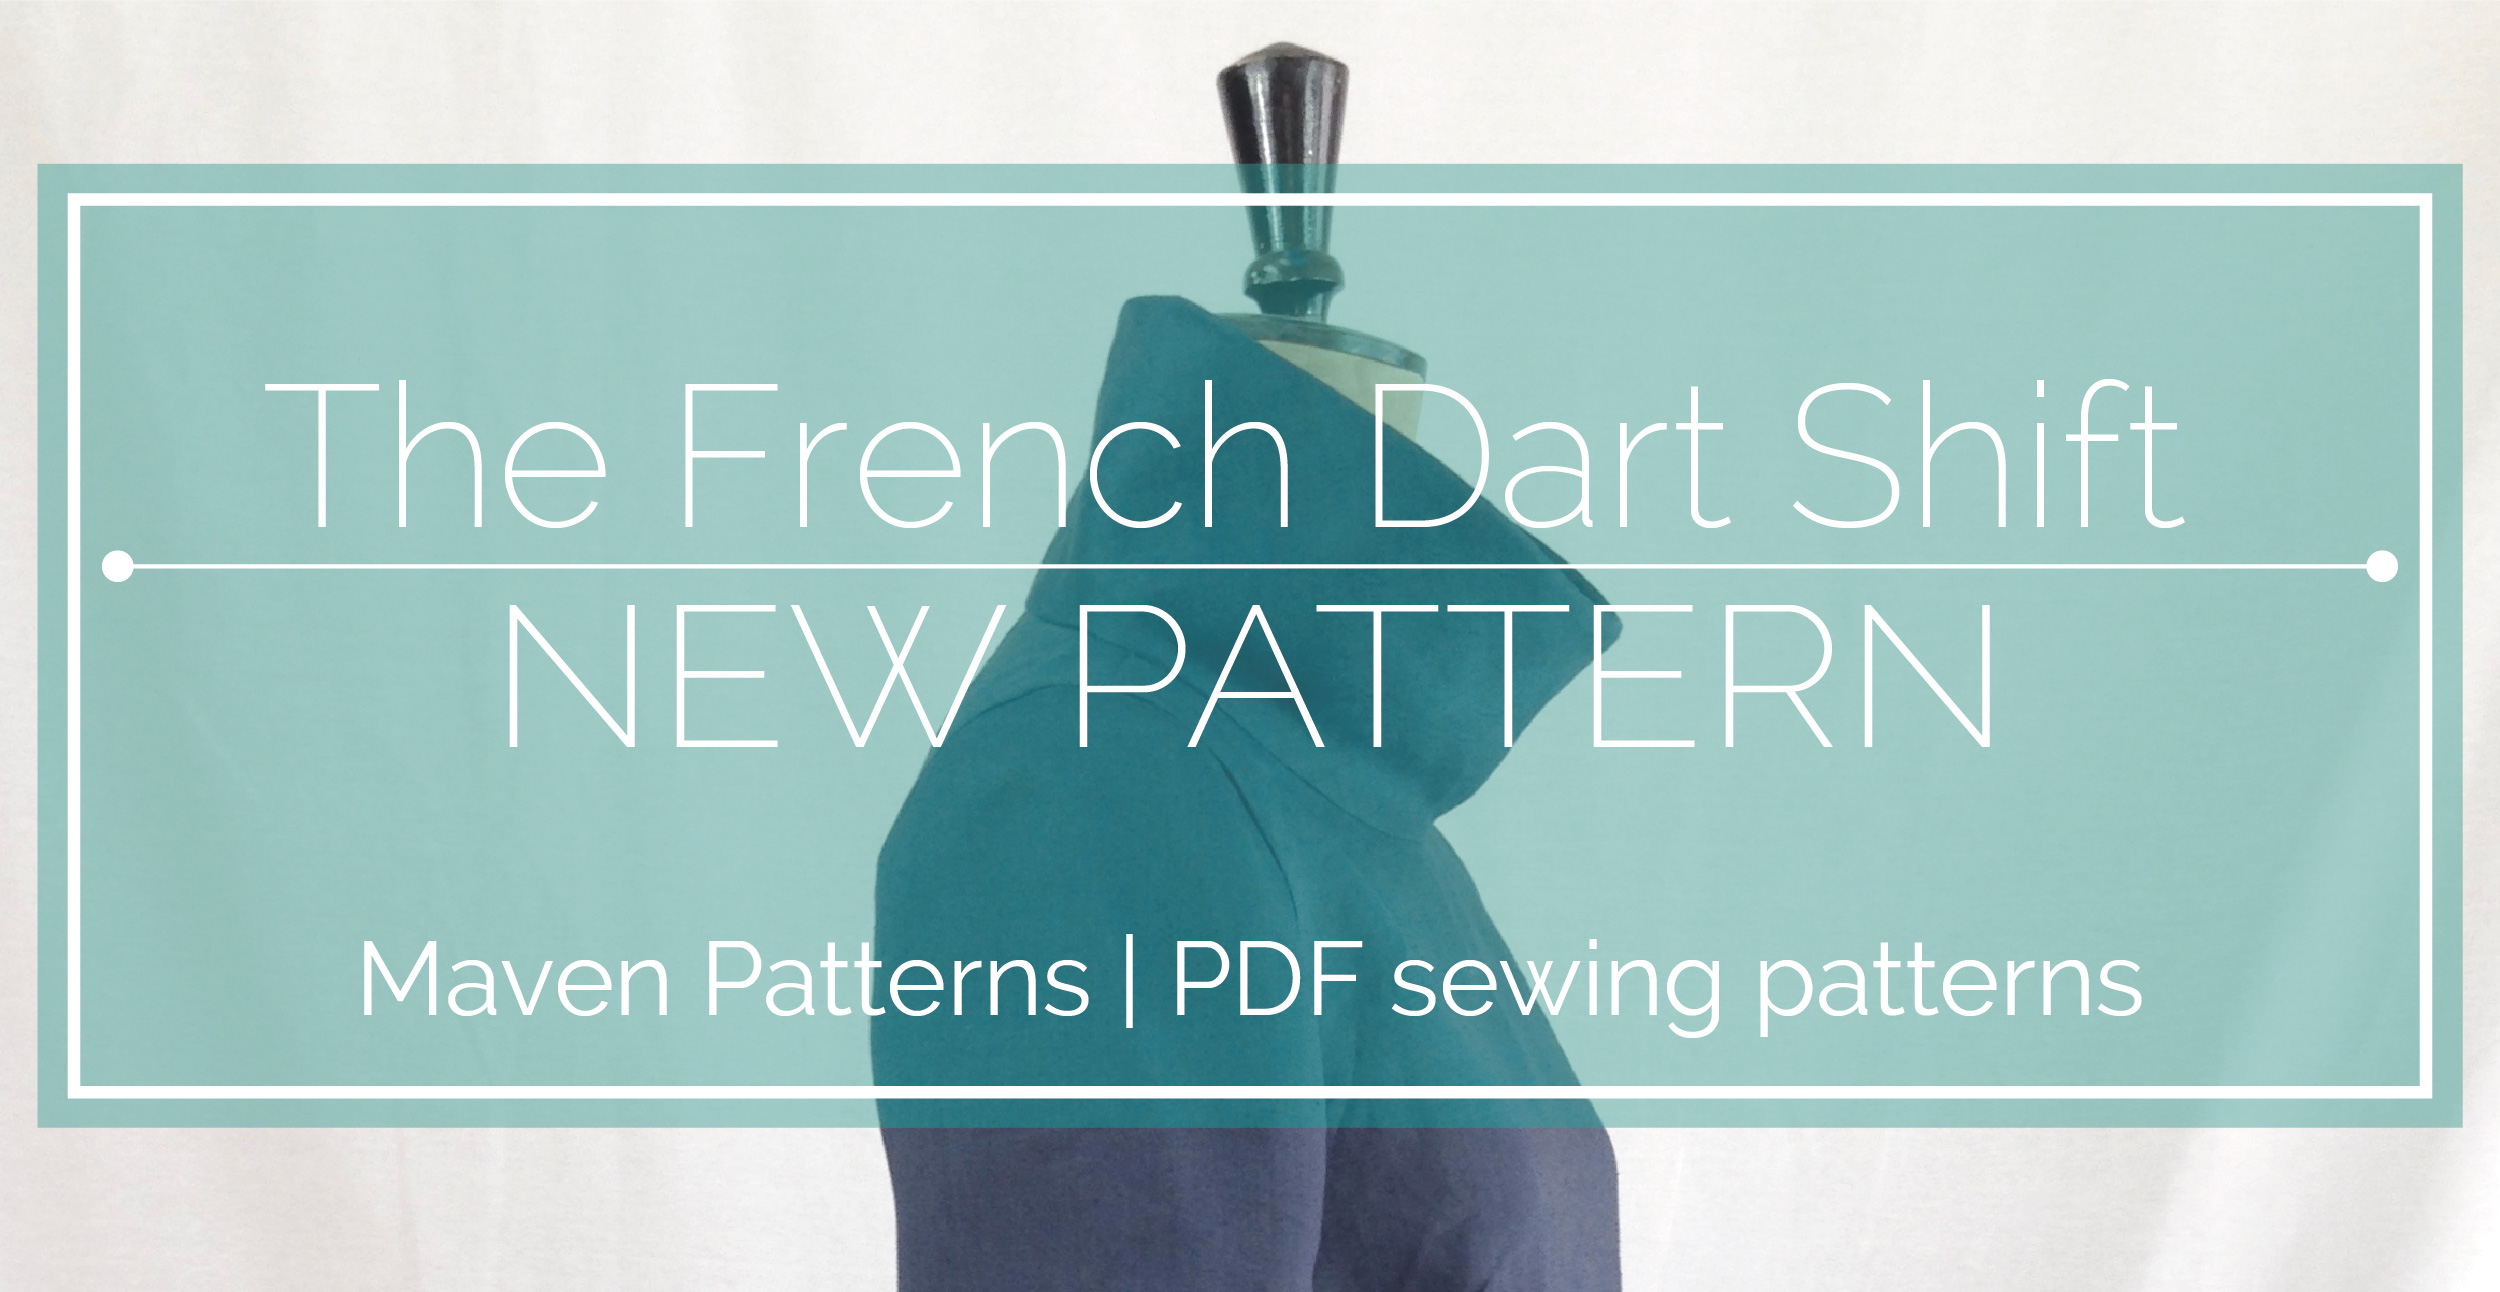
The French Dart Shift… a new sewing pattern…coming soon to my ETSY shop!
A little sneaky look at VERSION C of the next Maven Sewing Pattern.
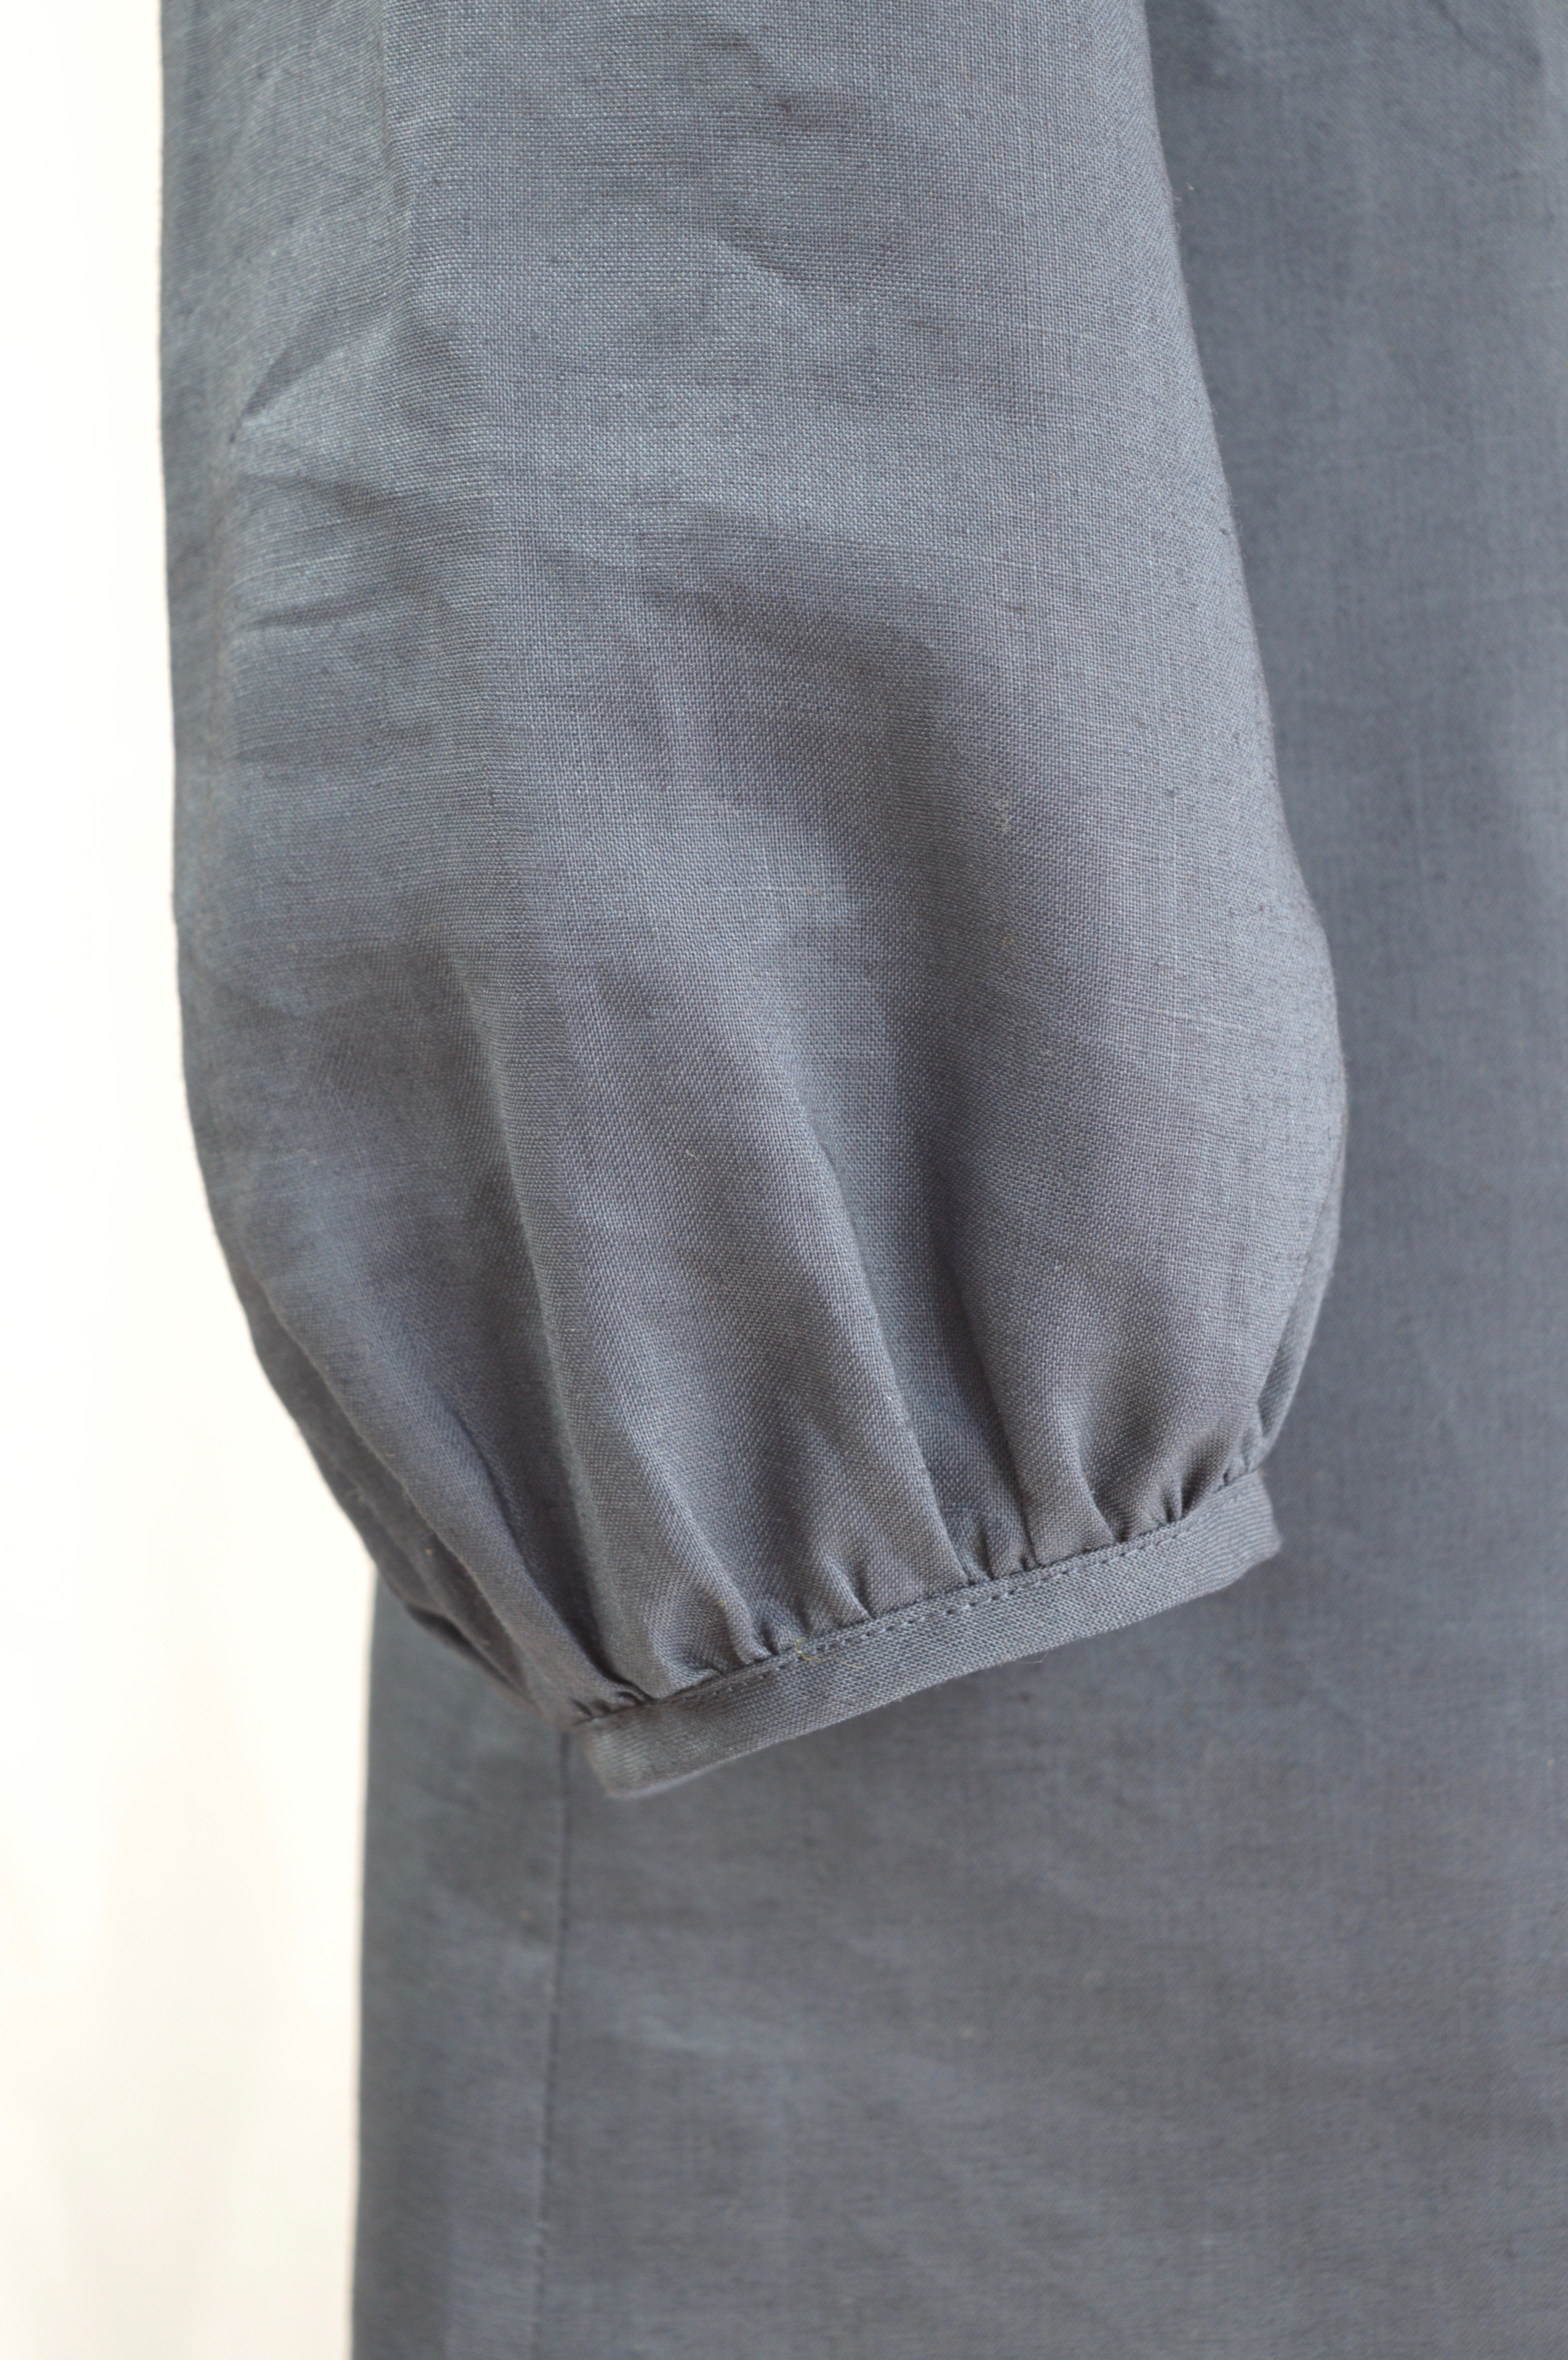
This is the third sleeve option: a long sleeve with a gathered cuff, finished with bias binding. The pattern also includes a short sleeve and a cap sleeve option. This is one of my most favourite garments I’ve made, it’s so simple and easy to wear…this is actually blue linen tunic #2, the first one had short sleeves, but I’ve worn it so much, usually over my jeans, that it now has holes in the underarm!
The collar is designed to be worn rolled down, you know…sixties style….but it made a such a great photo standing up – I can’t actually promise how practical it is to wear with the collar standing up, but hey…it looks good! Talking of practical, there are in-seam pockets at the side seams, always useful.
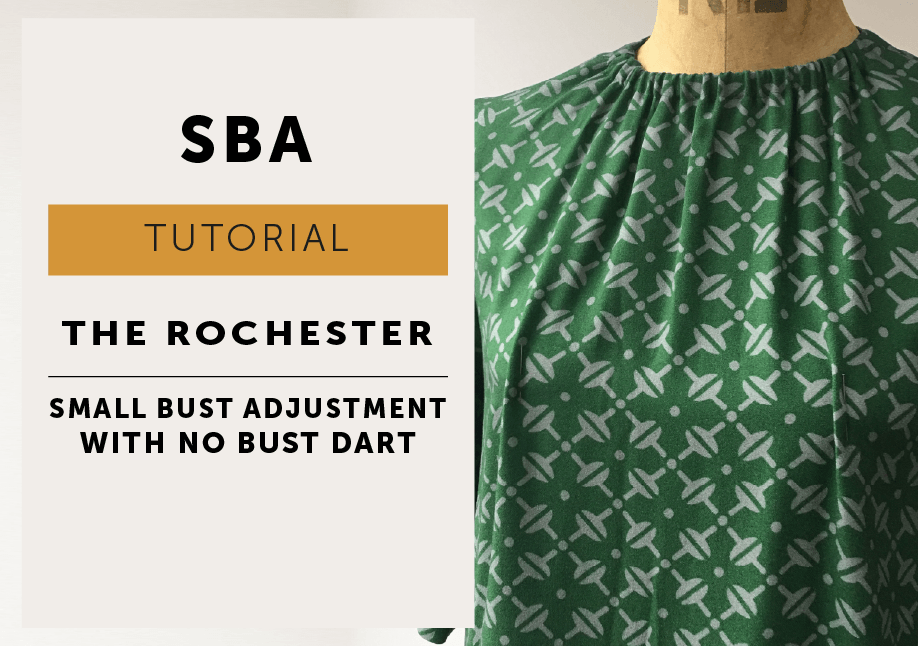
How do you do a small bust adjustment on a pattern with no bust dart? This tutorial shows how to reduce excess fullness at the bust on The Rochester by overlapping the pattern instead of spreading it, so you can keep a good fit through the shoulders and neckline while removing extra volume where you do not need it. It is a practical guide for adjusting woven tops and dresses without changing the overall shape of the pattern
There seems to be a lot of advice regarding Full Bust Adjustments, but not so many for a Small Bust Adjustment (SBA), so this tutorial is for SBA for The Rochester pattern but could be applied to any dress or top without a bust dart.
What is a Small Bust Adjustment (SBA)?
Sewing patterns are generally (and there are exceptions) drafted to accommodate a B cup. All Maven Patterns are drafted with a B cup. Unfair I know, but unfortunately, it’s just not possible for us (I say us, it’s just me doing all the design related stuff!) to produce a pattern that will keep all body shapes happy, as we are all unique and the variations are limitless! So, great if you are a B cup, but not so much if you are smaller. In which case you might need to do a Small Bust Adjustment – SBA (or a Full Bust Adjustment – FBA – if you are larger in the cup). An SBA is a pattern alteration that will decrease the volume of the cup area to remove the excess fabric.
How do you know if you need a small bust adjustment?
You will have a nice fit in the neckline and the shoulders but will see too much fullness in your garment at the bust area as there will be too much volume in the cup. We want to reduce some of that volume. A Small Bust Adjustment is basically the same process as an FBA, but involves overlapping the pattern to reduce instead of spreading the pattern to increase the bust cup size.
Small Bust Adjustment (SBA) without a bust dart in woven fabric
Abbreviations
SBA / small bust adjustment FBA / full bust adjustment CF / centre front BP / bust point/apex
Equipment
Copy of pattern (or the ability to re-print) – I’m showing diagrams for the Rochester top, but it’s the same for the dress.
Ruler
Pencil
Sticky tape
Tape measure
Paper scissors
Pattern paper
Which cup size are you?
Measure yourself while wearing the appropriate underwear. If you are going to wear a padded bra under your dress, go put one on first – it will make a difference to the fit.
Importantly, your cup size for a sewing pattern is not the same as your bra cup size. (I’m a B for a pattern, and wear a D bra)
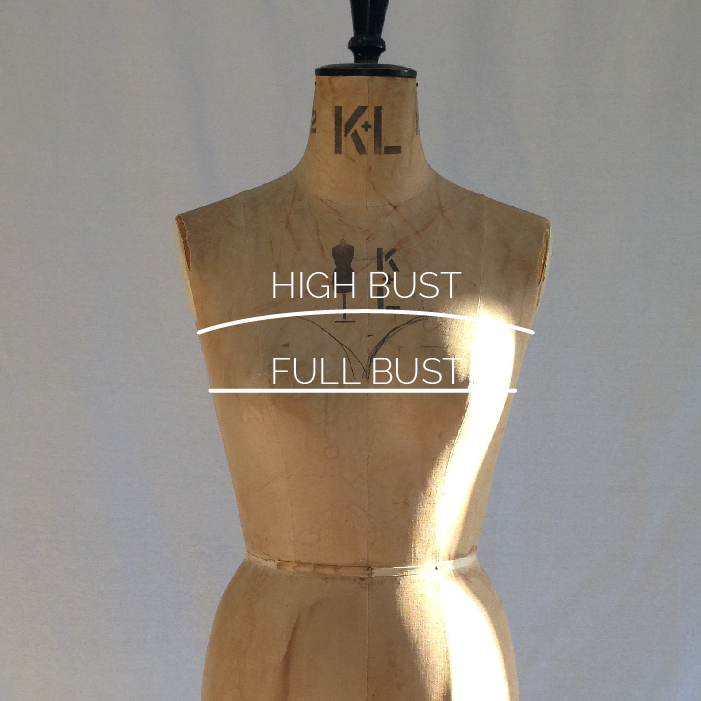
Measure your HIGH bust across your back, under your armpits and above your bust.
Then measure your FULL bust, at the fullest part of your bust.
Note these measurements and the difference between them.
As you can see from the little chart above it’s about 1″ (2.5cm) per cup size. So if you are an A cup and the Rochester pattern is a B cup you will need to reduce the pattern by 1”(2.5cm). This would be the TOTAL amount, when it comes to the alteration you will be working on HALF the pattern so will reduce your pattern by 1/2″ (1.25cm).
TOILE. So obviously the above picture is not a toile, it’s our sample garment, but I think the easiest way to find out how much is to make a really quick toile (just the body, don’t bother with sleeves, facings etc). Try it on and mark your bust point and pin the excess fabric out of the bust. Don’t be tempted to over-fit The Rochester pattern, it is meant to skim the body rather than hug the body.
Knowing exactly how much is a bit of chicken and egg situation. There is not one way to do this alteration (or any alteration). It can be a little test and see, and a lot of getting to know your OWN body and how you like a garment to fit on you. You just have to start somewhere to find what works for you! You’ll need to toile and test and tweak your alteration, maybe more than once. A toile is going to be your best friend – the fabric doesn’t lie! Also, consider the look of the garment, you may just decide you want more/less ease and adjust your SBA accordingly.
METHOD / Small Bust Adjustment without a bust dart
Find the Bust Point (also called the APEX). The Bust Point (BP) or Apex is already marked on The Rochester pattern for you so it’s very easy to find (you’re welcome!). Mark your BP on the pattern and compare with the BP that has been pre-marked on the pattern. If there is a lot of difference, use your BP for the alteration as you want the alteration in the right area for your bust. (How to find your BP – Lower a bust dart tutorial)
Remove the lower pattern
So the lower section of the pattern doesn’t reduce in width, making it smaller through the waist and hips, we are going to remove it for now and keep it safely to one side.
Using a copy of your front pattern, mark the seam allowances so you know where the stitch line is.
Draw a line HORIZONTALLY across the pattern so it intersects with the CF line at a (90°) right angle at roughly the waist level. It’s not crucial exactly where it is but make sure it is above the pockets notches for the dress.
Cut along the line and remove the lower section from the upper bodice section. Place LOWER SECTION safely to one side.
Draw the Lines on the Upper Bodice Section
LINE 1: Draw a line from the BUST POINT (BP) right down to the bottom of the pattern, parallel with the CENTRE FRONT LINE. Draw a line from the BP to a point about a ⅓ of the way along the armhole.
LINE 2: Draw a line from the BP to the centre of the shoulder.
LINE 3: Draw a line from the BP to the midpoint of the neckline.
LINES 4 & 5: Draw 2 lines from armhole to line 2 spread evenly between the shoulder and line 1.
Cut the Lines
Cut along LINE 1. Start at the bottom of pattern and cut to the BP and then to the armhole. Cut UP TO stitch line but NOT through it. Cut from OUTSIDE of the pattern up to the same point on the armhole stitch line, leaving a 3mm hinge of paper.
*If you hinge your armhole from the outside edge of the pattern instead of the stitch line, your armhole increases in length and then your sleeve won’t fit.
Cut along LINE 2 leaving a hinge at the shoulder stitch line.
Cut along LINE 3 leaving a hinge at the neckline stitch line.
Cut along LINES 4 & 5 leaving a hinge at the armhole stitch line.
Mark sections A, B, C & D as in the diagram below.
Place some paper behind your pattern pieces. Draw a line on your paper (shown in red). Anchor down section A with tape or pins, lining up the pattern CF with the one you just drew. On SECTION A mark the amount to be reduced (the orange lines), keep parallel with CF.
Overlap
Keep the hinges intact and slide SECTION D across so it overlaps SECTION A by the amount of your SBA. Keep the bottom of the pattern pieces level and pivot the pattern from the hinges at the neck, armhole and shoulder so they slide into position and overlap as needed, keeping the pattern flat.
Tape everything down. Tape the lower section back in place
Redraw the shoulder seam
Smooth the armhole curve and the neckline.
Redraw the side seam (use the back pattern as a template so you know they match!)
Redraw your front facing so it is the same shape as the altered neckline.
Trace off the pattern if you like a tidy pattern (or use lots of tape to hold everything together, no one is judging!).
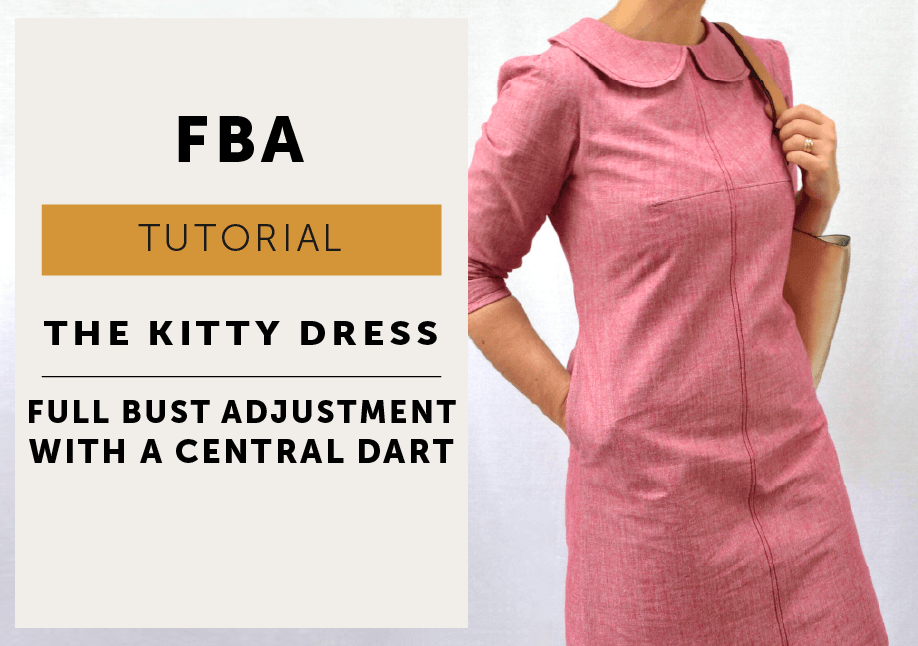
How do you do a Full Bust Adjustment with a centre front dart? This tutorial walks you through the slash-and-spread method for adjusting a bodice with a centre front bust dart, so you can add room where you need it while keeping the shoulder, neckline and armhole balanced. It also covers how to measure your bust, find the bust point and reshape the pattern so your finished garment fits more comfortably.
There I said it…does that little phrase strike fear into your heart? FBA – a full bust adjustment tutorial. It’ll be fine….but get comfy…and maybe get some snacks….this is a looong post. Oh, and right up front, I’m going to say – a toile (or two) is going to be your friend for this one, people.
There are actually a gazillion (I counted) tutorials for a Full Bust Adjustment (FBA), all of them great if you have a bust dart at the side seam, or no dart, or princess seams. But I can’t find one for a dress with a dart at the centre front seam like KITTY, but it’s the same principal – slash and spread. And honestly, I have actually never done a Full Bust Adjustment for myself (I’m a B cup) and the patterns I’ve produced for industry for the great British High Street are also drafted for a B cup.
So, while knowing the theory, I had no go-to, tried and personally tested method to recommend. Which has led to a lot of research into this tutorial…and why it’s taken me so long to finish it.
At this point, I would like to say a BIG shouty THANK YOU! to Rachel, Queen of the French Dart Shift, who very kindly confirmed my research for me, when after looking at every FBA tutorial in the Universe I became, what can only be described, as bust blind!
Why would you need to do a full bust adjustment?
Sewing patterns are generally (and there are exceptions) drafted to accommodate a B cup. All Maven Patterns are drafted with a B cup. Unfair I know, but unfortunately, it’s just not possible for us to produce a pattern that will keep every body shape happy, the variations are limitless! Sorry.
So, great if you are a B cup, but not so much if you are bigger (or smaller). In which case you might need to do a Full Bust Adjustment – FBA (or a Small Bust Adjustment – SBA). Today I’m concentrating on the FBA, as that’s the one I’m getting asked about.
Small Bust Adjustment side note: A SBA is basically the same process, but involves overlapping the pattern to reduce instead of spreading the pattern to increase the bust cup size. If you need a Small Bust Adjustment, there will be too much fabric over the bust area, and your bodice will be too long at the centre front.
How do you know if you need a full bust adjustment? Your toile may be gaping at the armhole, will have drag lines pointing to the bust, and probably looks a bit ‘strained’ over the bust, your girls just look a little squashed in there!
What you need is more width and length to your pattern at the right place– to go over and around a fuller cup. The idea is to do this without messing about with your armhole and sleeve too!
You may have already done a FBA and have a good idea of how much to add, feel free to jump straight down to the fun slash and spread bit!
Which cup size are you? Let’s take some measurements.
Measure yourself while wearing the appropriate underwear. If you are going to wear a padded bra under your dress, go put one on first – it will make a difference to the fit.
Importantly, your cup size for a sewing pattern is not the same as your bra cup size. (I’m a B for a pattern, and wear a D bra)
Measure your HIGH bust across your back, under your armpits and above your bust.
Then measure your FULL bust, at the fullest part of your bust.
Note these measurements and the difference between them.
Difference of 1 ½” (4cm) = A cup (SBA)
Difference of 2″ (5cm) = B cup
Difference of 3” (6.5cm) = C cup (FBA)
Difference of 4” (10cm) = D cup (FBA)
Difference of 5” (12.5cm) = DD cup (FBA)
Pick your size
If you are above a B cup you’ll probably need to do a FBA and should select your size by using your HIGH bust measurement in place of your FULL bust measurement.
This is the most common and popular method, by far, because it will give a better fit in the shoulders and neck area, then you just do a FBA and adjust for a fuller bust. If, on the size chart, you have a size 16 full bust, but a high bust measurement of a size 12, chances are the shoulders of a size 16 pattern will be completely out of proportion for you! You may need to adjust or blend between sizes for hips and waist.
The Million Pound Question – How much to add?
There isn’t a definitive answer to this bit, there are more options than those I’ve listed here, but for clarity I’ve chosen these two**. There is not one way to do this alteration (or any alteration). It can be a little test and see, and a lot of getting to know your OWN body and how you like a garment to fit on you.
Take these measurements as a guide. You’ll need to toile and test and tweak your alteration, maybe more than once. Like I said…a toile is your best friend – the fabric doesn’t lie! Also consider the look of the garment, a looser fitting garment might not need as much adding as a very fitted garment. Or you might just decide you want more/less ease and adjust your FBA accordingly.
It is very much trial and error the first couple of times, but once you know what works for you, it’ll be so worthwhile.
**For those interested I have an APPENDIX at the very end of the tutorial with ‘Other Thoughts on The How Much To Add?’ question.
METHOD 1 / Cut open your toile
Make a quick toile (just the body, don’t bother with sleeves, collar etc) and mark your bust point. CUT open your toile and see how much you need. With the Kitty dress having a Centre Front seam you can just open up here and see how much needs to be added at the bust.
Remember when you are adjusting the pattern you are working with HALF a body front, so if you have 1 ½” (4cm) gap at you CF, you’ll need to divide it by 2 and add ¾” (2cm) to each side.
With other styles you could cut a cross in the fabric at your Bust Point / Apex, let it spread open and then measure how much extra you need. (For a SBA, instead of slashing a cross, pin the excess out of the bust)
I like this slash and spread and see what you need method. Pay attention to the neck and shoulders of your toile, and see if they fit or if a size smaller/bigger would look better on you. Or you may need to do a shoulder alteration as well.
METHOD 2 | Maths
Take your FULL bust measurement and minus your HIGH bust measurement = TOTAL amount to add, DIVIDE TOTAL by 2 = the amount to be added to pattern (as we are altering HALF a body front)
For example:
My imaginary friend MARGO has a 34” (86.5cm) high bust, her full bust is 37” (94cm) which is a difference of 3” (7.5cm) making her a C cup.
High bust measurement of 34” places Margo as a UK size 10 on the Maven Body Measurement Chart, so she selects that size. (Her full bust of 37” would put her between a UK 12/14)
The difference between Margo’s HIGH BUST and FULL BUST is 3” (7.5cm), this is the amount she needs to add in TOTAL as a FBA, so she adds 1 ½”( 3.8cm) to half a dress front pattern.
The Fun Slash and Spread Bit
EQUIPMENT:
COPY OF PATTERN PIECE (OR ABILITY TO REPRINT ORIGINAL)
RULER
PENCIL
STICKY TAPE
TAPE MEASURE
PAPER SCISSORS
PATTERN PAPER
TRACING WHEEL (optional, but very useful)
Find the BUST POINT (also called the APEX)
Using a copy of your front pattern mark on the seam allowances so you know where the stitch line is.
Draw a line through the centre of the bust dart, and extend it 1” (2.5cm) the dart tip. That is the bust point of the pattern.
Mark your Bust point (BP) on the pattern (either transfer it from your toile or just hold the pattern up against yourself). (Tips how to measure your BP here)
Compare your BP with the pattern BP. You may need to lengthen/shorten your dart so it aligns with your BP.
If the dart is too high for your bust, don’t worry about lowering the dart yet as the FBA will make the dart drop a little anyway ¼” to ½” (6mm – 12mm) and we can adjust this later. If you are very low busted, you can lower the dart a little now, and then go back and get it perfect later.
Draw the lines
1. LINE 1: Draw a line from the BUST POINT (BP) right down to the hem, parallel with the grain line. Draw a line from the BP to ⅓ of the way along the armhole.
2. LINE 2: Draw a line from BP towards CENTRE FRONT LINE (CF) through centre of the dart.
3. LINE 3: Draw at a right angle from line 1 to intersect CF (not crucial where, I went half way between waist and dart).
4. LINE 4: Draw a line from BP slightly above bust dart intersecting CF
5. Draw in the WAIST: Use the notch on the CF and draw a line straight across to the side seam at a right angle to the grainline.
Cut the lines / slash and spread
6. Cut along LINE 1. Start at the hem and cut towards the armhole. Cut UP TO stitch line but NOT through it. Cut from OUTSIDE of the pattern up to the same point on the armhole stitch line, leaving a 3mm hinge of paper.
*if you hinge your armhole from the outside edge of the pattern instead of the stitch line, your armhole increases in length and then your sleeve won’t fit properly.
7. Cut along LINE 2 through centre of bust dart towards the BP, leaving a hinge at BP.
8. Mark sections A, B, C & D as in diagram
9. Place some paper behind your pattern piece. Anchor down section A with tape or pins. Spread open LINE 1 the amount you need to add for your FBA, pivoting the pattern from the hinges. Keep LINE 1 parallel with each other and the grain line. Let front section slide upwards and allow the bust dart to open wider to keep pattern flat.
Note how the waist is staggered and CF is now too short. Tape section A and B down. Slide a separate piece of paper behind the dart and tape, attaching top dart section back to lower dart in section C.
*When you are taping, be aware that sections C and D still need to move.
10. Cut open lines 3 and 4, no need to leave a hinge this time.
11. Slide section D down so the waist is level again. This creates some extra length in the bodice below the dart.
12. We want a little of that extra length above the bust dart, so slide section C down halfway into that space created at LINE 3, so it is now evenly distributed above and below the dart. Fill any gaps with paper and tape everything down.
13. Redraw your bust dart. Remember, the tip of a bust dart is usually 1” (2.5cm) from the BP, but this can change depending on you – it could be ½” (1.2cm) if you are small busted and up to 3” (7.5cm) if you have a fuller bust.
14. Fold your bust dart as if you are stitching it, with the bulk of the dart downwards, and true your CF seam(redraw your CF line so it is a smooth line). Use a tracing wheel or cut along the edge of your pattern to create your dart extension.
14. Now you get to toile your alteration! You can pin the paper pattern together and try it on to check the dart position first. I like to toile after a major alteration and prefer to see it in fabric.
You may still need to lower your dart, and if you need a little more detailed explanation of truing the pattern and creating a bust dart extension, my Lower a Bust Dart Tutorial will help!
APPENDIX / Other Thoughts on The How Much To Add Question?
I really did do a lot of research for this tutorial, and came across these solutions too.
If we go back to METHOD 2: Maths(The Full bust – High Bust = TOTAL, divided by 2 = amount to add to pattern method) for a minute – which I know for a fact works in the real world – imaginary friend Margo would be adding a total of 3” to her bust area .
At this point I carried on researching because that seems an awful lot of fabric to add in, when Margo’s boobs are only 1” bigger than mine, and I happily wear a UK size 10 with no FBA.
Personally, my HIGH bust is 34”, FULL bust 36”, difference of 2”. While I don’t need a FBA I do in fact wear the size 10, based on my High Bust, for Kitty and The French Dart Shift. I have a regular sized frame across the shoulders and the back and, on me, I prefer the fit in the shoulders of the size 10 rather than that of the size 12. Crucially I also prefer to wear a garment with a more fitted bust area and without too much ease (boxy and shapeless does me NO favours). These things are all worth considering when deciding how much to add.
So….METHOD 2: Maths / OPTION 2: My theory was to take the difference of 3″ and take off the 2” already included in the pattern for a B cup. This gives us a 1” difference (½” on each side) to use for a FBA. This also ties in with several tutorials that have said add ½” per cup size. The Craftsy FBA tutorial says ½” for C cup, increasing by ¼” per cup size. I eventually found this tutorial by Grainline with the same theory. So I’m probably not completely bonkers and if you find you’re adding too much it might be worth a go.
METHOD 3: Don’t use your High Bust to select your size.
That title is not strictly true…Take your high bust measurement and add 2” and select that size to use as you base pattern size, (because that would be the size of your bust if you were actually a B cup, before doing the FBA.) As a pattern cutter, this makes perfect sense!
EXAMPLE: Back to imaginary Margo….34” high bust, 37” full bust and a difference of 3”
34” high bust + 2” for a B cup = 36” means Margo selects a size 12.
37” Margo’s full bust measurement – 36” Maven size 12 body measurement = difference of 1” to add (½” each side).
With Method 3 Margo will be wearing a dress with shoulders and neck one size larger than if she selected her size using Method 2. Margo might want to take this into consideration when she decides which size pattern to use.
You made it to the end, well done! Now, go forth and adjust those busts! Many thanks to my imaginary friend Margo for the use of her imaginary body.








%20with%20No%20Dart&url=https://mavenpatterns.co.uk/small-bust-adjustment-sba-with-no-dart/&media=https://i0.wp.com/mavenpatterns.co.uk/wp-content/uploads/2018/05/MAVEN_PATTERNS_PACKAGING_1__29.10.17-45-e1655562339598.jpg?fit=980%2C1001&ssl=1)
%20with%20No%20Dart&url=https://mavenpatterns.co.uk/small-bust-adjustment-sba-with-no-dart/&media=https://i0.wp.com/mavenpatterns.co.uk/wp-content/uploads/2019/12/THE-SOMERSET_WEBSITE-LISTING-17.12.19-10.jpg?fit=601%2C765&ssl=1)
%20with%20No%20Dart&url=https://mavenpatterns.co.uk/small-bust-adjustment-sba-with-no-dart/&media=https://i0.wp.com/mavenpatterns.co.uk/wp-content/uploads/2019/05/The-Maria-Apron-Sewing-Pattern-MavenPatterns-01.png?fit=980%2C980&ssl=1)
%20with%20No%20Dart&url=https://mavenpatterns.co.uk/small-bust-adjustment-sba-with-no-dart/&media=https://i0.wp.com/mavenpatterns.co.uk/wp-content/uploads/2022/12/free-sewing-pattern-peg-bag-MAVEN-PATTERNS-7768.jpg?fit=819%2C1024&ssl=1)
%20with%20No%20Dart&url=https://mavenpatterns.co.uk/small-bust-adjustment-sba-with-no-dart/&media=https://i0.wp.com/mavenpatterns.co.uk/wp-content/uploads/2024/03/the-Ludo-capelet-sewing-pattern-8490-scaled.jpeg?fit=980%2C980&ssl=1)


