Do you ever wonder where the inspiration behind a sewing pattern comes from? Ideas can literally come from anywhere and everywhere. I mean, who hasn’t followed someone around a supermarket to get a better look at an interesting pocket or seam? Old films from the 50’s and 60’s are a constant source of joy for details and silhouettes. All of the little ideas just get tucked away subconsciously until it’s time for them to come into the daylight. You see, to be creative you have to put something in for something to come out. You have to take notice of the small stuff, the unusual colour combinations in the most random place, a shape, a silhouette of a shadow. Don’t just look at clothes, just look. Once you start looking at things with the eyes of a Maker, everything becomes a potential.
And then, of course, you find a fabric. Designs for me are often a response to a fabric…what does that cloth need to become? How will it drape? And this stripe was just begging to be made into a chevron. I made this skirt way back in 2014, when only the idea of Maven existed (the fabric was from John Lewis, but sadly no longer available). The skirt eventually developed into our Barcelona dress pattern. The Barcelona pattern was only released this year but she actually became a dress pattern in 2015 and gained her name when I did the classic make a last minute dress for a trip to Barcelona. I like to give the patterns time to develop naturally. We personally wearer trial everything so we know it works in the real world. I want garments in my wardrobe that are flexible and solve problems, not create them, not just for today but for years.
But above all for me, this quote by William Morris has resonated within my design work from the moment I first heard it. It made sense of my natural desire to make for purpose and practicality. I believe a garment has to meet the criteria of longevity and to function well within a wardrobe and within a lifestyle if we are to put the effort and time into making something. If we are going to use resources, we need to make consciously with a view to loving each garment for a lifetime. Here at Maven, that really is at the core of what we believe.
Our new PDF pattern The Barcelona is out now!And she’s a beauty with her feature dart tucks and flattering boat neck… & Oh My! Look at her chevroned detailed skirt!And she comes with 2 back bodices…VERSION A has a classic high neck and VERSION B has a rather sassy V-back!and by the way…SHE HAS POCKETS!!!
We have a special new release offer…
Get 20% off the Barcelona PDF sewing pattern until Saturday 1st September (11.59pm GMT)!
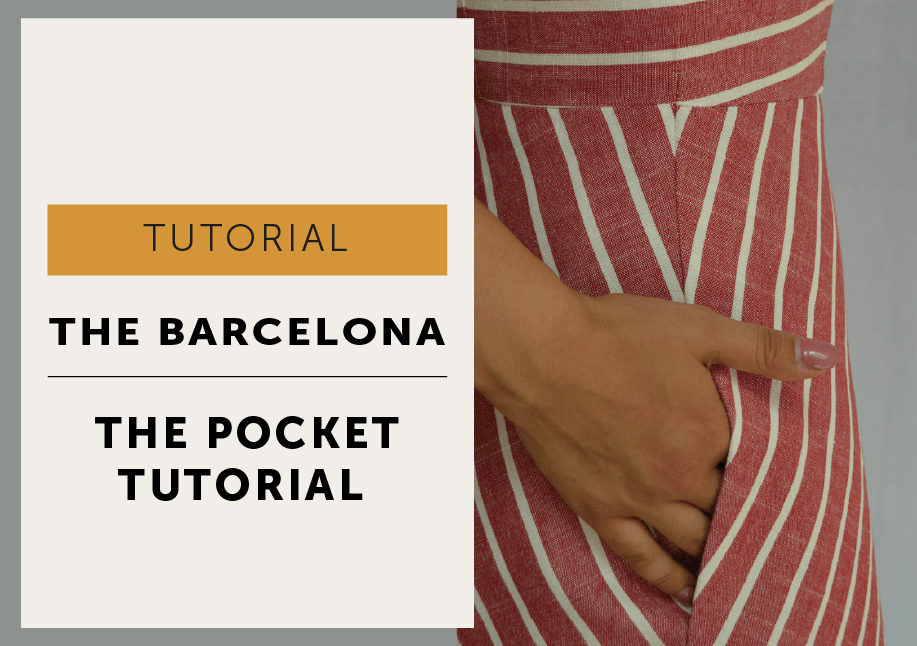
How do you sew the Barcelona in-seam pocket so it is strong, neat and almost invisible? In this tutorial, I’ll show you my slightly different pocket construction, with a curved pocket-bag shape that adds support, makes neatening easier and keeps the pocket set back from the seam edge. You will also find the full step-by-step method for attaching, understitching, pivoting and reinforcing the pocket so it sits smoothly in the finished dress.
So here at Maven, we do our in-seam pockets a little differently. You may have noticed our pocket bags have a curvy bit, which has many a function.
“So why a curvy bit, Mrs M? Go on then, talk pockets and garment construction.”
Oh well, if you insist!
That curvy bit acts as a hinge and it gives a bit of support to the pocket bag.
The curvy bit makes it easier to neaten around the edge of the pocket (especially if you are using an overlocker).
Our method of construction sets the pocket back from the seam edge so it is less likely to show.
We don’t have any snipping into seams to make a weak point – pockets are functional and need to be strong!
The pocket bag is overlocked together after construction, again, so it’s stronger.
If you’ve made a Maven Pattern before, this is the same construction method as our other in-seam pockets – The Barcelona just has different seam allowances because of the bias cut skirt.
Stripe matching
I’ve covered the process of sewing with stripes and stripe matching in another tutorial called rather imaginatively ‘Sewing with stripes’.
I did match the pocket bags to the skirt, just to see if it could be done easily. All I did was lay the pocket pattern piece in position directly on the cut skirt panel as if it was ready to be sewn on and then traced the stripes onto the pattern. You don’t really see it unless you look for it, so most definitely not something to worry over unless your fabric is a little sheer and the stripes show through. In that case, I would avoid the issue altogether and cut them in plain cotton!
METHOD
Interfacing your garment is cut, make sure you have cut 2 PAIRS of pocket bags (so you have 4 bags in total). Transfer the marker dot positions to your garment; chalk, fabric marker pen, tailor tacks – whatever works for you. Fuse the strip of interfacing to the pocket mouth on the FRONT body.
Look closely – there is a pocket bag there!
Attach the bags. Place the pocket bags to the front and back garment, with right sides of the fabric facing each other, and so the notches on the pocket bags line up with the side seam notches and stitch together with a 1cm seam allowance.
Front skirt: Overlock (or neaten with your usual method) the raw edge of the pocket bag and garment together, starting and finishing about 3cm above and below the pocket bag.
Backskirt: Rather than starting the overlocking just above the pocket bag – start at the underarm and overlock the entire seam right down to the hem.
Press the pocket bags AWAY from the garment and understitch on the front pocket bags.
Side seam: Pin with right sides of fabric facing each other. When matching a style that has a seam that needs to be aligned I usually start by pinning that together first. Then I use all the pins and match all the stripes! Line up the pocket marker dots on the front body with the corresponding ones on the back body.
Take a 1.5cm seam allowance, start at the underarm and stitch down to the first marker dot, PIVOT * and stitch from the dot across the pocket bag until you are back at a 1.5cm seam allowance on the pocket bag. (The stitch line is marked on the pattern piece, so you could transfer the line across with chalk and a ruler if you wanted). Carry on around the pocket bag, and stitch TO the next marker dot, PIVOT again and continue down to the hem.
*TO PIVOT: stitch to the marker dot, leave your machine needle IN your garment, lift your machine foot and turn your work in the direction you want to stitch, drop your foot back down and continue to stitch – makes a nice tidy corner!
Reinforce each of the corners at the pivot point as in-seam pockets can take quite a lot of stress. Set your machine to a smaller stitch length and just stitch a second machine row DIRECTLY ON TOP of your first row of stitching about 3cm either side of each marker dot. Don’t forget to put your stitch length back to your normal setting.
Neaten. Overlock the front side seam from underarm to hem, all the way around the pocket bag – it’s easier because of the curved shape.
Press the pocket bags towards the front body. Press the side seams OPEN above and below the pocket bag, as far as you can.
And from the right side – perfection!
Just to prove there is actually a pocket there!
Now you get to swish around and smugly say “why yes I did make my dress. It’s got pockets!”
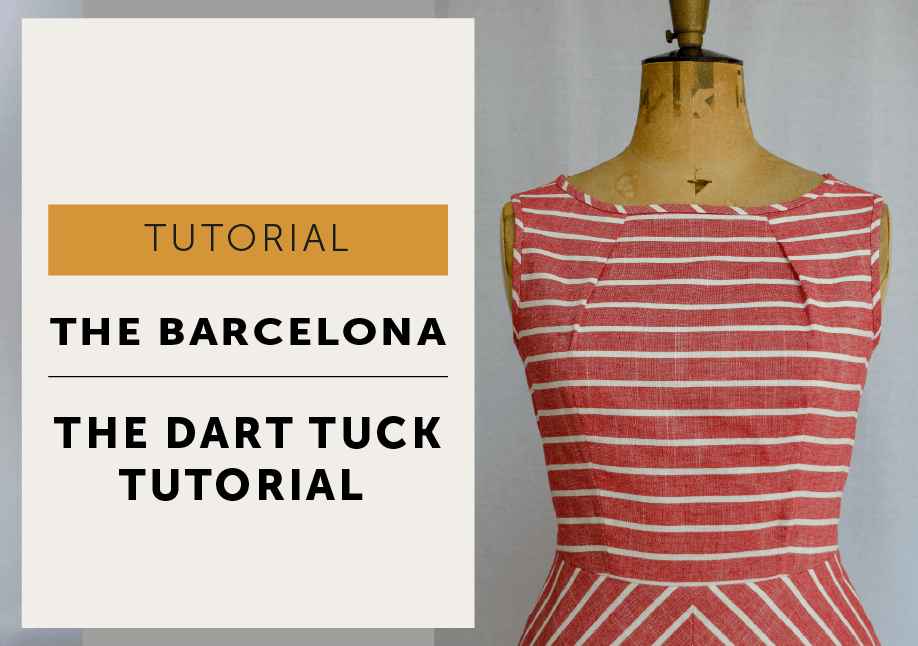
How do you sew the neck dart tuck on the Barcelona dress? This tutorial explains what a dart tuck is, shows how to sew from notch to dot and then pivot to the fold edge, and offers a neat finishing option if you prefer to turn it into a full dart instead.
This isn’t a very complicated part of the Barcelona dress but a few extra photos never hurt anyone.
So what is a dart tuck? A dart tuck is really just a dart that is only partially stitched along the dart legs so the fullness is released below the stitching.
Because of the angle of the tuck, you will find the stripes won’t match.
Method
Fold the tuck in half along centre fold so the notches at the neck align (I’ve placed a pin above the neck so you can see the notch) and the marker dots lay directly on top of each other. Push a pin through dots to help line up with each other.
Sew from notch to dot, pivot and sew across from dot to fold edge and backstitch.
You could stop sewing at the dot but a backstitch can be a bit untidy here and sewing across to fold helps to keep the tuck in shape.
While the tuck is still flat and wrong side up, press flat and along the crease for about 6cm past the stitching.
The centrefold actually lines up with the end of the bust dart and the bust point if you need a visual to keep things straight.
Flip over to right side up and press the bulk of the dart towards the armhole and softly press the tuck for about 5cm past stitchline.
Edgestitch at neck edge in the SA to hold the bulk of the tuck flat. And that’s it!
As a little extra option…if you prefer a dart at the neck instead of tuck, just extend the legs of the tuck until they meet (red lines above) and just stitch as a normal dart.


 And she’s a beauty with her feature dart tucks and flattering boat neck…
 & Oh My! Look at her chevroned detailed skirt!
 And she comes with 2 back bodices…VERSION A has a classic high neck and VERSION B has a rather sassy V-back!
 and by the way…SHE HAS POCKETS!!!


