
Why does Maven use a different in-seam pocket method? Because a well-designed pocket should be strong, sit neatly inside the seam, and be easy to finish cleanly, without awkward clipping, twisting or bulky edges. In this tutorial, we share our signature in-seam pocket construction method and walk you through each step, from attaching the pocket bags to understitching, pivoting and pressing for a beautifully finished result.
I DO LOVE a side seam pocket. They are nicely hidden in the side seam so unobtrusive and don’t disrupt the line of a fantastically printed fabric. And I find it very annoying not having somewhere to shove my hands!

Our signature In-seam (side seam) pockets are a regular feature on Maven Sewing Patterns. My pockets may look a little unusual to you, but bear with me, I developed the pattern and technique especially to combat a few of the things that annoy me about pocket construction.

Problem 1: Overlocking
So, here’s the thing… you may look at the pocket bags on this pattern and think…Mrs M, really what the ???? I’ll admit they may look a little odd at first glance, with the curvy bit added, but I do have a very good reason: I feel this method gives a much better result.
My problem with the usual way of making pockets that sit at the side seam is you can’t overlock around the pocket bag in one easy motion. Generally, you are told to neaten the edge of each pocket bag separately which just isn’t as strong. And end up having to pull the seam ‘straight’ to catch all of it in the awkward little angle created, which is a pain and eventually the overlocking just pulls away in the wash leaving a raw fraying edge exposed. Mmmm…messy.
Side note – I’m going to say overlocking a lot but replace with zig zag stitch or your preferred seam neatening term.
Problem 2: Snipping
And the other problem, with some methods, was sometimes having to snip into the seam allowance to get them to lie flat in the direction you want. It’s a pet hate, I don’t like doing ‘the snipping’ . in fact, I hate snipping and clipping unless I REALLY have too because it makes a weak point on your seam.
Problem 3: Concealed
I wanted the seam off set from the side seam, so it was less visible.
So what I wanted was a pocket bag I could overlock everything easily and together so it is stronger, and NO snipping into the seam.And the pocket bag is set back a little from the side seam so shows less when being worn. And I wanted to press the side seam open. I thought I was really easy-going until I started writing sewing instructions!
The In-Seam pocket Tutorial
Firstly cut out your garment, make sure you cut 2 pairs of pocket bags (so you have 4 bags in total). Transfer the marker dot positions to your garment (chalk, tailor tacks – whatever works for you. I’ve used neon orange pen so it would show in the photos – I don’t recommend it!)
Spot fuse the strip of fusible interfacing to the pocket mouth on the FRONT body.
A NOTE ON SEAM ALLOWANCES – Images are shown with 1cm side seam allowance + 6mm seam allowance to attach pocket bag. Some patterns have different seam allowances; 1.5cm side seam allowance + 1cm seam allowance to attach pocket bag which will be shown on your pattern. These are shown in brackets below but the technique is the same!
Step 1

Place the pocket bags to the front and back garment, with right sides of the fabric facing each other, and so the notches on the pocket bags line up with the side seam notches and stitch together with a 6mm (1cm) seam allowance. Overlock (or neaten with your usual method) the raw edge of the pocket bag and garment together, starting and finishing about 3cm either side of pocket bag – (shown in green thread).
UPDATE – On the back seam – rather than starting the overlocking just above the pocket bag – start at the top of the seam and overlock the entire seam right down to the hem. It’ll save you having to go back and overlocking the rest of that seam later. Which means you’ll have 1 less process to do and save at least 30 seconds – you’re welcome!
Step 2

Press the pocket bags AWAY from the garment and understitch on the front pocket bags.
Step 3

SIDE SEAM:
Pin with right sides of fabric facing each other, line up the marker dots on the front body with the corresponding one on the back body.
Take a 1cm (1.5cm) seam allowance, start at the underarm and stitch down to the first marker dot, PIVOT * and stitch from the dot across the pocket bag until you are back at a 1cm (1.5cm) seam allowance on the pocket bag. (The stitch line is marked on the pattern piece, so you could transfer the line across with chalk and a ruler if you wanted).
Carry on around the pocket bag, and stitch TO the next marker dot, PIVOT again and continue down to the hem.
It’s a good idea to reinforce each of the corners at the pivot point as in-seam pockets can take quite a lot of stress. Set your machine to a smaller stitch length and just stitch a second machine row DIRECTLY ON TOP of your first row of stitching about 3cm either side of each marker dot.
Don’t forget to put your stitch length back to your normal setting.
*TO PIVOT – Stitch to the marker dot, leave your machine needle IN your garment, lift your machine foot and turn your work in the direction you want to stitch, drop your foot back down and continue to stitch – makes a nice tidy corner.
Step 4

Press the pocket bags towards the front body.
Press the side seams OPEN above and below the pocket bag, as far as you can. Overlock the front side seam first, all the way around the pocket bag – it’s easier because of the curved shape!!!
THIS NEXT STEP IS FROM THE ORIGINAL METHOD – you can skip this step if you are following the updated method and have already neatened the full length of the back seam. On the back side seam: overlock (shown in pink) from the top of the seam down to the pocket bag and overlap the new overlocking (pink thread) over the original overlocking (green thread), so there are no raw edges. Restart the overlocking below the pocket bag, again being sure to overlap as before, so the entire seam is neatened.
Give the pocket a gentle final press.

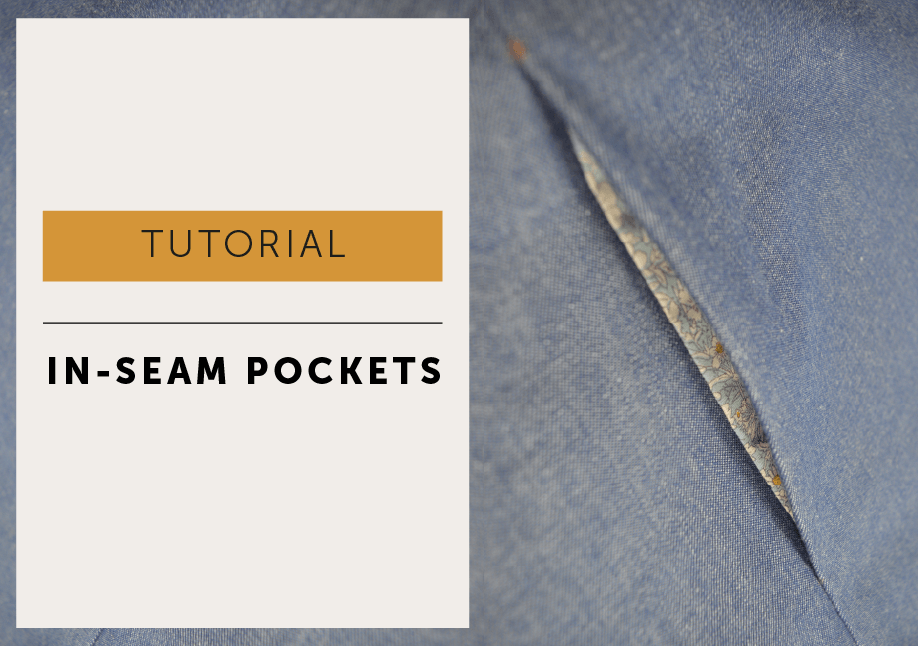
And from the right side…Tis a thing of beauty!
