

It’s the last day of the launch sale price for The Rochester PDF sewing pattern!
No code needed, just head straight to Etsy to save 20% off the usual price…happy Sunday sewing!


We have a new pattern release to share with all of you lovely sewing ladies… 

I’m so pleased to put this style out, I’ve loved working on this new pattern so much!
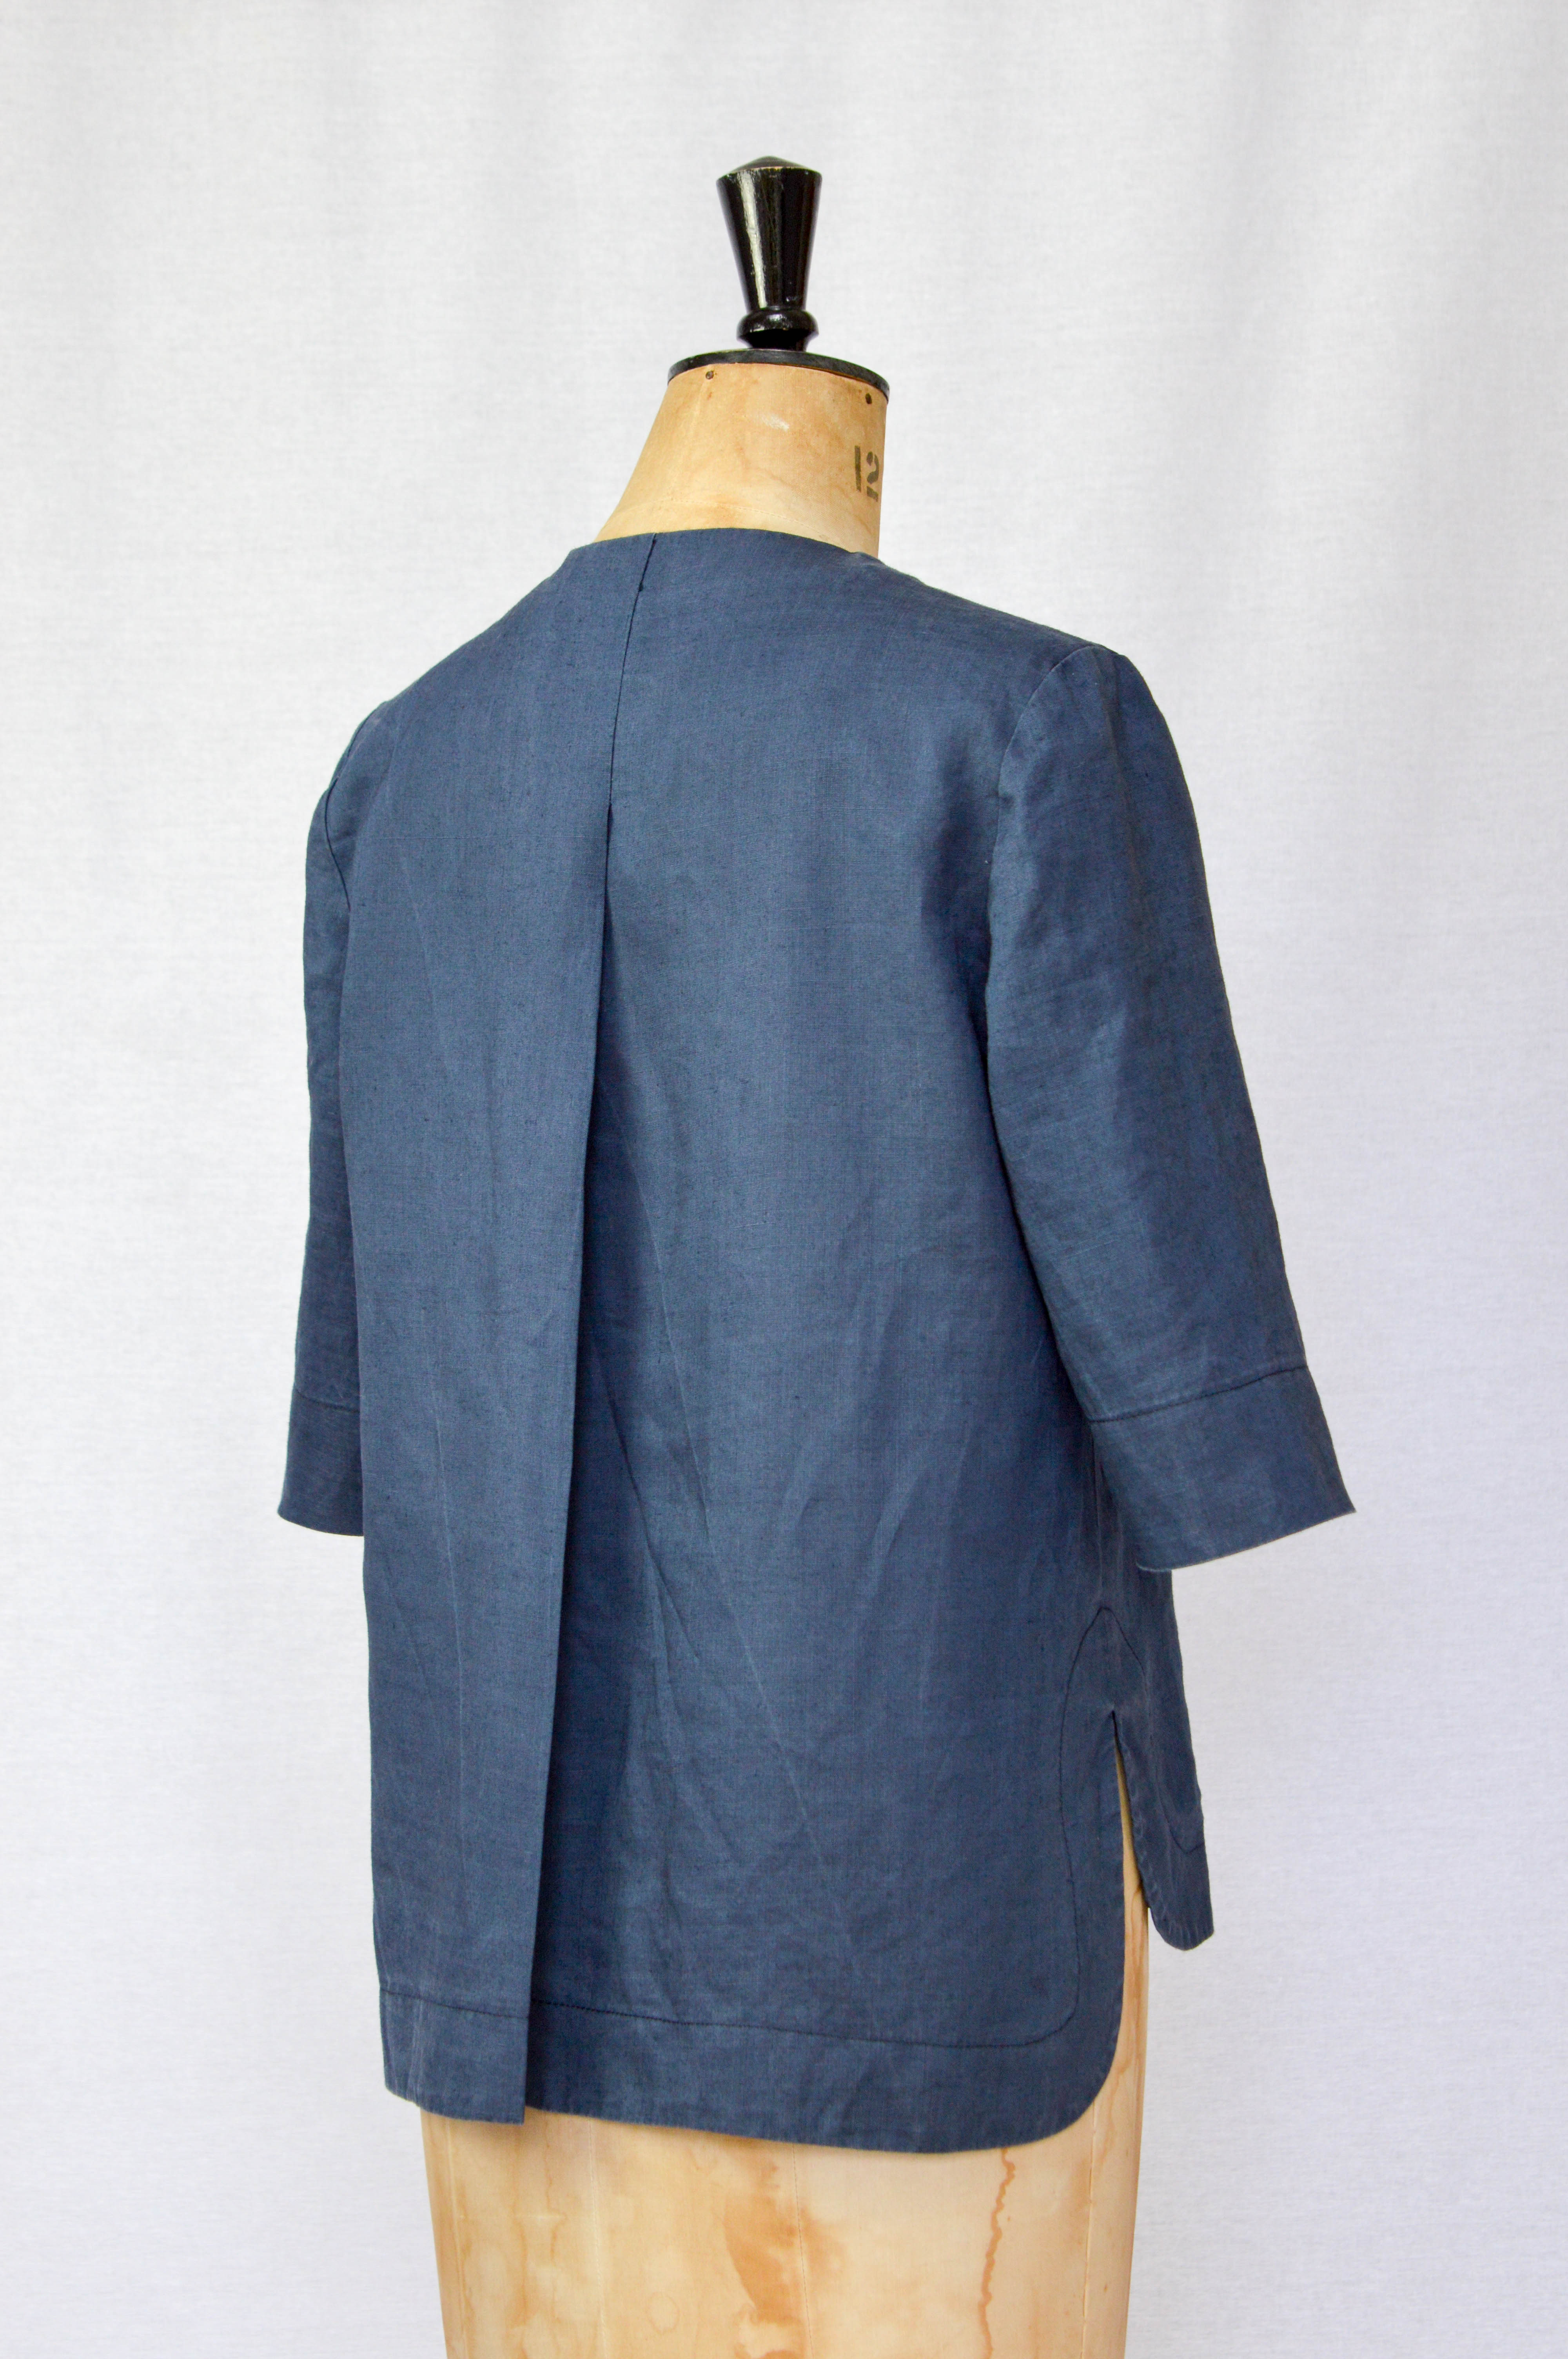
The Rochester has been designed with simple, understated styling in mind. She’s an easy to wear style with a relaxed fit and a slight A-line shape, but fitted at the shoulders for a flattering look. She has a deep centre back pleat, curved hem and side splits with stitched facing and elbow length sleeves.
You have the option to make a top (approx. mid hip length) and a knee length dress. The neckline is elasticated and gathered, so NO ZIP needed – you’re welcome! The top has a small frilled edge on the neckline and the dress has a clean edge but as the pattern is exactly the same and the difference is in the construction they are totally interchangeable – even as you are making them!
We’ve set the sewing skill level as intermediate, the tricky bit is stitching the hem (see the tutorial here) but if you have a little experience and like a challenge, do join in the fun!


This lightweight linen has worked really well for the top, choose a woven fabric that will be happy to accommodate that gathered neckline…linens, chambrays, lawn or viscose. The dress is made in the most wonderful crepe but it wasn’t happy with the frill – hence the 2nd neck option.


This hem detail is one of my most favourite things – there is a template included in the pattern to give you a topstitch guide line to make life easier! I’ve also added ‘length/shorten your pattern here’ guidelines on the pattern for The Rochester so you don’t have to worry about the curves and the facing if you need to make any length adjustments. The dress is approximately knee length (Eve is 5’4″ as a guide).
Oh and pockets…always need pockets in a dress. Looks good without the tie belt too!

I hope you all love our new pattern, The Rochester, as much as we do xxx
no code needed, just head straight to Etsy!
![]()
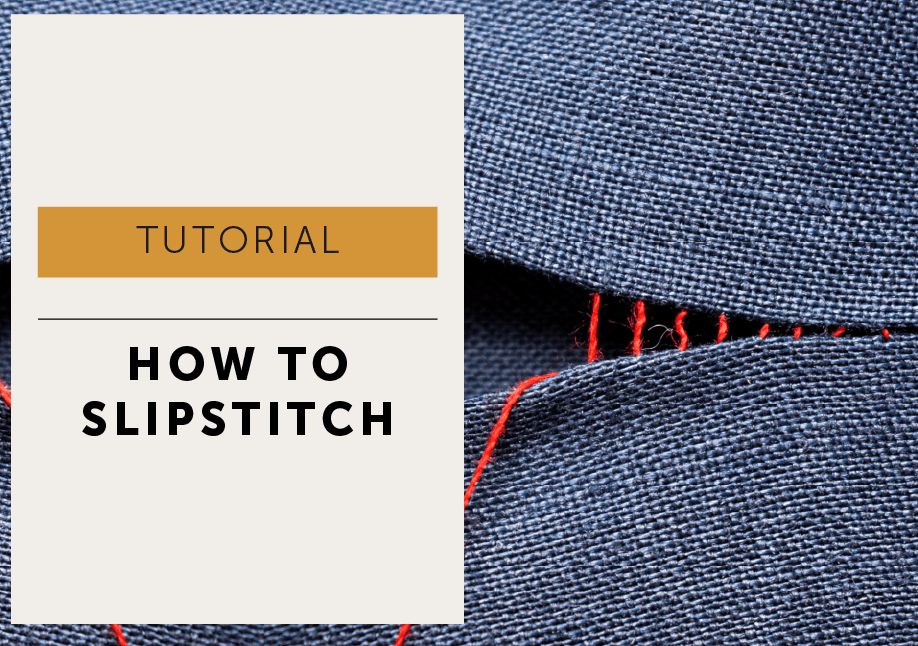
What is a slip stitch, and why is it such a useful hand-sewing technique? A slip stitch is a nearly invisible stitch used to close linings, hems, facings and openings neatly by hand. In this tutorial, we guide you through the technique step by step, showing you how to create secure, discreet stitches that give your sewing projects a clean, polished finish.

The Rochester sewing pattern, has two options Version A is a top and Version B is a dress with a tie belt. Part of the belt is closed with a slip stitch. This is a very useful and near invisible stitch done, by hand and perfect for joining two folded edges together from the right side. A slip stitch can be used for stitching up a folded hem edge, or for stitching on trims – it’s an all around good guy!
I’ve explained the technique as if you are making the belt for The Rochester dress, but the stitching principal can be applied to any of your projects.


With Right sides together machine stitch your belt, stopping to leave the opening between the notches. Press your stitch line flat, and press back the seam allowance at the opening to make a folded edge ready to slip stitch.
After trimming the excess seam allowance at each end, pull the belt through the opening to the right side. Press the outside edge carefully and make sure each of the belt ends are the same shape before continuing.

Your opening will have a nicely pressed folded edge

So, this is the basic principle of a slip stitch. We are going to create a ladder effect by stitching from one side to the other. This will gently pull the edges together. The dashed blue horizontal stitch lines in the diagram are hidden on the wrong side of the fabric underneath the folded edge.

Work from right to left, with a knotted thread. It goes without saying but use a matching thread for better invisibility!
Start by inserting your needle from the wrong side of the fabric, under the fold, and bring out to the right side.

Insert needle back into the folded edge on the opposite side of the opening. Create a stitch by bringing your needle out to the right side again 6mm along the folded edge

Make your next stitch on the opposite side. Insert the needle back into the folded edge and out again 6mm further along.

Repeat again, each time working along the folded edge with stitches about 6mm apart.

As you stitch, gently pull the two sides together to close the opening. Don’t pull too tightly or your opening will look puckered.

The finished opening is now virtually invisible!

You can vary the length of your stitches dependant on your sewing project. Something that has stuffing and has a lot of strain on the seam (cushions or repaired toys), I would recommend a smaller stitch. For hems, I often use a bigger stitch of around 1cm. This stitch is really useful for a quick repair too. You know the ones I mean, where you can’t get in where you want with a sewing machine unless you unpick most of the garment. Well, try using this stitch instead!


