Posted on

The French Dart for Spring

The French Dart Ideas for Spring

Hi, it’s been a little while since I’ve popped up over here!

We’re back in the studio after having just had the most marvellous time at The stitch festival Show in islington and Sewing for Pleasure at the NEC in Birmingham. We met lots of lovely makers, thank you all for stopping by! Everyone was delighted to have a little rummage through our sample rails and to see our patterns made up in different fabrics and examples of all of our pattern hacks. And lots of you were surprised at just how versatile The French Dart pattern is!

So, as Spring is trying it’s very hardest to make an appearance here today, I thought I’d share a few of our French Dart ideas so you can refresh your wardrobe with a tried and tested favourite pattern.Top Row

  1. Grey linen (from Ikea) – straight out the packet, version A with the short sleeve.
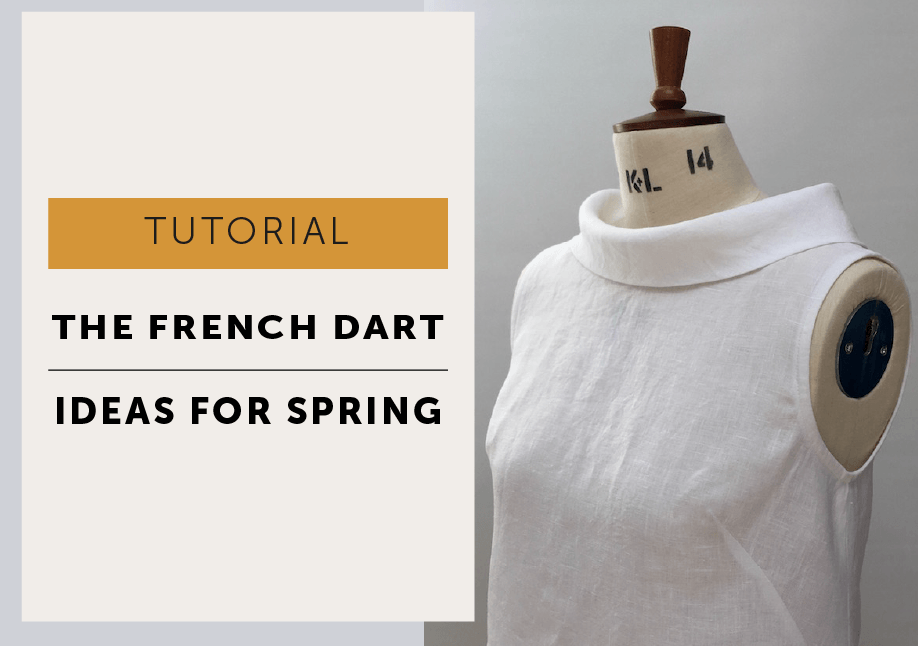
  2. White linen – version B with the cap sleeve and bound armhole, cut to hip length to make a top.
  3. Navy linen – version C, the bishop sleeve with no amendments.

Middle Row – the French Dart really does make to most excellent top. Nothing fancy , I just measure up from the bottom of the pattern and chop off!

  1. The button back hack – our button back hack would work as a dress too.
  2. Make your French Dart sleeveless – I made no adjustment to the armhole, just finished with a binding and left out the back darts for a slightly boxier shape.
  3. The Frill sleeve hack – and we left the collar off and finished with a binding.

Bottom Row – for those chilly spring days!

  1. Boiled Wool jumper.
  2. The Sweatshirt with The Somerset sleeve hack.
  3. The comfy jersey version.

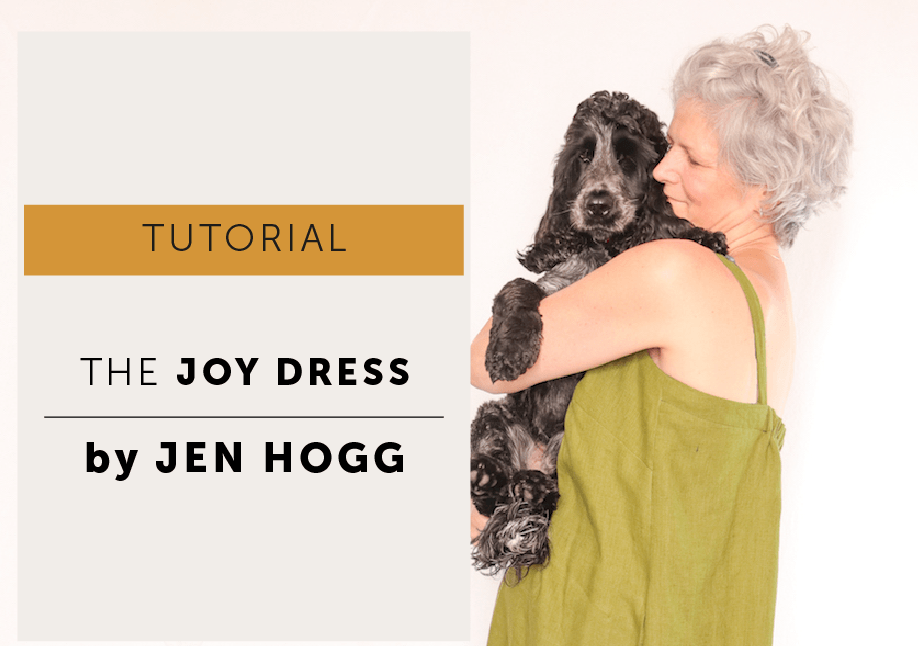
And, of course, we couldn’t forget about this beautiful version by Jen Hogg! See the tutorial here.

You can see all of our French Dart tutorials here, including a tutorial to add a lining, an FBA tutorial, a pocket tutorial,  and how to make a 3/4 length sleeve (a linen top version with 3/4 sleeve is my go-to outfit!). For more inspiration, pop over to our Instagram where we share all of our lovely Makers and their makes!

More to Sew …


join the gang! NEWSLETTER SIGN UP!


Posted on

Happy Holidays 2021!

Hello, my lovely sewing friends!

I wanted to take a moment to thank you for your support this year, not just to us but for all the small family-run sewing businesses everywhere. We are truly grateful and humbled by the kindness shown by the sewing community.

Our family business started as just me in the kitchen working at Granny’s table. I never had a grand plan or any idea where it would take me. I just knew I needed a change because what I was doing wasn’t working for me. And here we are, 7 years later! 

We’ve poured our heart and soul into our business over the past 7 years and it means so much to have your support along this journey with us.

2021 has been a rollercoaster of emotions for us all, but we hope you all have the chance to spend the festive season with family or friends staying safe and well. 

We have many exciting projects coming up next year and look forward to sharing those with you and hopefully, this means many more shows in 2022. 

Until then, my friends, we wish you a peaceful Christmas & New Year.


So this was a scheduled post that didn’t post when it was supposed to!

We will be posting orders out again on 4th January but PDF patterns and gift cards are available immediately for that last minute gift!


CHRISTMAS POST | Orders placed before 5pm on Sunday will be posted on Monday – Royal Mail’s last recommended posting date for the UK – but please note there are delays with the service and we cannot guarantee Christmas delivery.

OPENING HOURS | We will be enjoying the festivities as a family over the Christmas and New Year period so there will be a very reduced customer and pattern support service during this time. I’ll be checking on things every few days but please be a little patient.

As always,  you can email us at [email protected] and I’ll get back to you after I finish all the Quality Streets!

Posted on

The Joy Dress by Jen Hogg

The Joy Dress Sewing Pattern by Jen Hogg - Maven Patterns

Many of you will know Jen as a semi-finalist from The Great British Sewing Bee in 2019 and from the Jenerates Sewing Ruler. I first teamed up with Jen as part of our French Dart week a little while ago when Jen’s glorious Nani Iro French Dart popped up on our Instagram. If you haven’t seen that post you can find it here, it’s a marvellous hack! And I’m delighted to say Jen has returned as a guest writer to share her thoughts on our latest pattern The Joy Dress.

PAID POST | This article was  written by Jen Hogg. I have paid Jen for her time, skills and effort, but all opinions are her own.

So let me hand you over to Jen!

So far I’ve made 3 versions of this dress and I love them all. 

The colourful check version is made from a fine linen, which was actually a piece of surplus from a mill in Ireland.  The fabric is very soft with good drape, which also meant it was a complete pain to cut out.

Version 2 is again in a linen, this time a gorgeous green which was a gift from my very good friend and fellow Sewing Bee, Mercedes.  It’s a little firmer than the checked linen, but my challenge this time was that Mercedes was envisaging a top, but I decided to squeeze a dress out of it, as you do!  The frill was sacrificed.

The third version is from a piece of vintage cotton gingham, the most robust of the three fabrics I used.

As always Mrs M has given us great instructions and technique tips so I’m only going to go over the hacks I made.

Adding length

The sizing on this pattern was perfect for me.  My only alteration was to add length because I wanted this dress to fall just above ankle length.  I’m quite tall and I added a 1.5cm to the bodice and 14cm to the skirt, both at the points marked on the pattern.

Stabilising the neck and arm holes. 

Instead of stay stitching, Mrs M suggests using fusible interfacing to stabilise the neck line.  I love this technique, it gives such a crisp finish. 

I cut strips of weft-insertion woven interfacing with a pinking cutter, which gives a softer edge.  This is something I always do if I’m applying interfacing to the back of the garment fabric – by that I mean the fabric which is actually going to be the outer layer of my garment and not the facing or lining.  It means you shouldn’t see a ridge where the interfacing ends, though as always, if in doubt try it out on a scrap first.

The strips are cut on the bias which means they curve round the neck and armholes perfectly.  I ironed them centred on the stitch line, on top of a silicone baking sheet / oven liner.  The glue on the interfacing doesn’t stick to the sheet, so you can go over the edge without wrecking the ironing board cover.

In seam pockets

As usual I used the couture method for these, where the pocket is formed entirely on the front part of the dress. There’s a summary of that technique here.

No-tie straps

My first version of the Joy dress was the checked linen.  I thought that there was enough going on for me with the check and the frill, so I decided to make the straps plain.

  • Cut straps are the same width as in the pattern.
  • Make two straps longer than you’ll need.  I made mine about 45cm long to give me plenty of room for adjustment.
  • Attach the straps to the front of the dress per the pattern instructions. 
  • Don’t attach them to the back.  Instead, stitch the facing to the body leaving a gap for each of the back straps.  My gap is marked in pink pen in the photo, and the strap notches are marked by the red pins. 
  • Before understitching the facing, try the dress on.  Flip the facing to the inside and pull the straps fully through at the front so they sit in the correct position.  Pin the straps to the back to give you a good fit. 
  • With the dress still right-way-out, and before you unpin the straps at the back, mark the length you need, right the way across the strap.  I use an iron-off Frixion pen for this.  At this stage I check my straps are the same length
  • Poke the back straps through the gaps you left when you stitched the facing to the body.  Make sure they’re not twisted at this point.
  • Turn the dress wrong-side-out, and pull the straps through until the line you marked on them matches up with the stitch line either side of the gap.

  • Now finish off sewing the facing and the body together by stitching across the gaps, with the straps in place. 
  • That’s you back on to the pattern instructions, to understitch the facings.

Adding volume to the back


I love the silhouette of this dress, with the volume at the back.  I decided to play with that a little on the gingham version, and added 8cm to the width at the centre back.  It’s very swishy.

No frill

The green version was tight for fabric, so it’s frill-less.  Very simply, I added the frill length to the dress pieces and hemmed it by hand.

Keeping the back facing in line

Mrs M suggests sewing a few bar tacks among the folds at the back facing to stop it from rolling over, if you’re using soft fabric.  It absolutely works.  Mine are about 2cm long, and don’t interrupt the flow of the dress at all.

I’m sure these won’t be my only version of the Joy dress.  The fit at the neck is perfect, plus the space between the straps and the height of the back are spot on to cover underwear – love that attention to detail.  I can see that it’s going to be a go-to dress pattern for me to use as a foundation for other shapes.  Thank you Mrs M!


Thank you Jen! It always gives me such pleasure to see how our patterns are adapted and personalised. The eagle-eyed among you will have noticed the elastic detail that Jen has added at the back of this beautiful linen version –  READ PART 2 with all the details HERE!


Jen Hogg lives in Glasgow with her husband and dog, and has two children at university. She reached the semi-final of The Great British Sewing Bee Series 5 (2019) and now runs a small business selling self-designed sewing tools and writes for a variety of magazines and blogs. In addition to sewing, she enjoys knitting, crochet and many other textile crafts, as well as silversmithing, photography and generally making things. You can follow Jen on Instagram and Facebook @jenerates, and at www.jenhogg.co.uk

 

join the gang! NEWSLETTER SIGN UP!
Posted on

Free Christmas Gift Wrapping Service

Are you looking for the perfect gift for a Maker this Christmas?

So it’s probably a bit early, but in an effort to make Christmas a little easier this year – and to get ahead of the inevitable Christmas postal rush…

We are offering a free gift-wrapping service!

Share some sewing joy this Christmas!

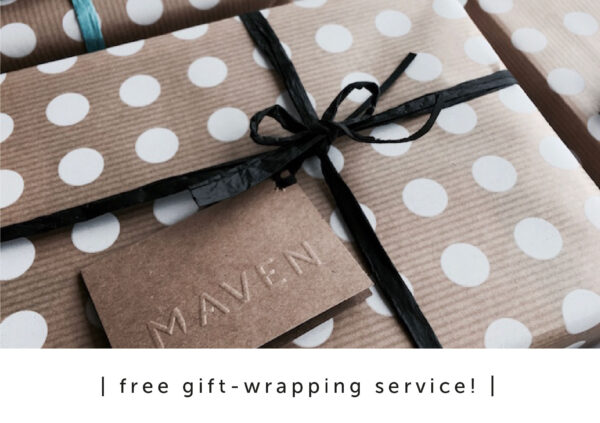
Find the perfect gift for your lovely Maker, a sewing tool, a pattern, maybe a little bit of haberdashery or a few buttons, perhaps some fabric to add to the stash….and we’ll wrap your carefully chosen gift in spotty Kraft wrapping paper and paper raffia ribbon (so it can easily be recycled!) for FREE! You can even include a short personal message, which I’ll hand write on a gift tag for you. 

To add gift wrapping to your order |

  • Once you’re at the checkout page simply add a note of GIFT WRAPPING PLEASE! in the ORDER NOTES box (you’ll find it at the bottom of the page after the Billing and Shipping address sections).
  • Don’t forget to include your message (short messages of around 10 words please!) if you’d like me to write something for you or write BLANK CARD PLEASE! if you prefer. 
  • *You don’t have to use shouty capitals, just make it clear!

Send the gift straight to the recipient |

  • You can even have the gift posted straight to the lucky Maker.
  • During checkout just enter their name and address in the ‘delivery’ section. 

The small print! |

  • One gift tag and message per order.
  • We will usually wrap products individually, however if you buy many small items we may wrap these together as one item.
  • This is a free service and occasionally we may not be possible to wrap products.
  • Offer lasts until 25th December, or until I run out of paper!

MOST IMPORTANTLY |

Please order early if you want delivery in time for Christmas.

I will post all orders promptly but I cannot guarantee delivery dates. As you can imagine this year has put the postal system under extreme stresses and there have, at times, been severe delays due to the pandemic so, what I’m trying to say is…this isn’t the year to leave it until the last minute!