


Sleeve detail of Version C
The French Dart Shift PDF sewing pattern

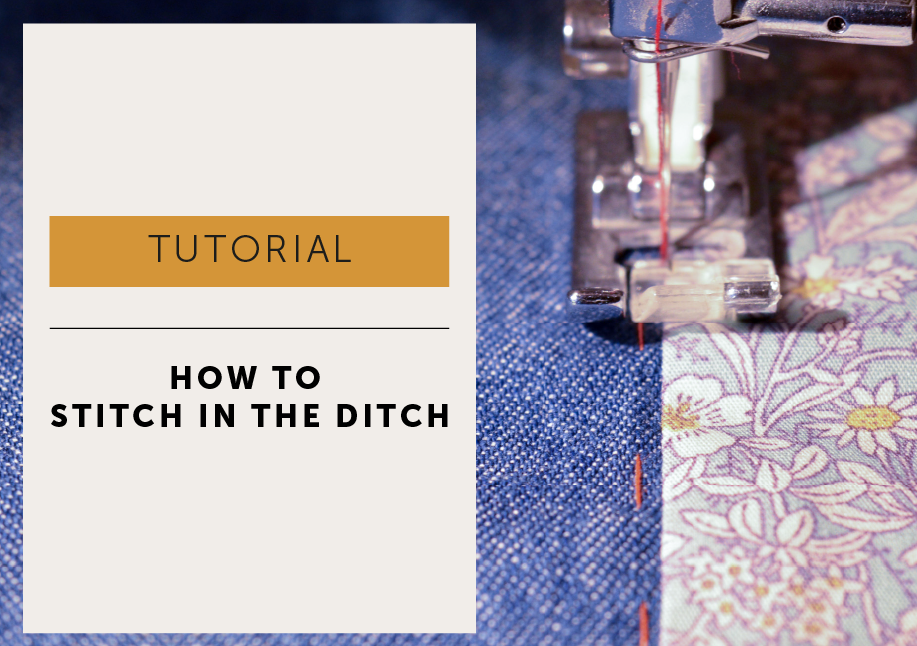
What does “stitch in the ditch” mean, and when should you use it in sewing? Stitching in the ditch is a discreet technique that hides stitches within a seam line to secure facings, waistbands, bindings and other finishes neatly from the outside. In this tutorial, we show you how to stitch accurately in the seam “ditch” for an almost invisible finish, along with tips to help you achieve clean, professional results.
Stitch In the Ditch is a sewing technique where you machine stitch directly in the channel or ‘ditch’ of a seam. It’s used a lot in quilting and sometimes known as ‘ditch quilting’. As the stitches sink into the ditch they are barely visible on the right side of a garment and one of my favourite ways to anchor facings, waistbands and collars without visible topstitching. I’ve touched on the ‘Stitch in the Ditch’ technique before in the Bias Binding tutorial. I find it’s a very handy little process to know and have in your sewing tool box.
The French Dart Shift pattern has a lovely roll collar that needs to be finished at the neckline so it is neat and secure to the inside of the garment. I could have finished the neckline with a facing, but it would have annoyed me flapping about, so instead it’s held in place by a row of machine stitching called ‘Stitch in the Ditch’.
I’ve always called this technique ‘Sink Stitching’, but in an incredibly unscientific poll on Instagram consisting of at least 4 comments, ‘Stitch in the Ditch’ came out top as the preferred name – so I’ll try to remember to stick with that for this ‘How to Stitch in the Ditch’ Tutorial.
I‘ve based this tutorial as if you are stitching the collar on the French Dart Shift so you have a folded edge to cover your seam with, but you could just stitch in the ditch at side seams to hold down a waist facing, or in a shoulder seam to hold a neck facing, or just overlock the bottom of a waistband and stitch in the ditch through the waist seam to secure in place.
DENIM = garment.
PRINT = collar (could be binding, waistband, facing … you get the idea)

1. WITH THE WRONG SIDE OF GARMENT FACING YOU:
Press all the seam allowances AWAY from garment. Cover the machine stitching by about 2mm with edge of collar (*waistband, binding, facing…) and tack to hold in place.

2. Now you get to stitch in the ditch…
With RIGHT SIDE of garment facing you, line up your machine needle with the groove (the ditch) of the seam and stitch right IN that groove. That’s it, easy peasy! It’s all in the prep, as long as you stitch IN the groove and to the right of your tacking thread the back will be caught and your stitches will be virtually invisible as they will ‘settle’ into the groove of the seam.

3. Stating the obvious here: I’ve stitched in red, but stitch in the same colour as your main fabric even if you are using a contrasting topstitching colour so those stitches do actually sink in to the groove and disappear.
Also it doesn’t look SO great if your needle jumps out of the groove! I did that on purpose, just to show you – honestly, the sacrifices I make 😉

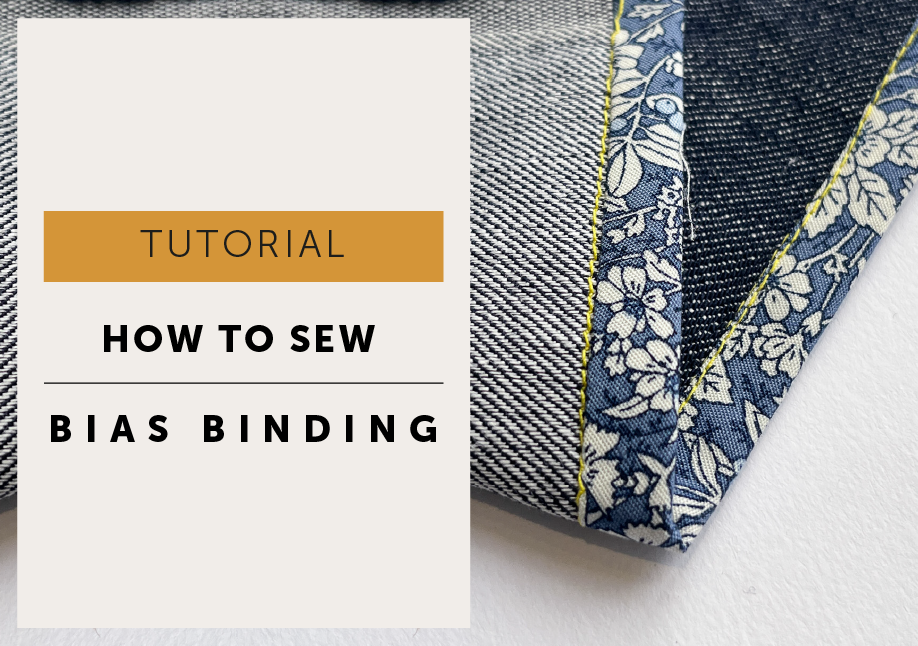
What is bias binding, and how do you sew it neatly? In this tutorial, we guide you through the process of sewing bias binding step by step, from preparing and attaching the binding to finishing curves and corners cleanly. Whether used as a decorative detail or a neat seam finish, bias binding is a versatile technique that adds both function and a beautifully polished finish to handmade garments.
Bias binding is such a useful technique and it’s not difficult to master, like everything a little practise makes perfect. Bias binding is a great way to finish the raw edge of a garment. It is hugely versatile and can be used on necklines, armholes, hems, pretty much anywhere really. You can buy ready made binding from your local haberdashery shop. I like to make my own and use up some of those scraps.
There are really two types of binding for our purposes:
Will show on the right side of the garment. It can be decorative if made in a contrasting fabric.
It can be used in lieu of a facing on an armhole or neckline. Apart from a row of topstitching, only be seen on the inside.
In this tutorial I’ll show you how to attach your bias binding tape. If you want to know how to cut, join, press and sew bias binding, go check out my BIG BIAS BINDING TUTORIAL.
Double bias binding is used when you want to see it on the right side of a garment. It is both decorative and practical. YAY, One of my favourite combo’s!

Take your prepared binding and pin RIGHT side of binding to the RIGHT side of garment. Align the raw edges together. Machine stitch along the fold.
TIP / if you are binding a thicker fabric or a few layers of fabric, take a smaller seam allowance so you have extra binding where you need it to help accommodate that extra bulkiness.

Press binding AWAY from the garment.

Wrap binding over to the raw edge to WRONG side of garment. Position the folded edge of binding so your machine stitching is covered by a few millimetres. Pin to hold. Tack right on the edge of the binding to hold into place. Ensure you catch all the binding on the reverse side and just cover the machine stitch. Keep an even distance away from the binding on the front. Take your time to get this right now, the tack line will be a guide to your topstitching!


With the right side of your garment facing you, edge stitch the binding. As long as you stitch to the inside of your tacking stitch, you know you’ve caught the back of the binding!
Finish your binding by Stitching in the Ditch (also known as sink stitch).
‘Stitch in the Ditch’ is a really useful technique to know, good for finishing waistbands as well as bindings. When stitched in the same colour as your main fabric the stitch line practically disappears as it settles into the seam.


Position your machine needle in line with the groove (the ditch) of the seam, you are going to stitch right in that ditch, NEXT to the binding but not on it. And as long as you stitch to the inside of your tacking thread, you know you’ve caught your binding on the back 🙂
Just remove your tacking thread, and you’re done.

There is yet another way to attach bias binding to finish a raw edge.
This way was shared with me by Shelley, one of my lovely testers of the new Maven1832 patterns. Shelley was making the French dart with the bishop sleeve in a slippery fabric and found this was an easier way to attach the binding at the cuff.
It’s pretty similar to the above methods, except you attach to the wrong side of the fabric and flip binding to the right side of the fabric and stitch. This method only works with visible edgestitching but you might find it less fiddly if you are working with a tricky or slippery fabric.
It’s really a personal preference which way you prefer to sew your binding, but it’s always good to have more than one way to stitch something. Different fabrics do sometimes require a different method!


METHOD
Place the right side of binding to the wrong side of fabric and stitch in the fold to attach.
Fold binding over to the Right Side so all the raw edges are enclosed and the stitch line is covered. You can trim the seam allowance down a smidge if the biding doesn’t quite cover the stitch line.
And then, with the Right Side Up facing up, edgestitch the binding in place.
Single bias binding is used to finish a raw edge without it showing to the front of your garment, a great choice if you want a fuss free finish without a facing.
This isn’t everybody’s method, but this is the method I was taught by a sample machinist I worked with about 20 years ago, she called it the Cheat Method. I liked the method because it was quick and that binding NEVER frayed no matter how much I washed those garments (baby and kids clothes), must have been the combination of a folded edge and the extra understitching – great for linen fabrics. I’ve used this many times over the years instead of a having a flappy facing. The only drawback is some fabrics are just too bulky, but just bind anything too thick with a contrasting fabric and make a feature of the inside!

PRESS / Fold your binding in half and press.

ATTACH / Line up the raw edges of your binding with the raw edge of your garment, with right sides together.


Stitch with a 6mm seam allowance to attach.Press binding and seam allowances away from garment. Understitch (machine stitch an edge stitch through all the layers on the binding close to the seam.) The understitching is an optional step, there won’t be a disaster without it, but it does make the binding roll to the wrong side better and I think it makes the binding stronger.

Tack along the edge of the binding to hold in place, this will also give you a guide line for your next row of stitching.

Flip your garment over and topstitch with the right side up. If you stitch inside your tacking line so you know that you will catch all the binding!
(You can make narrower binding if you prefer…simple bit of maths… finished width of binding + seam allowance, x 2 = cutting width of binding.)
And that is how to sew bias binding!

Hello Sewing Friends!
This week saw the release of the second of our MAVEN1832 sewing patterns – The Rochester1832
And today is all about the wonderful pattern testers that took the time to make and share their thoughts on the new extended size range for our new Rochester sewing pattern.
The Rochester pattern has some really nice details. Apart from the fact you can make a top or a dress, the neckline detail is interchangeable so you can make either with or without the frill depending on your fabric or preference. I designed The Rochester pattern with a deep back pleat because I wanted a garment that looks ‘tailored’ but I could move in and especially to drive in. And that curved hem is one of my favourite things I have made, it’s a pleasure to sew!
I developed a whole new size chart for MAVEN1832 with a dressmakers D cup rather than our usual B cup. We then worked closely with a professional pattern house who has a lot of experience in plus size patterns and had them re-drafted and graded. And we also worked with a professional fit model to for several fittings to ensure the new patterns were up to Maven standards.
And then it was time to ask for help with a wider testing group. With some difficulty I narrowed down to a few testers who were all wonderful! Understandably, not everyone wanted to be public or share photos outside of the test (that wasn’t a requirement of testing) but I do have permission to share these beauties, some of which are toiles / wearable toiles / early versions but already much loved.
I LOVE toiles. I love the testing and changing and fiddling about with the fit so Toiles are actually often my favourite garments. Wearable toiles even more so as there is no need to be precious and it’s a chance to get stuck in and not overthink. So I shall take this opportunity to say MAKE A TOILE!


Emma is the owner of loveliest fabric shop – The Fabric Boutique in Ashby de la Zouch and for her Rochester Dress she used a perfect designer deadstock viscose called “Tiger Tiger” which is available from HERE from her shop.


Maggie made this gorgeous Rochester top in a modal fabric from Cloud 9, the frill neckline looks fabulous!
“This is a fabulous pattern. Deceptively simple and unfussy in design but very classic. The pattern comes together beautifully, sizing is very accurate and the instructions are detailed and very clear even for a beginner sewer. I loved my finished dress even more than I was anticipating! ” Maggie


Hilary made a wearable toile Rochester top in a cotton sheeting, which shows off the pleat brilliantly!
“I really enjoyed making this Rochester top – the pattern and instructions were clear, the fit was true and the finished blouse looks great!” Hilary

You may recognise Lawratu from The Sewing Bee – yes, I had an actual Bee as a tester!
But did you know she also has a lovely online shop Sea Me Sew Supplies that specialises in lingerie supplies? It’s full of delicious lace and pretty elastics!
“I found it a well drafted pattern to sew with thought that went into the instructions. A great pattern to sew with great details but not overly complex.” Lawratu
Hannah made her lovely Rochester top in a really pretty quilt weight cotton and chose to make the frill neckline.
“Brilliant instructions – both for the beginner – with pictures – and the more experienced sewer – and goes together very smoothly. The pdf is easy to assemble and the layers feature means that you can select just the size you need. The marked seam allowances are very useful as the seam allowance is varied through the garment to allow for frills and facings. I look forward to making more in other fabrics/lengths and wearing my Rochesters lots.” Hannah


Francesca used a rayon blend with a nice heavy drape and made her Rochester top without the frill.
“This pattern is drafting perfection!!!!!! Never had an easier time setting in a sleeve. If you use a light linen, cotton lawn or chambray it is very easy to sew up. A little more challenging if you use slippery fabric. Sizing is perfect and I love it!!!!!!!” Francesca


Barbara was kind enough to share quite a few of her toile pictures, like I said I do love a toile and a peek into a lovely workspace!
“I’ve been waiting for this pattern for such a long time and this pattern doesn’t disappoint. There aren’t many patterns with this neckline which is what I liked about it and the faced hem is a nice feature and makes the garment look high end. It’s one of those patterns that can be dressed up or dressed down depending on the fabric you choose. Comprehensive instructions make it a pleasure to sew up.” Barbara
And a final thank you to all my testers, including those that have chosen not to be included in the round-up but their contributions are equally valued!
The third MAVEN1832 sewing pattern – The Somerset T-shirt pattern in the new extended size band.


