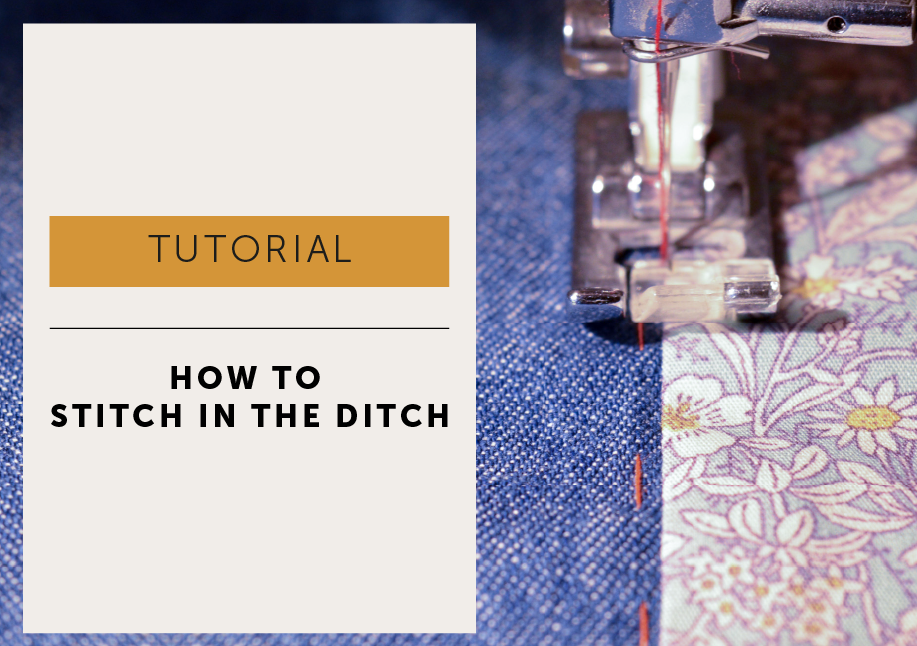
What does “stitch in the ditch” mean, and when should you use it in sewing? Stitching in the ditch is a discreet technique that hides stitches within a seam line to secure facings, waistbands, bindings and other finishes neatly from the outside. In this tutorial, we show you how to stitch accurately in the seam “ditch” for an almost invisible finish, along with tips to help you achieve clean, professional results.
What is Stitch In The Ditch?
Stitch In the Ditch is a sewing technique where you machine stitch directly in the channel or ‘ditch’ of a seam. It’s used a lot in quilting and sometimes known as ‘ditch quilting’. As the stitches sink into the ditch they are barely visible on the right side of a garment and one of my favourite ways to anchor facings, waistbands and collars without visible topstitching. I’ve touched on the ‘Stitch in the Ditch’ technique before in the Bias Binding tutorial. I find it’s a very handy little process to know and have in your sewing tool box.
The French Dart Shift pattern has a lovely roll collar that needs to be finished at the neckline so it is neat and secure to the inside of the garment. I could have finished the neckline with a facing, but it would have annoyed me flapping about, so instead it’s held in place by a row of machine stitching called ‘Stitch in the Ditch’.
I’ve always called this technique ‘Sink Stitching’, but in an incredibly unscientific poll on Instagram consisting of at least 4 comments, ‘Stitch in the Ditch’ came out top as the preferred name – so I’ll try to remember to stick with that for this ‘How to Stitch in the Ditch’ Tutorial.
I‘ve based this tutorial as if you are stitching the collar on the French Dart Shift so you have a folded edge to cover your seam with, but you could just stitch in the ditch at side seams to hold down a waist facing, or in a shoulder seam to hold a neck facing, or just overlock the bottom of a waistband and stitch in the ditch through the waist seam to secure in place.
How To Stitch In The Ditch
KEY
DENIM = garment.
PRINT = collar (could be binding, waistband, facing … you get the idea)
1. WITH THE WRONG SIDE OF GARMENT FACING YOU:
Press all the seam allowances AWAY from garment. Cover the machine stitching by about 2mm with edge of collar (*waistband, binding, facing…) and tack to hold in place.
2. Now you get to stitch in the ditch…
With RIGHT SIDE of garment facing you, line up your machine needle with the groove (the ditch) of the seam and stitch right IN that groove. That’s it, easy peasy! It’s all in the prep, as long as you stitch IN the groove and to the right of your tacking thread the back will be caught and your stitches will be virtually invisible as they will ‘settle’ into the groove of the seam.
3. Stating the obvious here: I’ve stitched in red, but stitch in the same colour as your main fabric even if you are using a contrasting topstitching colour so those stitches do actually sink in to the groove and disappear.
Also it doesn’t look SO great if your needle jumps out of the groove! I did that on purpose, just to show you – honestly, the sacrifices I make 😉
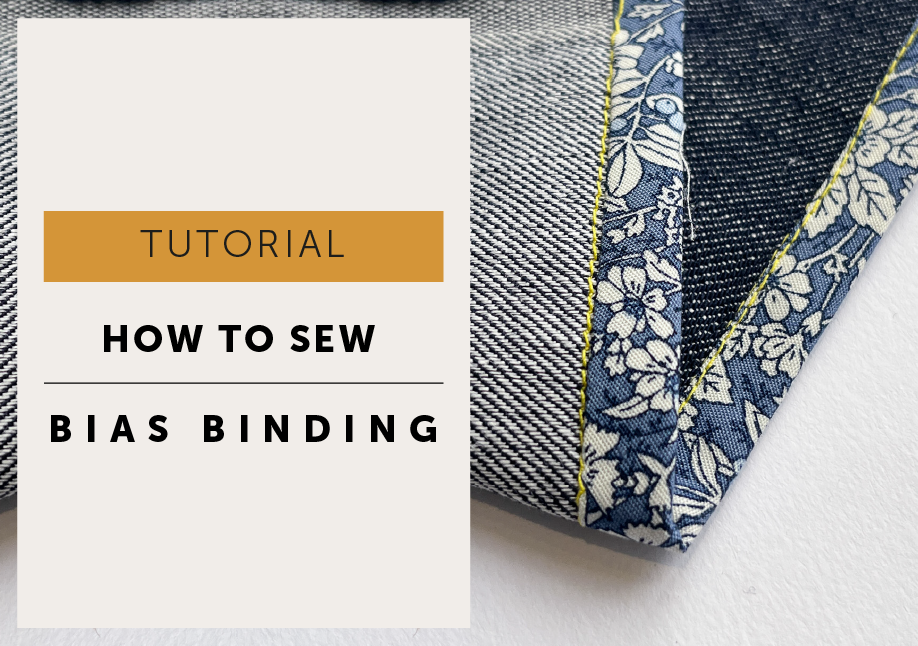
What is bias binding, and how do you sew it neatly? In this tutorial, we guide you through the process of sewing bias binding step by step, from preparing and attaching the binding to finishing curves and corners cleanly. Whether used as a decorative detail or a neat seam finish, bias binding is a versatile technique that adds both function and a beautifully polished finish to handmade garments.
Bias binding is such a useful technique and it’s not difficult to master, like everything a little practise makes perfect. Bias binding is a great way to finish the raw edge of a garment. It is hugely versatile and can be used on necklines, armholes, hems, pretty much anywhere really. You can buy ready made binding from your local haberdashery shop. I like to make my own and use up some of those scraps.
There are really two types of binding for our purposes:
DOUBLE BIAS BINDING
Will show on the right side of the garment. It can be decorative if made in a contrasting fabric.
SINGLE BIAS BINDING
It can be used in lieu of a facing on an armhole or neckline. Apart from a row of topstitching, only be seen on the inside.
In this tutorial I’ll show you how to attach your bias binding tape. If you want to know how to cut, join, press and sew bias binding, go check out my BIG BIAS BINDING TUTORIAL.
How To sew Double Bias Binding
Double bias binding is used when you want to see it on the right side of a garment. It is both decorative and practical. YAY, One of my favourite combo’s!
Take your prepared binding and pin RIGHT side of binding to the RIGHT side of garment. Align the raw edges together. Machine stitch along the fold.
TIP / if you are binding a thicker fabric or a few layers of fabric, take a smaller seam allowance so you have extra binding where you need it to help accommodate that extra bulkiness.
Press binding AWAY from the garment.
Wrap binding over to the raw edge to WRONG side of garment. Position the folded edge of binding so your machine stitching is covered by a few millimetres. Pin to hold. Tack right on the edge of the binding to hold into place. Ensure you catch all the binding on the reverse side and just cover the machine stitch. Keep an even distance away from the binding on the front. Take your time to get this right now, the tack line will be a guide to your topstitching!
TWO OPTIONS TO FINISH
OPTION 1 / EDGE STITCH ON THE BINDING
Top stitch the binding to finish
With the right side of your garment facing you, edge stitch the binding. As long as you stitch to the inside of your tacking stitch, you know you’ve caught the back of the binding!
OPTION 2 / If you don’t want your stitching to show on your binding try this method.
Finish your binding by Stitching in the Ditch (also known as sink stitch).
‘Stitch in the Ditch’ is a really useful technique to know, good for finishing waistbands as well as bindings. When stitched in the same colour as your main fabric the stitch line practically disappears as it settles into the seam.
Position your machine needle in line with the groove (the ditch) of the seam, you are going to stitch right in that ditch, NEXT to the binding but not on it. And as long as you stitch to the inside of your tacking thread, you know you’ve caught your binding on the back 🙂
Just remove your tacking thread, and you’re done.
And another way to attach binding
There is yet another way to attach bias binding to finish a raw edge.
This way was shared with me by Shelley, one of my lovely testers of the new Maven1832 patterns. Shelley was making the French dart with the bishop sleeve in a slippery fabric and found this was an easier way to attach the binding at the cuff.
It’s pretty similar to the above methods, except you attach to the wrong side of the fabric and flip binding to the right side of the fabric and stitch. This method only works with visible edgestitching but you might find it less fiddly if you are working with a tricky or slippery fabric.
It’s really a personal preference which way you prefer to sew your binding, but it’s always good to have more than one way to stitch something. Different fabrics do sometimes require a different method!
METHOD
Place the right side of binding to the wrong side of fabric and stitch in the fold to attach.
Fold binding over to the Right Side so all the raw edges are enclosed and the stitch line is covered. You can trim the seam allowance down a smidge if the biding doesn’t quite cover the stitch line.
And then, with the Right Side Up facing up, edgestitch the binding in place.
How To Sew Single Bias Binding
Single bias binding is used to finish a raw edge without it showing to the front of your garment, a great choice if you want a fuss free finish without a facing.
This isn’t everybody’s method, but this is the method I was taught by a sample machinist I worked with about 20 years ago, she called it the Cheat Method. I liked the method because it was quick and that binding NEVER frayed no matter how much I washed those garments (baby and kids clothes), must have been the combination of a folded edge and the extra understitching – great for linen fabrics. I’ve used this many times over the years instead of a having a flappy facing. The only drawback is some fabrics are just too bulky, but just bind anything too thick with a contrasting fabric and make a feature of the inside!
PRESS / Fold your binding in half and press.
ATTACH / Line up the raw edges of your binding with the raw edge of your garment, with right sides together.
Stitch with a 6mm seam allowance to attach.Press binding and seam allowances away from garment. Understitch (machine stitch an edge stitch through all the layers on the binding close to the seam.) The understitching is an optional step, there won’t be a disaster without it, but it does make the binding roll to the wrong side better and I think it makes the binding stronger.
Tack along the edge of the binding to hold in place, this will also give you a guide line for your next row of stitching.
Flip your garment over and topstitch with the right side up. If you stitch inside your tacking line so you know that you will catch all the binding!
(You can make narrower binding if you prefer…simple bit of maths… finished width of binding + seam allowance, x 2 = cutting width of binding.)
Have you ever wondered how to use the layers feature when printing a PDF sewing pattern? Our quick little guide will help you to easily turn layers within your PDF pattern on and off so you can just print the sizes you need. Using the layers feature in Adobe Reader when printing your PDF sewing pattern can make complicated patterns or ones with lots of sizes easier to follow and can help you save some ink, which has got to be a good thing .
Learn how to print and assemble a PDF sewing pattern at home with our easy and straight-forward PDF PRINTING GUIDE HERE.
HOW TO USE THE LAYERS FEATURE TO PRINT A PDF SEWING PATTERNS
The Layers tool is great, it means you can toggle sizes on and off and only print the size (or sizes) you want. I know, it’s really quite splendid! One snag, it’s currently only available on the desktop version, not the mobile App version of Adobe Reader.
So how does it work? Well, want to make a size 16? Toggle off to ‘Hide’ the other sizes and just print that one size 16. Or, are you between a size 10 and 12? Turn off the other sizes and leave the two sizes you want visible before printing, this makes it easy to see and blend your between your sizes now.
No more pick a line, and hope you’re cutting the correct one for your size, there only isyour size. And, as a little added bonus, only printing the size you want saves ink too!
Oh yeah, like I said, layers is a great feature!
So you’re convinced LAYERS is amazing, so here’ s how to use the layers feature:
(Not convinced? You can just leave them all on and carry on as usual and print the full range of sizes)
Open up your layered pattern and make sure you are using the latest version of Adobe Acrobat Reader.
On the left you can see a menu, look for the LAYERS icon. It looks like 3 diamonds (or sheets of paper, I can’t decide) on top of each other.
Click the LAYERS icon to open and a panel will fly out, showing two options if you have a combined instruction and pDf pattern file. The first bar is for the Maker Instructions (the instructions have NO layers) and the second bar is for the PATTERN (later patterns will not show the instructions option).
CLICK the + icon on the PATTERN HEADER BAR to release the DROP DOWN MENU.
TA-DA! All the layers are listed so you can easily select your size(s). To toggle the layers on and off, just click the eyeball icon next to each layer name.
Leave the eyeball ON to print a layer, eyeball OFF to hide a layer. Now you see it, now you don’t!
LOCKED LAYERS
For this pattern you can see two layers are locked, the pocket layer and the tiling layer that contains pattern and the print test square information relevant to every size. This will vary slightly from pattern to pattern but the locked layers will protect the layers you really don’t want to turn off by mistake.
TOP TIP: Before you print, just double-check you have everything you want to print selected because the only thing worse than a pattern with lots of lines, is a pattern without any lines! And don’t forget to print the test square.
So there you go, all the benefits of a layered pattern in one little post. Enjoy!
I’ve added some hyperlinks – Wahoo! – so now if you are viewing your instructions on a screen you can get a direct link to the relevant tutorial if you need it.
I know a lot of you view your instructions on iPads or laptops while sewing up a storm, so hyperlinks can be really useful. Personally, I have to print everything as the computer/office bit/corner of the kitchen is downstairs and sewing studio is upstairs. Obviously, hyperlinks won’t work if you print your instructions as I have too… I’m good but I’m not that good 😉 I’ve also added some pretty colours, because Hey! pretty colours…well, why the hell not?
So just for clarity: there are NO CHANGES TO THE ACTUAL PATTERN OR HOW TO MAKE THE APRON, I’ve just added a few little pretties so the maker instructions have the same features that are already on The Wendy Smock instructions.
If you have already bought The Maria Wrap Apron PDF sewing pattern and would like an updated Maker Instruction file, send me an ETSY convo and I am very happy to email you one – for FREE!
What other features do you like to see in your patterns and maker instructions?
Lots of detail and explanation?
Or do you do the same as my friend Maria (the inspiration for The Maria Wrap Apron) She may (maybe) give the maker instructions a fleeting, cursory glance before completely ignoring them and doing her own thing, only going back to the instructions if necessary. I’m with Maria (it’s why we’re friends, that and we bonded over how much we hated cooking the small people’s tea after school – it cut into valuable making time – true story. Beer and curry is also part of that story, but I’ll spare you that part…). I’m just firmly of the opinion there is more than one correct way to stitch anything, and you learn from each mistake. So ignore away if that works for you, or read every word and ask all the questions you like – it’s all good ladies!