
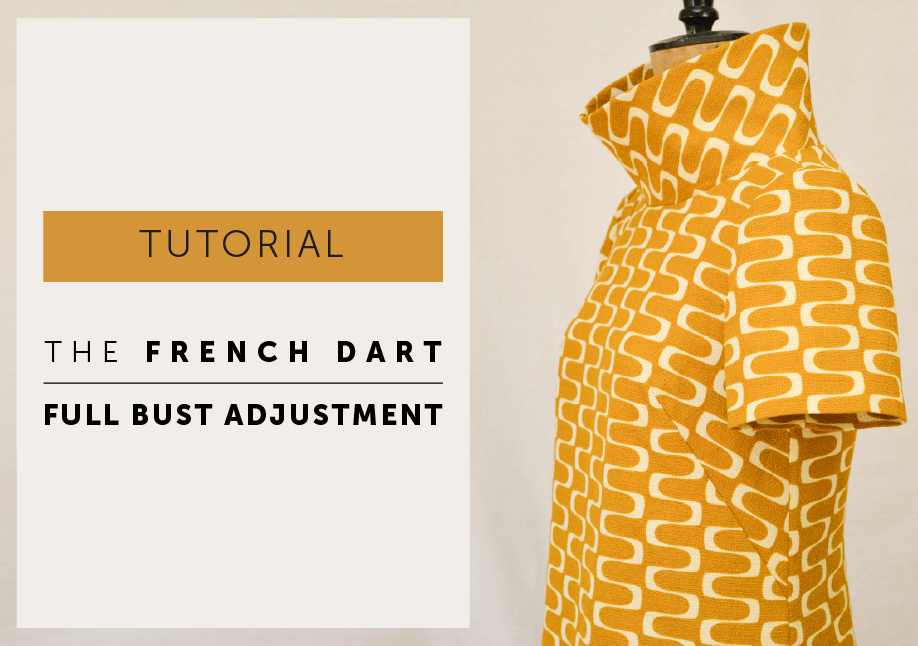
How do you do a Full Bust Adjustment (FBA) specifically for a French Dart to improve the fit of your garment? The French Dart FBA is a pattern adjustment technique that adds extra room exactly where you need it at the bust, while keeping the shoulder, neckline and armhole fitting correctly. In this tutorial, we show you how to slash and spread your pattern to create a balanced, well-fitting bodice without distorting the original shape of the design.
What is a Full Bust Adjustment (FBA)?
Sewing patterns are generally (and there are exceptions) drafted to accommodate a B cup. All Maven Patterns are drafted with a B cup. Unfair I know, but unfortunately, it’s just not possible for us to produce a pattern that will keep all body shapes happy, as we are all unique and the variations are limitless!
So, great if you are a B cup, but not so much if you are bigger (or smaller). In which case you might need to do a Full Bust Adjustment – FBA (or a Small Bust Adjustment – SBA). An FBA is a pattern alteration that will put a little more room in the bust area to accommodate a fuller bust should you need it, and if we are going to go to the trouble of making our clothes, might as well make them fit as well as we can.
UPDATE – We now have 3 patterns in the MAVEN1832 range in UK sizes 18-32 which have a dressmakers D cup
Can’t I just go up a size?
You can, but the pattern will then most likely be too big across your shoulders and your back. What you need is more width and length in your pattern at the right place– to go over and around a fuller cup. The idea of the FBA is to do this without messing about with your armhole and sleeve and keeping a great fit in the shoulder.
How do you know if you need a full bust adjustment?
Your toile may be gaping at the armhole, will have drag lines pointing to the bust, and probably looks a bit ‘strained’ over the bust, your boobage just looks a little squashed in there!
Small Bust Adjustment side note: An SBA is basically the same process, but involves overlapping the pattern to reduce instead of spreading the pattern to increase the bust cup size. If you need a Small Bust Adjustment, there will be too much fabric over the bust area, and your bodice will be too long at the centre front.
*EDITED TO ADD* While the tutorial is illustrated with diagrams for an FBA, I have added an illustration for an SBA at the end of the first section.

Abbreviations
FBA: full bust adjustment SBA: small bust adjustment CF: centre front BP: bust point/apex
Equipment
- Copy of pattern (or the ability to re-print)
- Ruler
- Pencil
- Sticky tape
- Tape measure
- Paper scissors
- Pattern paper
Which cup size are you?
Measure yourself while wearing the appropriate underwear. If you are going to wear a padded bra under your dress, go put one on first – it will make a difference to the fit.
Importantly, your cup size for a sewing pattern is not the same as your bra cup size. (I’m a B for a pattern, and wear a D bra)
- Measure your HIGH bust across your back, under your armpits and above your bust.
- Then measure your FULL bust, at the fullest part of your bust.
- Note these measurements and the difference between them.
- Difference of 1” (2.5cm) = A cup (SBA)
- Difference of 2″ (5cm) = B cup
- Difference of 3” (7.5cm) = C cup (FBA)
- Difference of 4” (10cm) = D cup (FBA)
- Difference of 5” (12.5cm) = DD cup (FBA)
Pick your size
If you are above a B cup you’ll probably need to do an FBA and should select your size by using your HIGH bust measurement in place of your FULL bust measurement.
This is the most common and popular method, by far, because it will give a better fit in the shoulders and neck area, then you just do a Full Bust Adjustment and alter for a fuller bust. If, on the size chart, you have a size 16 full bust, but a high bust measurement of a size 12, chances are the shoulders of a size 16 pattern will be completely out of proportion for you. You may still need to adjust or blend between sizes for hips and waist.
How much to add?
It’s a bit of chicken and egg situation. There is no one way to do this alteration (or any alteration). It can be a little test and see, and a lot of getting to know your OWN body and how you like a garment to fit on you. Take these measurements as a guide. If you start googling this, you’ll find a lot of different advice and it’s not that any of it will be wrong – just different ways work for different bodies, garments and preferences. You just have to start somewhere to find what works for you. You’ll need to toile and test and tweak your alteration, maybe more than once. A toile is going to be your best friend – the fabric doesn’t lie! Also, consider the look of the garment, a looser fitting garment might not need as much adding as a very fitted garment. Or you might just decide you want more/less ease and adjust your FBA accordingly.

I’ve got 2 options listed below: Either toile and slash open to give an idea, or a bit of Maths. It is very much trial and error the first couple of times until you know what works for you.
TOILE: Make a quick toile (just the body, don’t bother with sleeves, collar etc). Try it on and mark your bust point. Cut a cross in the fabric at your Bust Point / Apex, let it spread open and then measure how much extra you need. For an SBA, instead of slashing, pin the excess out of the bust.
I like this slash and spread and see what you need method. Pay attention to the neck and shoulders of your toile, and see if they fit or if a size smaller/bigger would look better on you.
MATHS OPTION: Take your FULL bust measurement and minus your HIGH bust measurement = TOTAL FBA amount to add. DIVIDE TOTAL by 2 = the actual amount to be added to the pattern (Remember when you are adjusting the pattern you are working with HALF a body front so you’ll need to divide the total amount of extra needed by 2 before adding to your pattern).

Find the Bust Point (also called the APEX) Find the Bust Point (also called the APEX)
The Bust Point (BP) or Apex is the most prominent point of your boob – usually the nipple. Bust darts point towards the BP but the dart tip is set back so not to create a pointy end. B cup patterns usually have the dart tip set back 1″ (2.5cm) from the BP, but you can adjust this to suit you.
- Using a copy of your front pattern, mark the seam allowances so you know where the stitch line is.
- Draw a line through the centre of the bust dart, and extend it 1” (2.5cm) beyond the dart tip. That is the bust point (BP) of the pattern.


I’m inclined to say don’t worry too much about marking your own BP on the pattern yet because, as you can see from the picture above, the BP is going to move and drop anyway during your alteration. The FBA will make the dart drop around ¼” to ½” (6mm – 12mm) and if it’s too high we can adjust this later. If you are very low busted (the dart needs to be lower more than 1.5” / 3.8cm), you can lower the dart a little now, and then go back and get it perfect later. You’re going to need a toile to check the final position when you’ve completed the FBA.
Draw the Lines
- LINE 1: Draw a line from the BUST POINT (BP) right down to the hem, parallel with the CENTRE FRONT LINE. Draw a line from the BP to a point about a ⅓ of the way along the armhole.
- LINE 2: Draw a line through the centre of the dart to the BP.
- LINE 3: Draw at a right angle from CF to intersect with LINE 1 (not crucial where).
Cut the Lines
- Cut along LINE 1. Start at the hem and cut towards the armhole. Cut UP TO stitch line but NOT through it. Cut from OUTSIDE of the pattern up to the same point on the armhole stitch line, leaving a 3mm hinge of paper.
- *If you hinge your armhole from the outside edge of the pattern instead of the stitch line, your armhole increases in length and then your sleeve won’t fit.
- Cut along LINE 2 through the centre of the bust dart towards the BP, leaving a hinge at BP.
- Mark sections A, B, C & D as in the diagram.

Slash & spread
Place some paper behind your pattern pieces. Draw a CF line on your paper (shown in red). Anchor down section A and D with tape or pins (bear in mind, D will have to move again), lining up the pattern CF with the one you just drew. Draw a couple of lines to show the amount being added (the orange lines), keep them parallel with CF.
Open LINE 1 out the amount you need to add for your FBA, pivoting the pattern from the hinges at the armhole and BP. Keep SECTION C parallel the with CF. Let front section slide upwards and allow the bust dart to open wider to keep pattern flat.
Note how the hem is staggered and CF is now too short. Tape section A, B & C down.
Cut open line 3, no need to leave a hinge this time. Keep CF in line and slide section D down so the hem is level again and tape.

SBA – Slash & overlap
If you are doing an SBA you will be overlapping your pattern pieces rather than spreading them to decrease the width and length of the pattern piece.
Place some paper behind your pattern pieces. Draw a CF line on your paper (shown in red). Anchor down section A and D with tape or pins (bear in mind, D will have to move again), lining up the pattern CF with the one you just drew. Draw a line to show the amount being removed (the orange line), keep them parallel with CF.
Slide pattern piece C across to the orange line, pivoting the pattern from the hinges at the armhole and BP. Keep SECTION C parallel the with CF. Let front section slide upwards and allow the bust dart to close and become smaller to keep pattern flat.
Note how the hem is staggered and CF is now too long. Tape section A, B & C down.
Cut open line 3, no need to leave a hinge this time. Keep CF in line and slide section D UP so the hem is level again and tape.

Redraw bust dart. Follow the original seam allowances and extend them to redraw the dart. Remember, the tip of a bust dart is usually 1” (2.5cm) from the BP, but this can change depending on you – it could be ½” (1.2cm) if you are small-busted and up to 3” (7.5cm) if you have a fuller bust.
A French Dart note. This french dart has a slight curve on the seam as your body is round and not straight. The bottom seam slightly stretches slightly onto the top seam, to help with the fit.
Toile. Now do a quick toile to check your alteration and the position of the bust dart in relation to your BP/apex. The most likely alteration now is you need to lower the dart or change the length. You can pin the paper pattern together and try it on to check the dart position first but keep in mind paper doesn’t behave the same as fabric and bust darts tend to drop a little more once they are in cloth.
Not sure how to alter the dart?… The Lower a Bust Dart Tutorial will help with that.
The ‘Y’ Bust Dart Alteration

If you are adding more than 1.5” to half your pattern (3” TOTAL) this will help spread the joy. It helps because the bust dart doesn’t get as large, the disadvantage is that it does add more fullness above the chest, which won’t work for everyone. But the alternative leaves you with a very large bust dart and an extremely severe shape to your armhole, you can see a comparison of the methods at the end of the tutorial. The bonus is you can start to do the above FBA and then change your mind and do this one instead. Again toile to test for your body shape!
Draw and Cut the Lines
The method is exactly the same as before, but we draw one extra line (LINE 4) going from the BP up to hinge at the centre of the shoulder seam.
Cut along LINE 4 leaving a hinge at the shoulder seam, creating a new section called A2.

Draw the (orange) parallel lines in again the amount you need to add to your pattern (I’ve done 2″/5cm) and draw a line at half the amount too.
Place some paper behind your pattern piece. Anchor down section A with tape or pins. Pivot section A2 from the shoulder hinge and spread open half the amount you need to add. Tape A2 to hold. Keep LINE 1 parallel with each other and the CF, slide SECTIONS B & C, pivoting at the hinges, outwards and upwards to add in the full FBA amount, allowing the bust dart to open wider to keep pattern flat. Tape in place.
Cut LINE 3 and slide SECTION D downward so the hem is level again.
Tape everything down and redraw the bust dart and shoulder seam and smooth the armhole curve.
Toile to check your alteration and lower the dart or move the dart tip if necessary (How Lower a Bust Dart Tutorial)
Comparing the ‘Y’ Bust alteration
For this example, I’ve added an extra 2″ (4″ total). You will get a slightly different result with each differing amount added.

On the left is with the ‘Y’ dart and on the right is without. You can see how large the bust dart on the right has become without using the ‘Y’ dart method – potentially that could be one big old pointy dart. But the real worry is that armhole shape, it’s just too severe to be a happy bunny later. Again take the time to toile and see what works for you, but I’m recommending giving the ‘Y’ dart method a try if you are adding over 1½” (3.8cm).
More to Sew …




&url=https://mavenpatterns.co.uk/the-french-dart-fba/&media=https://i0.wp.com/mavenpatterns.co.uk/wp-content/uploads/2025/10/PAPER-PATTERN-COLLECTIONS-Maven-Patterns-03.jpg?fit=980%2C980&ssl=1)
&url=https://mavenpatterns.co.uk/the-french-dart-fba/&media=https://i0.wp.com/mavenpatterns.co.uk/wp-content/uploads/2024/08/The-Bloom-Skirt-Sewing-Pattern-new-sewing-pattern-Maven-Patterns2-100.jpg?fit=980%2C980&ssl=1)
&url=https://mavenpatterns.co.uk/the-french-dart-fba/&media=https://i0.wp.com/mavenpatterns.co.uk/wp-content/uploads/2024/04/The-Simone-Set-Sewing-Pattern-maven-patterns-04.jpg?fit=980%2C980&ssl=1)
&url=https://mavenpatterns.co.uk/the-french-dart-fba/&media=https://i0.wp.com/mavenpatterns.co.uk/wp-content/uploads/2024/04/The-simone-camiosole-PDF-sewing-pattern.jpg?fit=980%2C980&ssl=1)
&url=https://mavenpatterns.co.uk/the-french-dart-fba/&media=https://i0.wp.com/mavenpatterns.co.uk/wp-content/uploads/2024/03/the-Ludo-capelet-sewing-pattern-8490-scaled.jpeg?fit=980%2C980&ssl=1)


